

Nov
Weave Table
How to Make a Table Weaving Loom
Creating your own table weaving loom opens up a world of creative possibilities, from intricate tapestries to simple, yet elegant placemats. Learning How To Make A Table Weaving Loom is a rewarding experience that allows you to tailor your loom to your specific needs and projects.
Gathering Your Materials for a DIY Table Weaving Loom
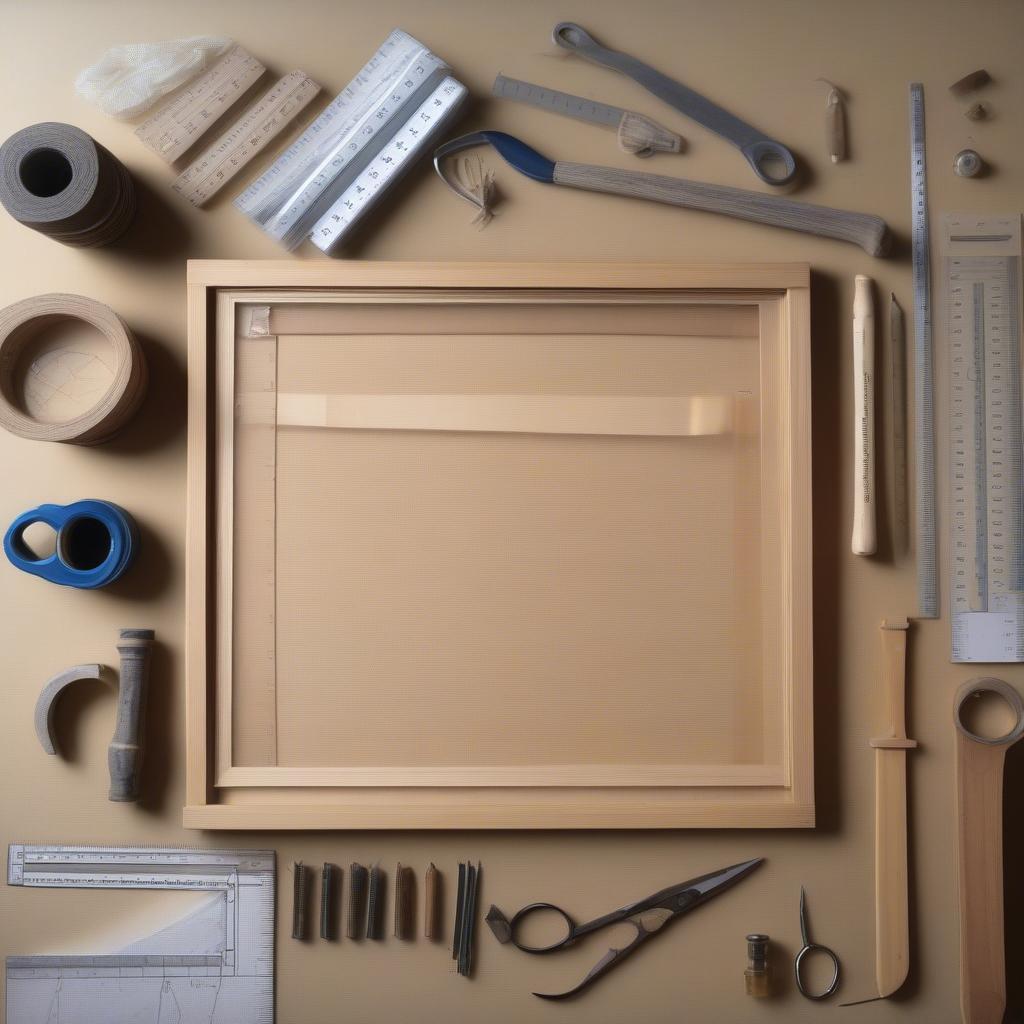
Building a table weaving loom doesn’t require expensive or hard-to-find materials. Most of what you need can be found around the house or at your local hardware store. You’ll need a sturdy frame, strong warp thread, and some basic tools. Here’s a basic list:
- A wooden frame (an old picture frame, a piece of plywood, or even a sturdy cardboard box will work)
- Nails or tacks
- Hammer or tack hammer
- Strong warp thread (linen, cotton, or nylon)
- Scissors
- Ruler or measuring tape
- Pencil
DIY Table Loom Materials
Building Your Frame: The Foundation of Your Table Weaving Loom
The frame is the foundation of your loom. It needs to be strong enough to hold the tension of the warp threads. If using an existing frame, ensure it’s sturdy and won’t warp under pressure. If constructing your own frame, consider using thicker wood for added stability. A simple rectangular frame is perfect for beginners.
Warping Your Loom: Creating the Foundation for Your Weaving
Warping the loom, or setting up the warp threads, is the next crucial step. The warp threads are the vertical threads that your weft threads will pass through. This stage demands accuracy to ensure even tension across the loom. Space the nails evenly along the top and bottom of your frame. The distance between the nails will determine the density of your weave. The closer the nails, the denser the weave.
What if you want a specific type of table loom? Check out the rasmussen weaving loom table top model.
Weaving on Your DIY Table Loom: Bringing Your Creations to Life
With your loom warped, you can now start weaving. The weft thread is the horizontal thread that you weave over and under the warp threads. You can use a variety of materials for your weft, including yarn, string, fabric scraps, or even natural fibers like reeds or grasses. Experiment with different colors and textures to create unique designs. For more information on weaving techniques, take a look at our guide on how to weave on table loom.
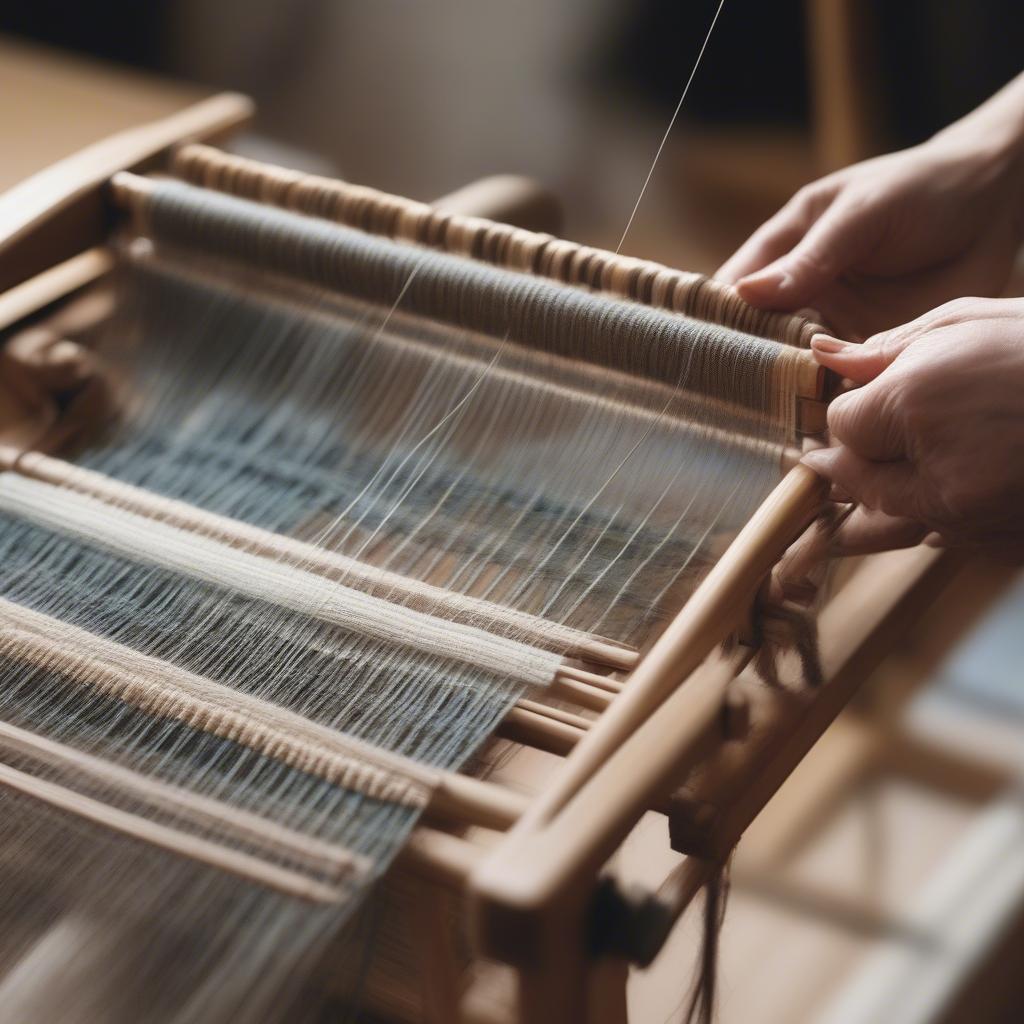 Weaving on a Table Loom
Choosing the Right Materials
The materials you choose will significantly impact the final product. For a sturdy cotton weave table cloth, thicker cotton yarn is ideal. Finer threads, like linen, are excellent for delicate projects. Remember to consider the desired drape and texture of your finished piece when selecting your yarn. You might be interested in learning how to create a lily mills table weaving loom.
Tips for Success
- Keep your warp threads taut for an even weave.
- Use a shed stick or ruler to help separate the warp threads.
- Start with simple patterns and gradually increase complexity.
- Don’t be afraid to experiment with different materials and techniques.
Conclusion: Start Creating with Your Handmade Table Loom
Learning how to make a table weaving loom is a journey of creativity and skill. With your handmade loom, you can explore a variety of weaving techniques and create beautiful, unique pieces. So gather your materials, follow these simple steps, and embark on your weaving adventure today. Explore more details on how to make a table top weaving loom.
FAQ
- What type of wood is best for a table loom frame?
- How tight should the warp threads be?
- Can I use any type of yarn for weaving?
- What is the best way to store my finished weaving projects?
- Where can I find more advanced weaving patterns?
- What is a shed stick, and how do I use it?
- How do I finish the edges of my woven piece?
Need help with your weaving project? Contact our 24/7 customer support hotline at +84 388 951 999 or visit our offices in Hanoi, Vietnam or Tech Avenue, Suite 12, San Francisco, CA 94105, USA.