

Dec
Weave Chair
How to Weave a Child’s Straw Chair Seat
Weaving a child’s straw chair seat is a rewarding project that blends traditional craftsmanship with a touch of personal flair. Whether you’re restoring a beloved heirloom or crafting a brand new piece, this guide will provide you with the necessary steps and techniques to create a beautiful and durable straw seat. Let’s dive into the world of straw weaving and learn how to weave a child’s straw chair seat!
Gathering Your Materials and Tools
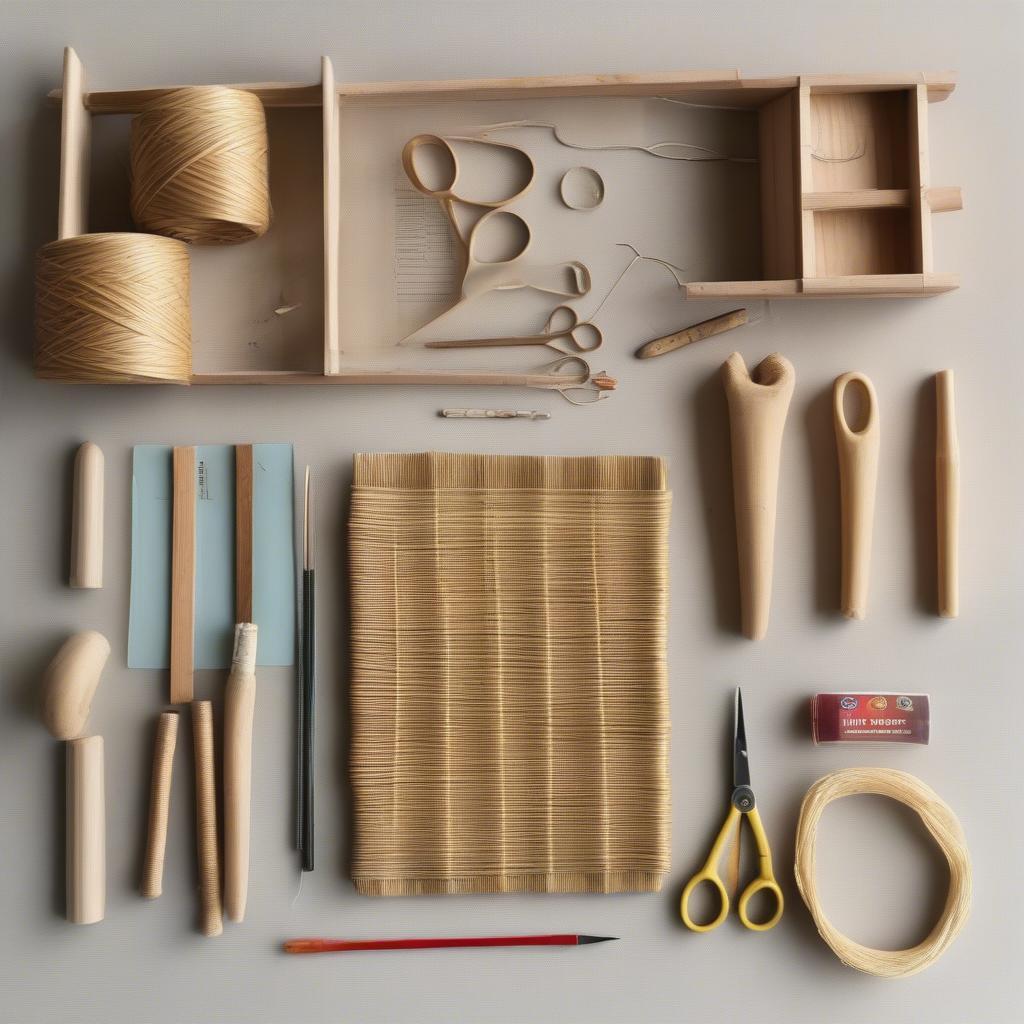
Before you begin weaving, ensure you have the following materials and tools at hand:
- Straw: Choose high-quality, dried straw. Rye straw is a popular choice for its strength and flexibility. You can purchase pre-prepared straw or gather and dry your own.
- Frame: A sturdy wooden frame is essential. Make sure it’s the correct size for your child’s chair.
- Scissors or Sharp Knife: For trimming the straw.
- Needle-nose pliers: Useful for pulling straw through tight spaces.
- Water: Soaking the straw makes it pliable and easier to work with.
- Ruler or Measuring Tape: For accurate measurements.
- Optional: Awl for creating pilot holes.
Essential Materials for Weaving a Child's Straw Chair
Preparing the Straw
Soaking the straw is crucial for a successful weaving project. Submerge the straw in warm water for approximately 30-60 minutes, or until it becomes pliable. This process allows the straw to bend without breaking, making it easier to manipulate during the weaving process.
Starting the Weave: The Base Layer
The first step is to create a strong base layer. This involves weaving the straw across the frame in a straight, over-under pattern. Begin by securing one end of a straw to the frame, either by tucking it under a frame member or using a small tack. Then, weave the straw over and under the frame members, pulling it taut as you go.
What are the benefits of a strong base layer? A strong base layer ensures the stability and durability of the finished seat.
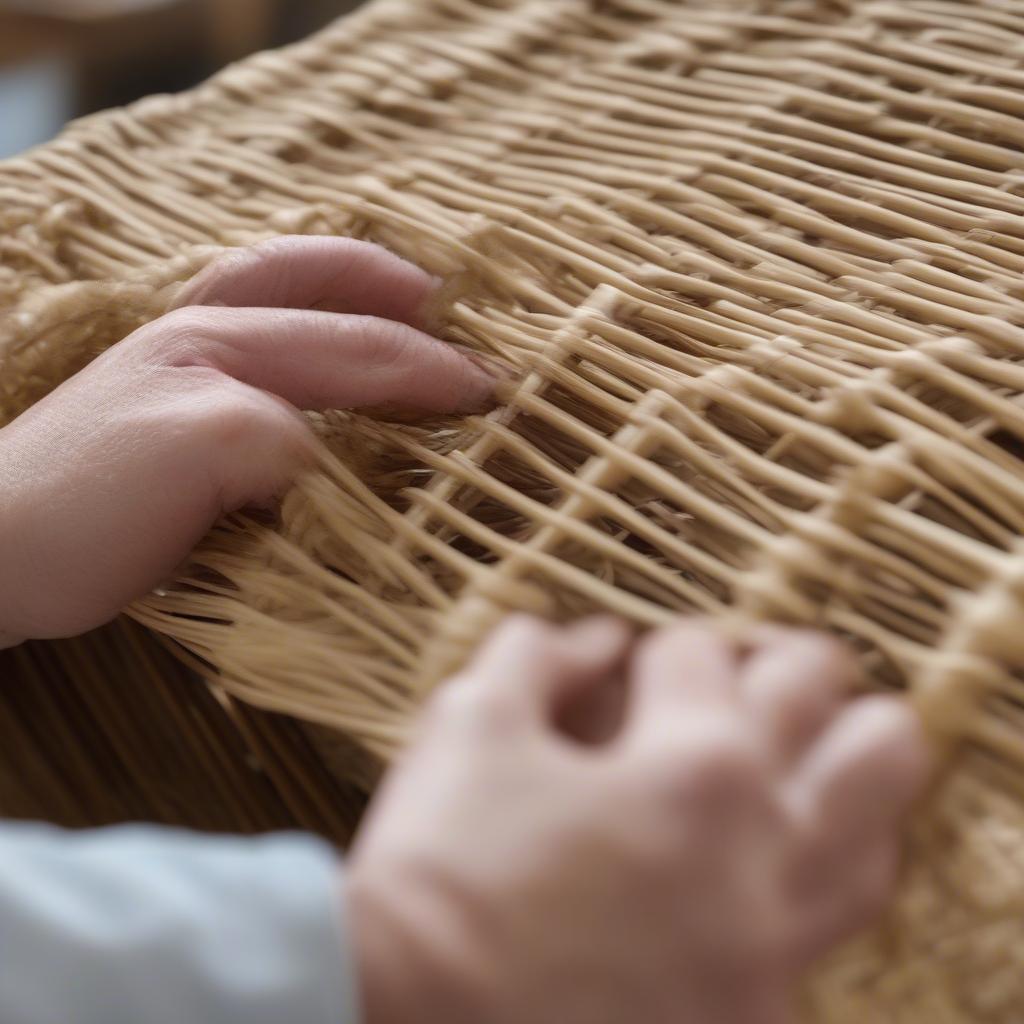 Establishing the Base Layer for a Straw Chair Seat
Building the Seat: Adding Layers
Once the base layer is complete, begin adding layers of straw, continuing the over-under pattern. As you weave, ensure the straw is packed tightly together to create a firm and comfortable seat.
How tight should the straw be? The straw should be tight enough to create a firm surface but not so tight that it distorts the frame.
Weaving Patterns and Techniques
While the basic over-under weave is commonly used, you can explore various patterns and techniques to add visual interest to your child’s chair seat. Consider incorporating diagonal weaves, herringbone patterns, or even adding decorative elements like colored straw.
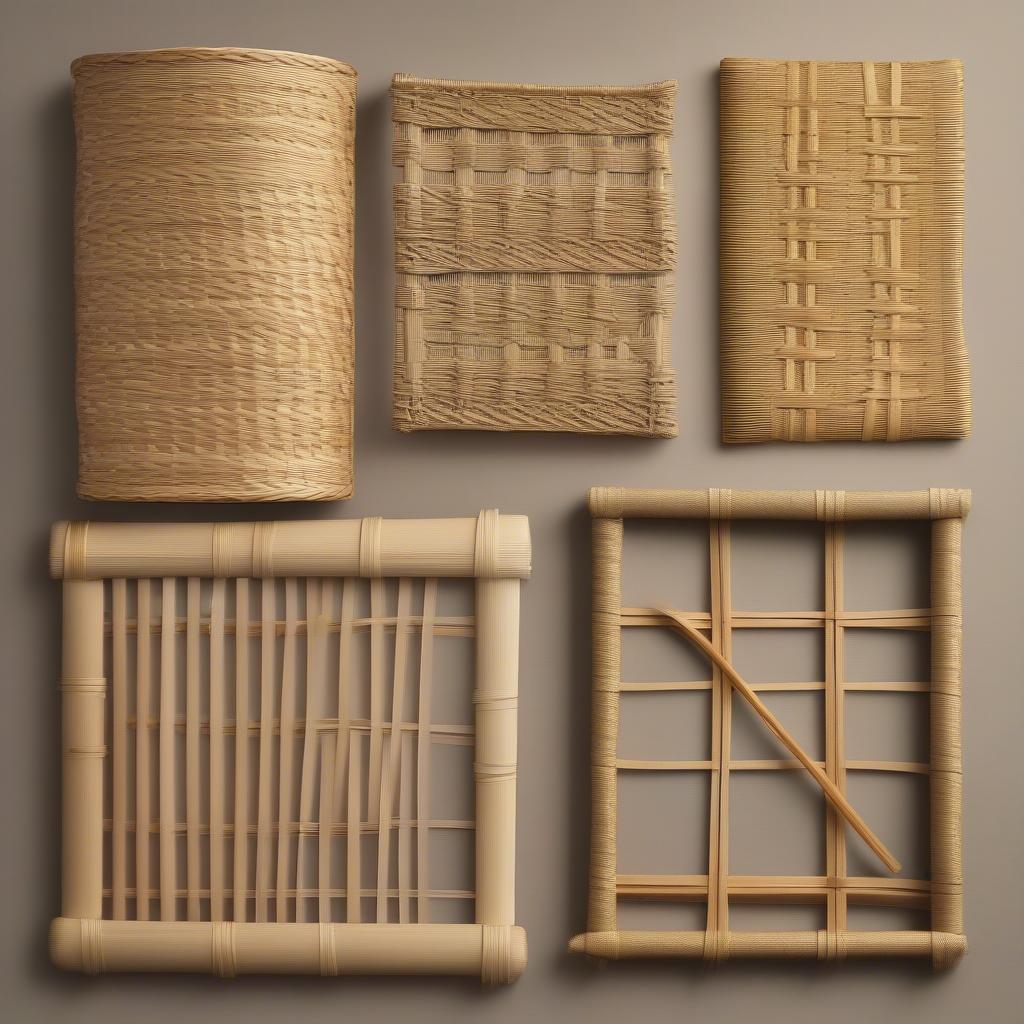 Exploring Advanced Straw Weaving Patterns
Finishing Touches
Once you’ve achieved the desired thickness and pattern, trim any excess straw and secure the ends. You can tuck the ends under the woven layers or use small tacks. For a more polished look, consider adding a decorative braid or trim around the edges of the seat.
Conclusion
Weaving a child’s straw chair seat is a project that requires patience and attention to detail, but the result is a beautiful and functional piece that you and your child can cherish for years to come. By following these steps and techniques, you can create a unique and durable straw seat that adds a touch of handcrafted charm to any child’s room. Now you know how to weave a child’s straw chair seat!
FAQ
- What type of straw is best for chair seats?
- How long should I soak the straw?
- What if my straw breaks while weaving?
- Can I use different colors of straw?
- How do I repair a damaged straw seat?
- What are some common weaving mistakes to avoid?
- How can I add decorative elements to my straw seat?
Common Situations and Questions
- Uneven weaving: This is a common issue for beginners. Ensure you’re pulling the straw taut and evenly as you weave.
- Straw breaking: If the straw is too dry, it will break easily. Make sure to soak it thoroughly before weaving.
- Difficulty starting the weave: Use an awl to create pilot holes in the frame to make it easier to secure the starting straw.
Related Articles
- Choosing the Right Straw for Your Project
- Basic Weaving Techniques for Beginners
- Advanced Straw Weaving Patterns
- Repairing and Restoring Antique Straw Furniture
When you need assistance please contact Hotline: +84 388 951 999, address: Hanoi, Vietnam or Tech Avenue, Suite 12, San Francisco, CA 94105, USA. We have a 24/7 customer service team.