

Dec
Basket Weaving
How to Basket Weave a Cutting Board
Creating a basket weave cutting board involves a unique blend of woodworking and basket weaving techniques. It’s a project that demands patience and precision but yields a beautiful and functional piece for your kitchen. This guide will delve into the intricate process of crafting a basket weave cutting board, offering detailed instructions and expert insights.
Preparing Wood for Basket Weave Cutting Board
Understanding the Basket Weave Pattern
The basket weave pattern is achieved by interlacing strips of wood, much like weaving a traditional basket. This creates a visually appealing and durable surface that’s perfect for a cutting board. Before starting, you’ll need to choose your wood carefully. Hardwoods like maple, walnut, and cherry are excellent choices for their durability and resistance to knife marks. You’ll also need to familiarize yourself with basket weave cutting board plans to guide you through the construction process.
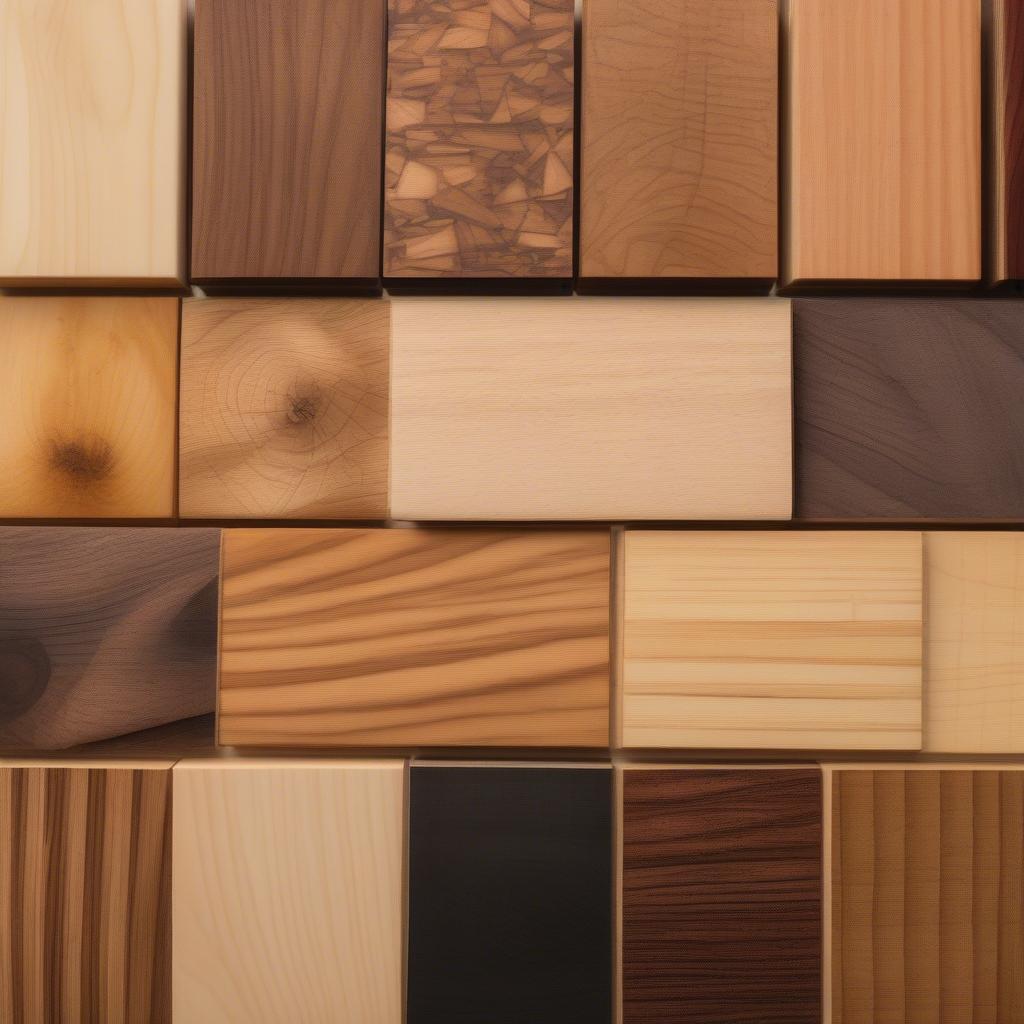
Choosing the Right Wood
Selecting the right wood is crucial for both aesthetics and functionality. Consider the color, grain, and hardness of the wood. Do you prefer a contrasting pattern or a more uniform look? Explore various wood options to find the perfect combination for your basket weave cutting board plans. A good quality wood ensures a long-lasting cutting board that can withstand daily use.
 Choosing Wood for Basket Weave Cutting Board
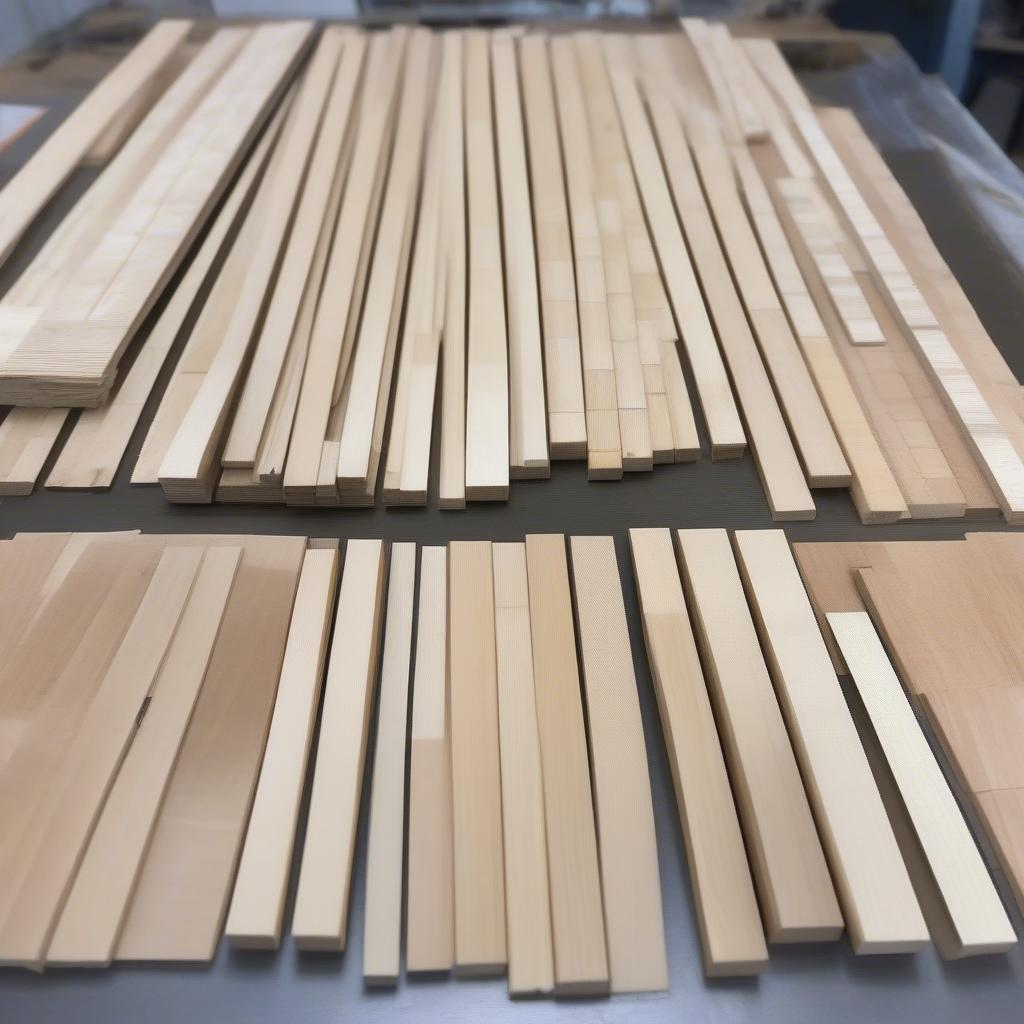
Preparing the Wood Strips
Once you’ve chosen your wood, the next step is to prepare the strips. These strips need to be uniform in thickness and width to achieve a tight and even weave. A planer and table saw are essential tools for this process. Aim for strips that are approximately ¼ inch thick and 1-2 inches wide, depending on the desired size of your cutting board. Remember accuracy is key to a successful basket weave.
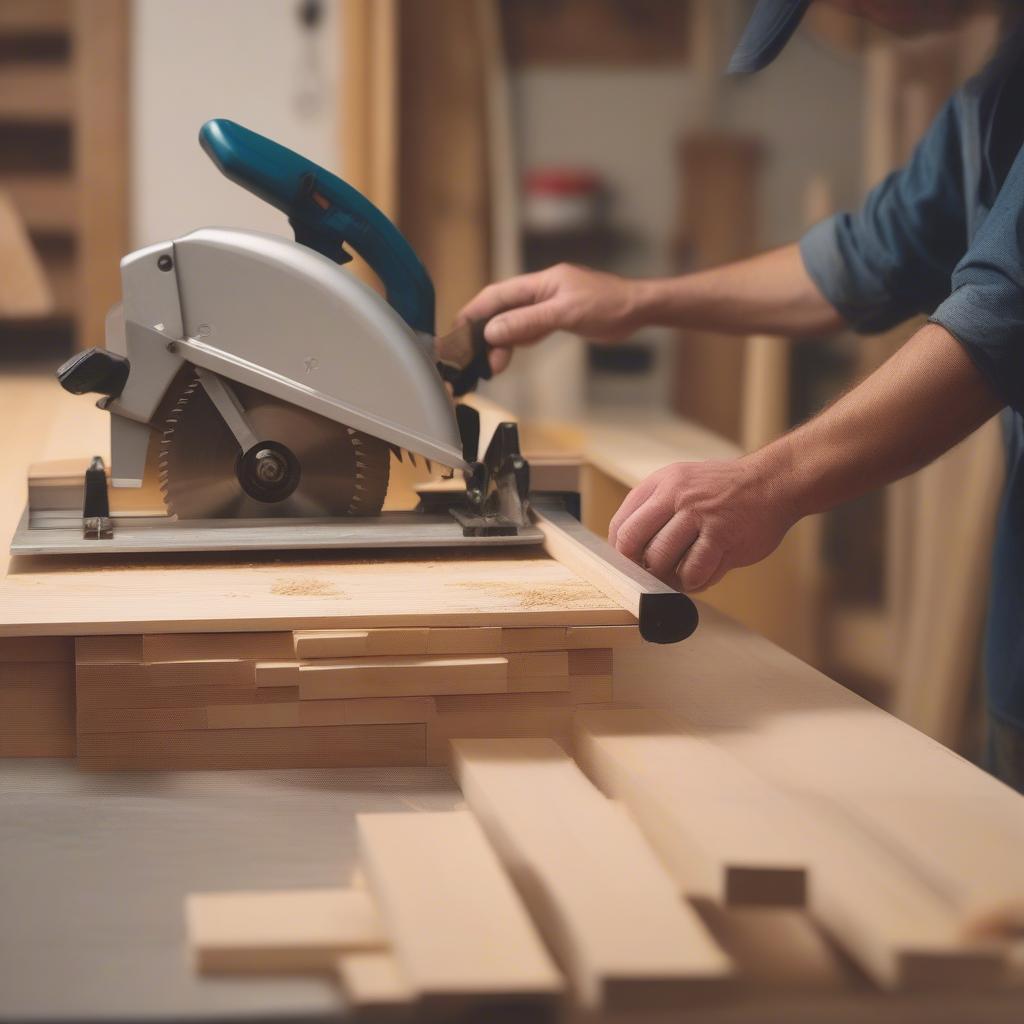
Cutting and Planing the Strips
Precision is paramount when cutting and planing the wood strips. Use a sharp blade in your table saw to ensure clean cuts, and be mindful of safety precautions. Consistent thickness is essential for a seamless weave. Having the right basket weaving equipment list will make this process much easier.
“Accurate cutting and planing are the foundation of a beautiful basket weave cutting board,” says renowned woodworker, Amelia Carter. “Take your time and ensure each strip is perfectly uniform.”
 Cutting Wood Strips for Basket Weave Cutting Board
Weaving the Cutting Board
This is where the artistry of the project comes alive. Begin by laying out half of the strips vertically, side by side. Then, weave the remaining strips horizontally, over and under the vertical strips, just like weaving a basket. Ensure a tight weave for a strong and stable cutting board. This requires patience and attention to detail, but the result is truly rewarding. Maybe you could try this technique with yarn first, as seen in our 4th grade basket weaving with yarn tutorial.
Securing the Weave
Once woven, the strips are glued together. Use a high-quality wood glue and apply it evenly to all contacting surfaces. Clamps are essential to hold the board together while the glue dries. This ensures a strong and durable bond. Remember to wipe away any excess glue before it dries.
“A strong bond is crucial for a long-lasting cutting board,” advises master craftsman, David Miller. “Use a high-quality wood glue and ensure even pressure with clamps.”
Finishing the Cutting Board
After the glue has dried, the cutting board needs to be sanded smooth and finished with a food-safe oil. This protects the wood and enhances its natural beauty. Multiple coats of oil are recommended, allowing each coat to dry completely before applying the next. This process creates a beautiful and functional cutting board that is ready for use. Perhaps you can try a different weaving technique afterwards, like using a weaving basket template.
How long does it take to make a basket weave cutting board? The timeframe can vary depending on the complexity of the design and your skill level, but typically it takes a few days to complete, including drying time.
What kind of wood should I use? Hardwoods like maple, walnut, and cherry are popular choices for their durability and attractive grain patterns.
What tools do I need? Essential tools include a table saw, planer, clamps, sandpaper, and a food-safe finishing oil. You can find a comprehensive list in our basket weaving equipment list.
In conclusion, creating a basket weave cutting board is a satisfying project that combines traditional craftsmanship with practical functionality. By following these steps and paying attention to detail, you can create a beautiful and durable cutting board that will be a cherished addition to your kitchen. This “How To Basket Weave Cutting Board” guide has equipped you with the knowledge to embark on this rewarding project.
Have other questions? Check out our basket weave apple pie recipe for some kitchen inspiration.
Need assistance? Contact our 24/7 customer service team at +84 388 951 999 or visit us in Hanoi, Vietnam or Tech Avenue, Suite 12, San Francisco, CA 94105, USA.