

Dec
Basket Weaving
Crafting with Q-Tips: Exploring the Art of Basket Weave Out of Qtips
Creating a basket weave out of q-tips might sound unusual, but this humble cotton swab can be transformed into surprisingly intricate and decorative pieces. This article delves into the creative world of q-tip crafts, focusing on how to construct a basket weave using these readily available materials. We’ll explore various techniques, provide inspiration, and offer tips for crafting your own unique q-tip basket weave creations.
Q-Tip Basket Weave: A Beginner’s Guide
Creating a basket weave out of q-tips is a fun and engaging project suitable for all ages. While it requires patience and attention to detail, the process is relatively simple and the results can be quite rewarding. The basic principle involves interlacing q-tips to form a woven pattern, mimicking traditional basket weaving techniques. This can be achieved using various methods, each offering a different aesthetic.
Gathering Your Supplies for a Q-Tip Basket Weave
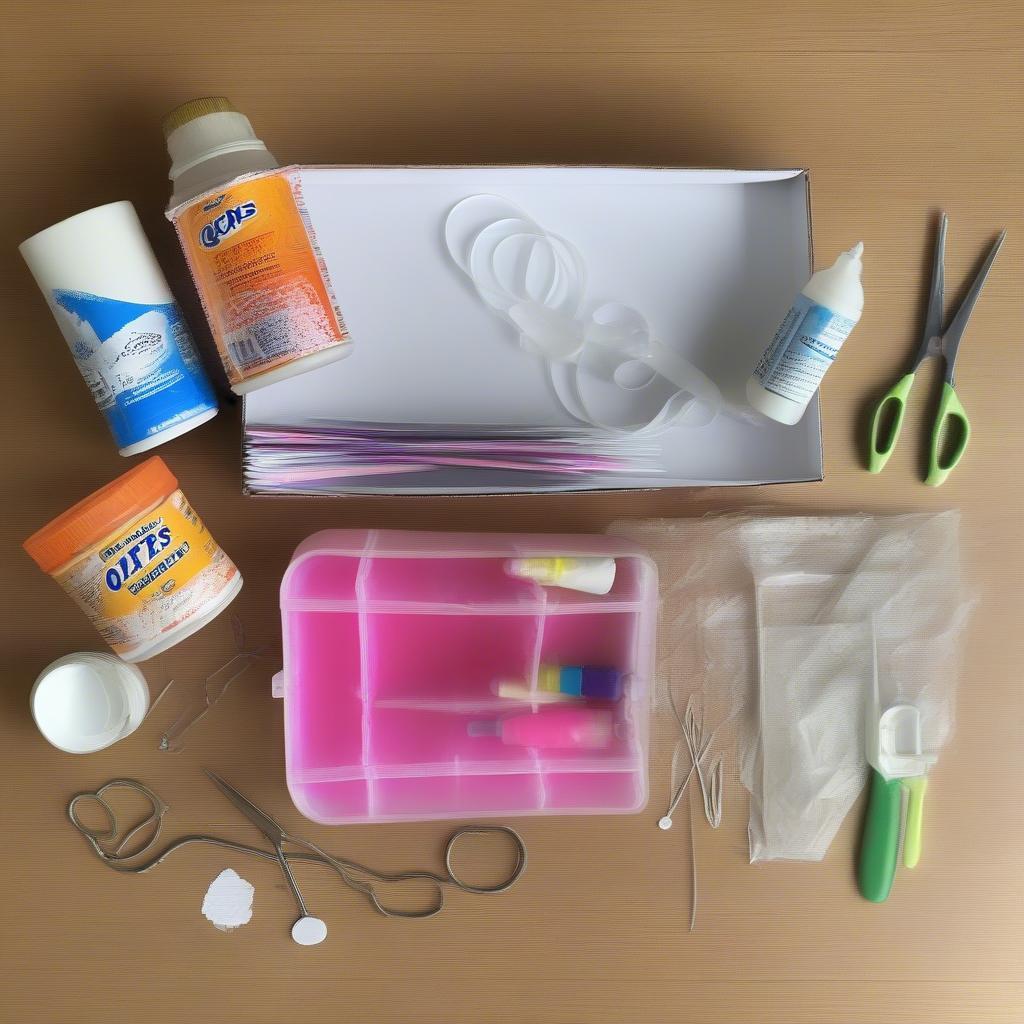
Before embarking on your q-tip basket weaving journey, gather the necessary materials. You’ll need a substantial quantity of q-tips (the exact number depends on the size and complexity of your project), glue (a strong adhesive suitable for porous materials), a base or frame (cardboard, foam board, or even a small existing basket), and optional decorative elements such as paint, glitter, or ribbons.
Q-Tip Basket Weave Supplies
Constructing Your Q-Tip Basket Weave: Step-by-Step Instructions
Start by creating the base of your basket. Cut your chosen material into the desired shape and size. Then, begin gluing the q-tips onto the base, arranging them side by side to form the foundation layer. Ensure the cotton ends are facing outwards. Once the base layer is complete, begin weaving additional q-tips over and under the base layer, creating the basket weave pattern. Secure each q-tip with glue as you go.
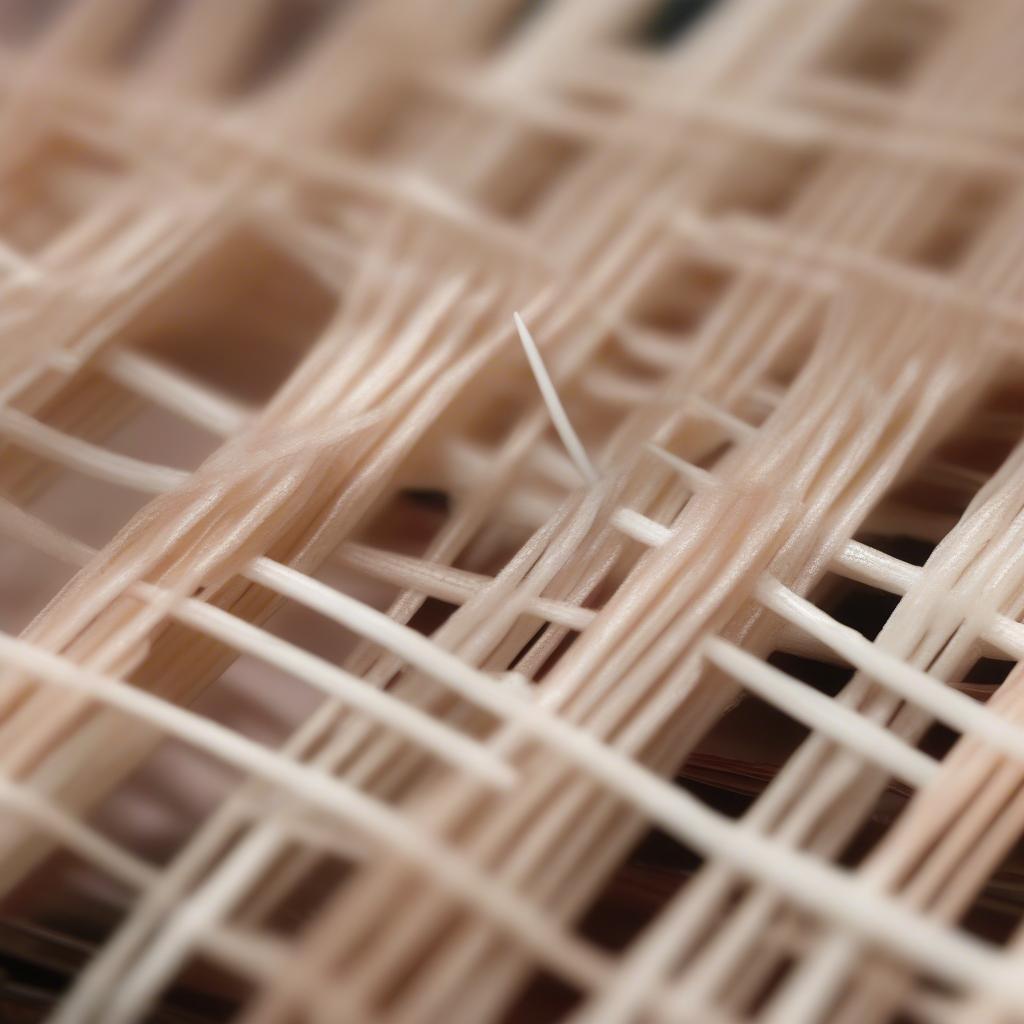 Creating a Q-Tip Basket Weave
Adding Finishing Touches to Your Q-Tip Creation
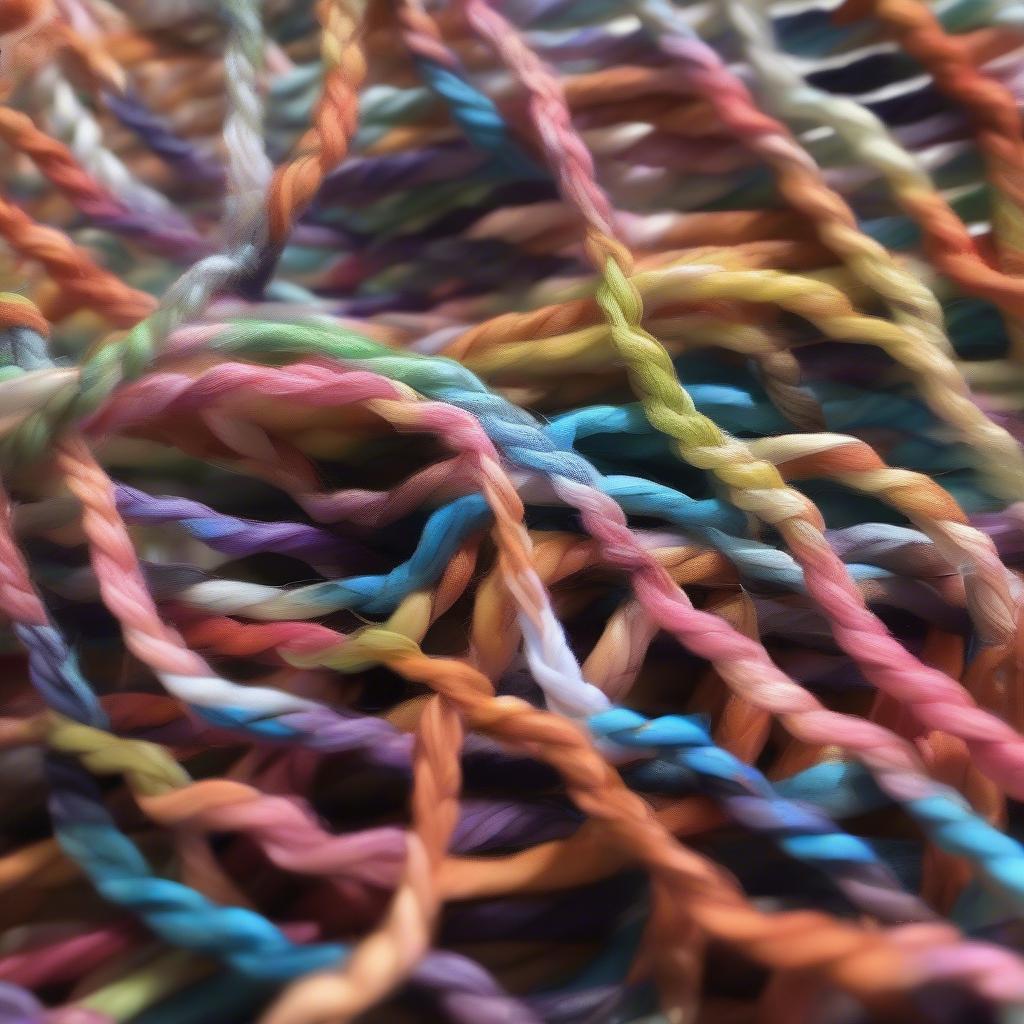
Once the basket weave structure is complete, allow the glue to dry thoroughly. Then, unleash your creativity with decorative elements. Paint the q-tips in vibrant colors, add a touch of sparkle with glitter, or adorn the basket with ribbons and other embellishments.
“The beauty of q-tip crafting lies in its simplicity and versatility,” says renowned crafter, Amelia Craftwell. “With a little imagination, these everyday items can be transformed into beautiful and unique works of art.”
Advanced Q-Tip Basket Weaving Techniques
Once you’ve mastered the basic basket weave, explore more complex designs and techniques. Consider incorporating different colored q-tips to create patterns, experimenting with varying weave densities, or even shaping the q-tips before weaving to create curved or three-dimensional forms.
“Don’t be afraid to experiment and push the boundaries of what’s possible with q-tips,” advises craft expert, David Weaverton. “The only limit is your own creativity.”
 Advanced Q-Tip Basket Weaving Techniques
Conclusion: Unlock Your Creative Potential with a Q-Tip Basket Weave
Creating a basket weave out of q-tips is a rewarding and accessible craft project that allows you to explore your artistic side. Whether you’re a seasoned crafter or a complete beginner, the possibilities are endless. So gather your supplies, let your imagination run wild, and discover the joy of crafting with q-tips.
FAQ
- What type of glue works best for q-tip basket weaving?
- Can I use colored q-tips?
- How long does it take for the glue to dry?
- What other materials can I use as a base for my basket?
- Where can I find more q-tip craft ideas?
- How can I make my q-tip basket weave more durable?
- What are some other decorative elements I can use?
Need assistance? Contact us at Hanoi, Vietnam or Tech Avenue, Suite 12, San Francisco, CA 94105, USA. We have a 24/7 customer service team.