


Dec
Basket Weaving
How to Basket Weave a Pie Crust
Learning How To Basket Weave A Pie Crust elevates a simple pie from ordinary to extraordinary. This decorative technique adds a touch of rustic charm and allows for glimpses of the delicious filling within. Whether you’re a seasoned baker or just starting out, this guide will teach you how to create a beautiful basket weave pie crust with ease. how to basket weave pie crust
Understanding the Basics of Basket Weaving a Pie Crust
Before diving into the weaving process, it’s crucial to have a properly prepared pie crust. A chilled, firm dough is essential for easy handling and clean cuts. You can use your favorite homemade recipe or opt for store-bought dough, ensuring it’s adequately chilled before beginning. Having the right tools, such as a sharp knife or pastry cutter, and a ruler or measuring tape, also contributes to a successful basket weave.
Preparing pie crust dough for basket weaving
Step-by-Step Guide to Creating a Basket Weave Pie Crust
-
Roll out your dough: On a lightly floured surface, roll out your pie crust into a circle slightly larger than your pie dish. Aim for a thickness of about ⅛ inch.
-
Cut dough strips: Using a sharp knife or pastry cutter, cut even strips of dough. Aim for strips about ½ inch wide. For a tighter weave, use narrower strips; for a looser weave, use wider strips. You can use a ruler to ensure uniform width.
-
Arrange the base strips: Lay half of the strips vertically across your pie dish, spacing them evenly apart. These will be the base of your weave. Gently press the ends of the strips into the edge of the pie dish to secure them.
-
Begin weaving: Fold back every other vertical strip halfway. Lay a horizontal strip across the exposed vertical strips. Unfold the folded vertical strips. Now, fold back the alternate vertical strips (the ones that weren’t folded before) halfway. Lay another horizontal strip across, next to the first one, and unfold the vertical strips.
-
Continue the pattern: Repeat the folding and weaving process, alternating which vertical strips are folded back, until you reach the other side of the pie dish.
-
Trim and crimp: Trim any excess dough hanging over the edge of the pie dish. Crimp the edges of the crust using your fingers or a fork to create a decorative border and seal the pie.
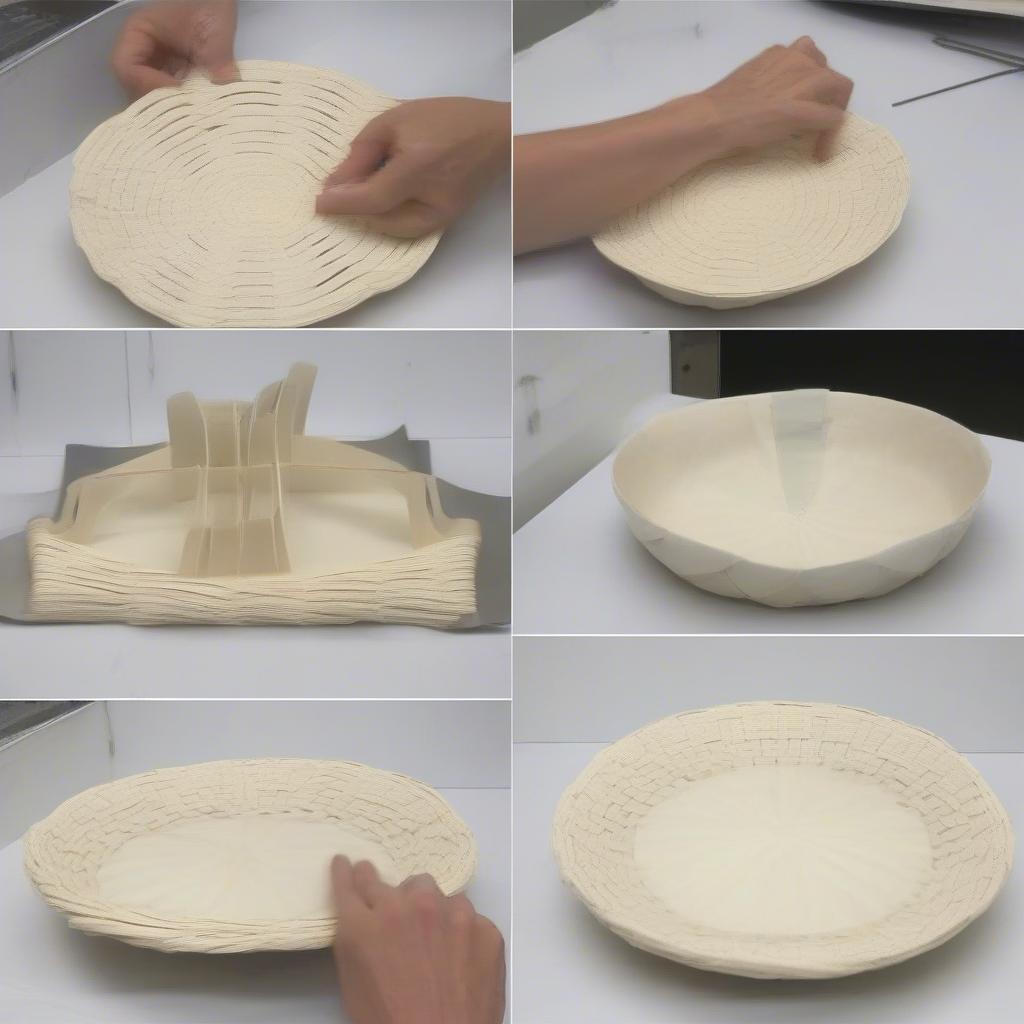 Weaving the pie crust strips
Tips and Tricks for a Perfect Basket Weave
- Chill your dough: A cold dough is easier to work with and prevents the strips from sticking together.
- Use a sharp knife: A sharp knife or pastry cutter ensures clean, even cuts for consistent strip widths.
- Practice makes perfect: Don’t be discouraged if your first attempt isn’t perfect. The more you practice, the easier it will become. basket weave pie crust
- Get creative: Experiment with different strip widths and weaving patterns to create unique designs. basket weave pie crust top You can also use a basket weave mat for baking for different textures.
“A beautifully woven pie crust is the mark of a skilled baker,” says renowned pastry chef, Amelia Dupont. “It’s a simple technique that elevates any pie to a work of art.”
Conclusion
Learning how to basket weave a pie crust is a rewarding skill that can transform your baking. With practice and patience, you’ll be able to create stunning, professional-looking pies that are sure to impress. So, gather your ingredients, follow these steps, and enjoy the satisfying process of crafting a beautiful and delicious masterpiece. basket weave pie crust how to
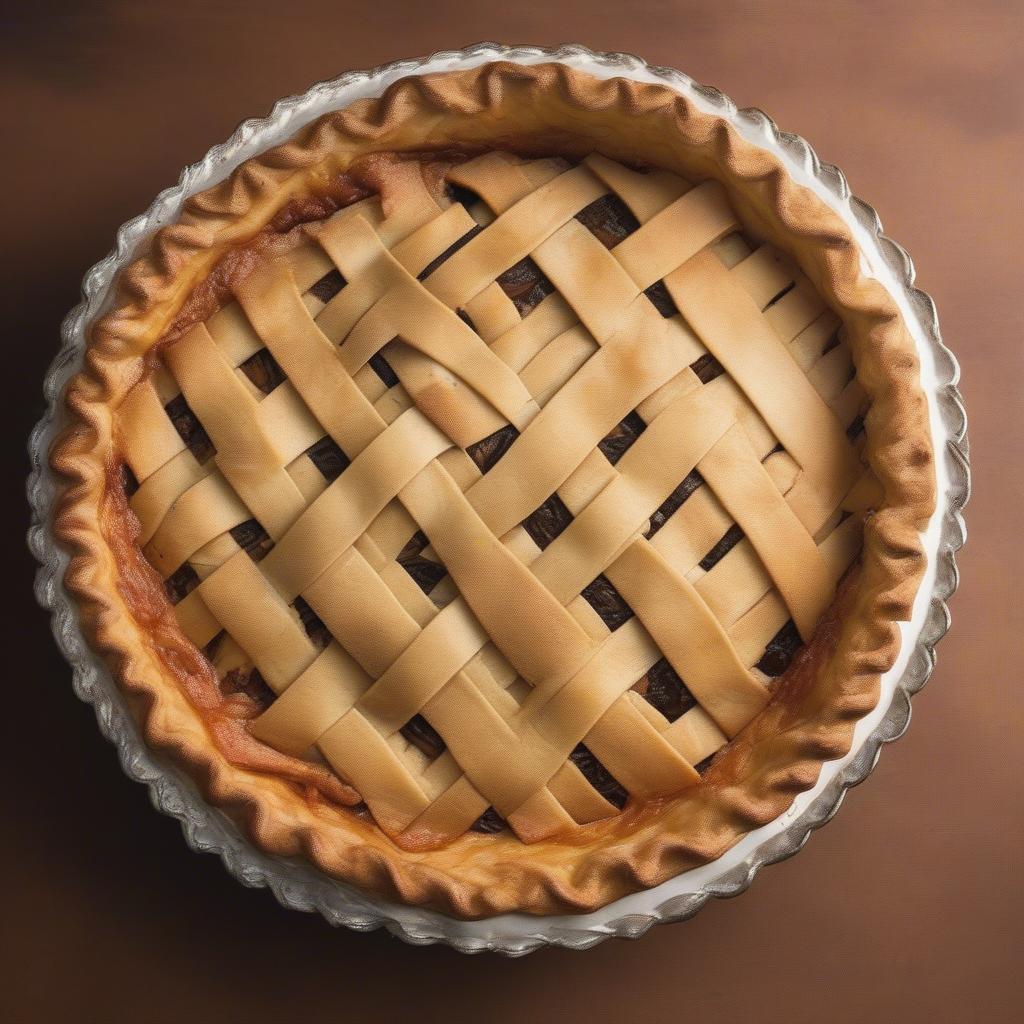 A finished basket weave pie crust
FAQs
- What type of dough is best for basket weaving?
- Can I use store-bought pie crust?
- How do I prevent the dough from sticking?
- What if my strips break?
- How do I achieve a tighter weave?
- Can I use other shapes besides strips?
- How do I store a pie with a basket weave crust?
Need assistance? Contact us at Hanoi, Vietnam or Tech Avenue, Suite 12, San Francisco, CA 94105, USA. We have a 24/7 customer support team.