

Nov
Weave Hat
Child’s Basket Weave Crochet Hat Bottom Up Pattern
Creating a charming child’s basket weave crochet hat using a bottom-up pattern is a rewarding project. This guide provides a detailed approach to crafting a child’s basket weave crochet hat bottom up pattern, perfect for beginners and experienced crocheters alike. We’ll cover everything from choosing the right yarn to understanding the intricacies of the basket weave stitch.
Understanding the Basket Weave Stitch
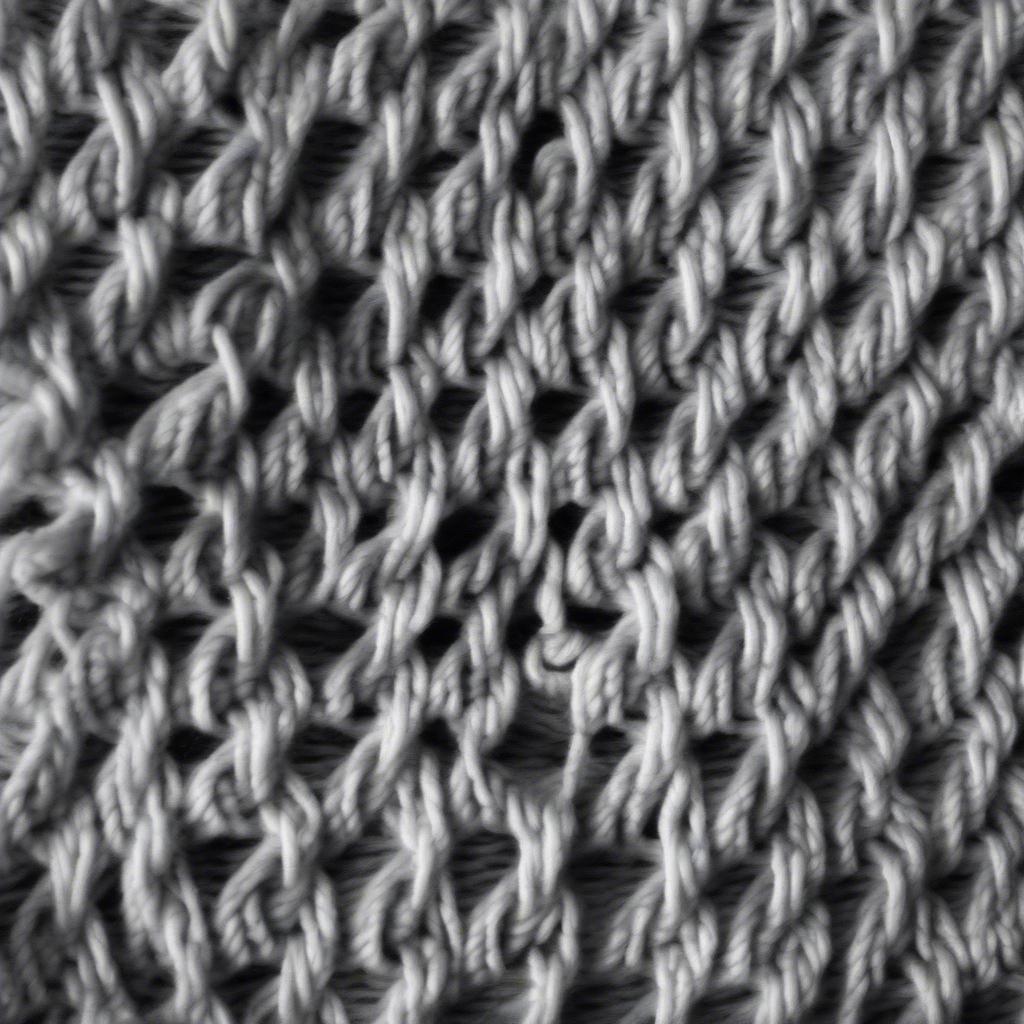
The basket weave stitch, a popular choice for hats, blankets, and scarves, creates a textured, woven appearance. It involves alternating groups of single crochet (sc) and double crochet (dc) stitches to mimic the look of woven baskets. This appealing texture adds depth and visual interest to any project. The bottom-up construction ensures a snug fit and allows for easy customization of the hat’s size.
Child's Basket Weave Crochet Hat Stitch Diagram
Choosing Yarn and Hook
Selecting the right yarn and hook is crucial for a successful project. For a child’s hat, soft, washable yarn is ideal. Consider acrylic, cotton blends, or merino wool for comfort and durability. The yarn weight will determine the hook size. Always refer to the yarn label for recommended hook sizes. Using the correct hook ensures the stitches are the right size and the finished hat has the desired drape.
Starting the Bottom Up Construction
Begin by creating a magic ring or chaining a small number of stitches and joining them to form a circle. Work in rounds, increasing stitches evenly to create the circular base of the hat. The number of initial stitches and increase rounds will depend on the desired hat size.
 Starting the Bottom Up Crochet Hat
Working the Basket Weave Pattern
Once the desired base size is reached, begin working the basket weave stitch. A typical basket weave pattern involves alternating groups of sc and dc stitches. For instance, you might work 4 sc, 4 dc, and repeat this pattern around the round. Subsequent rounds involve shifting the placement of the sc and dc groups to create the woven effect.
Shaping the Crown
After working the basket weave pattern for several rounds, begin decreasing stitches to shape the crown of the hat. Decrease gradually and evenly to create a smooth, rounded top. The number of decrease rounds will depend on the desired hat height.
Finishing Touches
Once the crown is complete, fasten off the yarn and weave in the loose ends. You can add embellishments like a pom-pom, flower, or ribbon to personalize the hat.
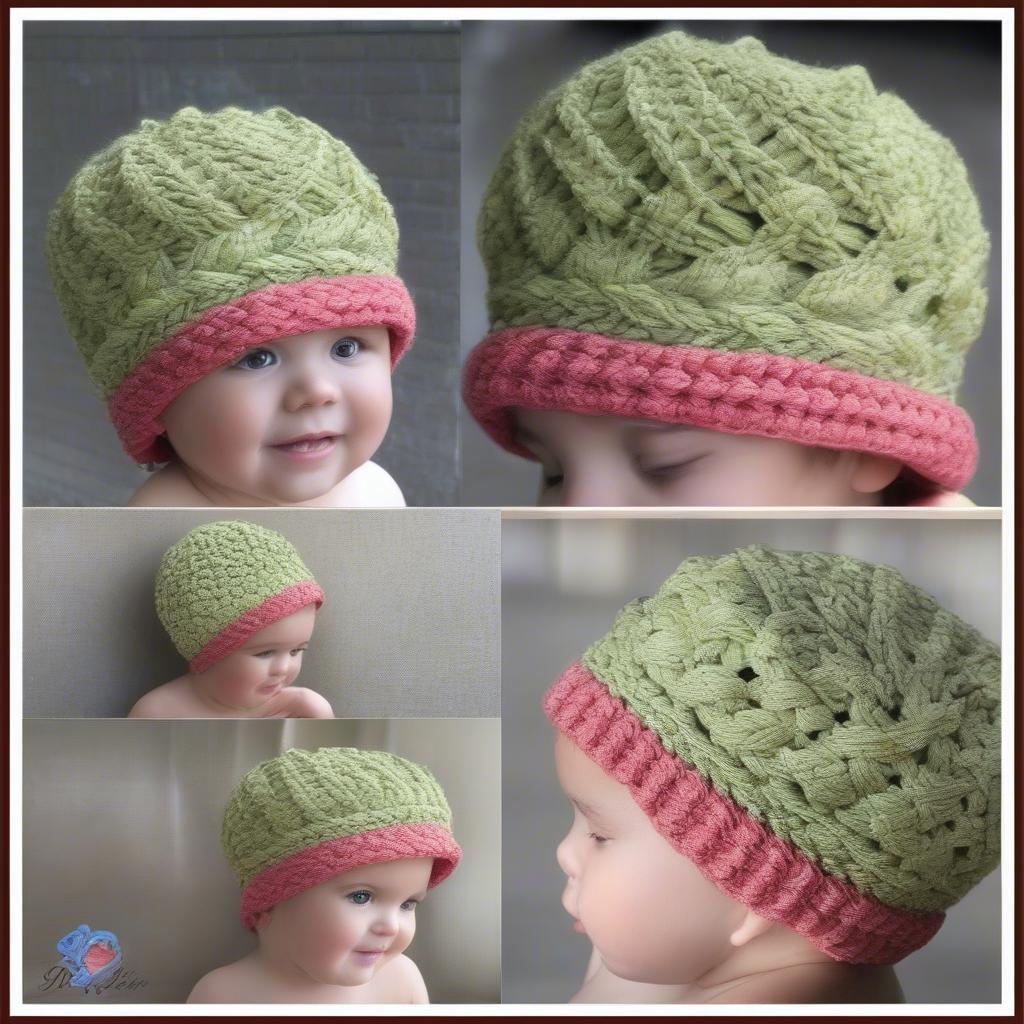 Finished Child's Basket Weave Crochet Hat
Conclusion
Creating a child’s basket weave crochet hat bottom up pattern is a fulfilling project that combines creativity and practicality. With careful attention to detail and the guidance provided in this article, you can craft a beautiful, unique hat that will be cherished for years to come.
FAQ
- What type of yarn is best for a child’s hat?
- How do I determine the correct hook size?
- What is a magic ring and how do I create one?
- How do I increase stitches evenly in the round?
- How do I adapt the pattern for different sizes?
Other related questions
- How to choose yarn colors for a child’s hat?
- How to wash and care for a crocheted hat?
- How to add a pom-pom to a crochet hat?
Other related articles
- Easy crochet patterns for beginners
- Crochet stitch tutorials
- Free crochet hat patterns
Need assistance? Contact our Hotline: +84 388 951 999, located in Hanoi, Vietnam, or at Tech Avenue, Suite 12, San Francisco, CA 94105, USA. We have a 24/7 customer service team.