

Nov
Weave Hat
How to Weave in Ends on a Hat
Learning how to weave in ends on a hat is a crucial skill for any aspiring hat maker. It’s the finishing touch that elevates your handmade creation from good to great, ensuring a polished and professional look. Properly woven-in ends not only enhance the aesthetics but also contribute to the hat’s durability and longevity. This guide will provide you with various techniques and tips to seamlessly conceal those loose ends, leaving you with a hat you’ll be proud to wear or gift.
Mastering the Invisible Weave-In
One of the most popular methods for weaving in ends on a hat is the invisible weave-in. This technique, as the name suggests, aims to completely hide the yarn tails, creating a flawless finish. Whether you’re working with wool, acrylic, or other yarn types, the invisible weave-in is adaptable and effective.
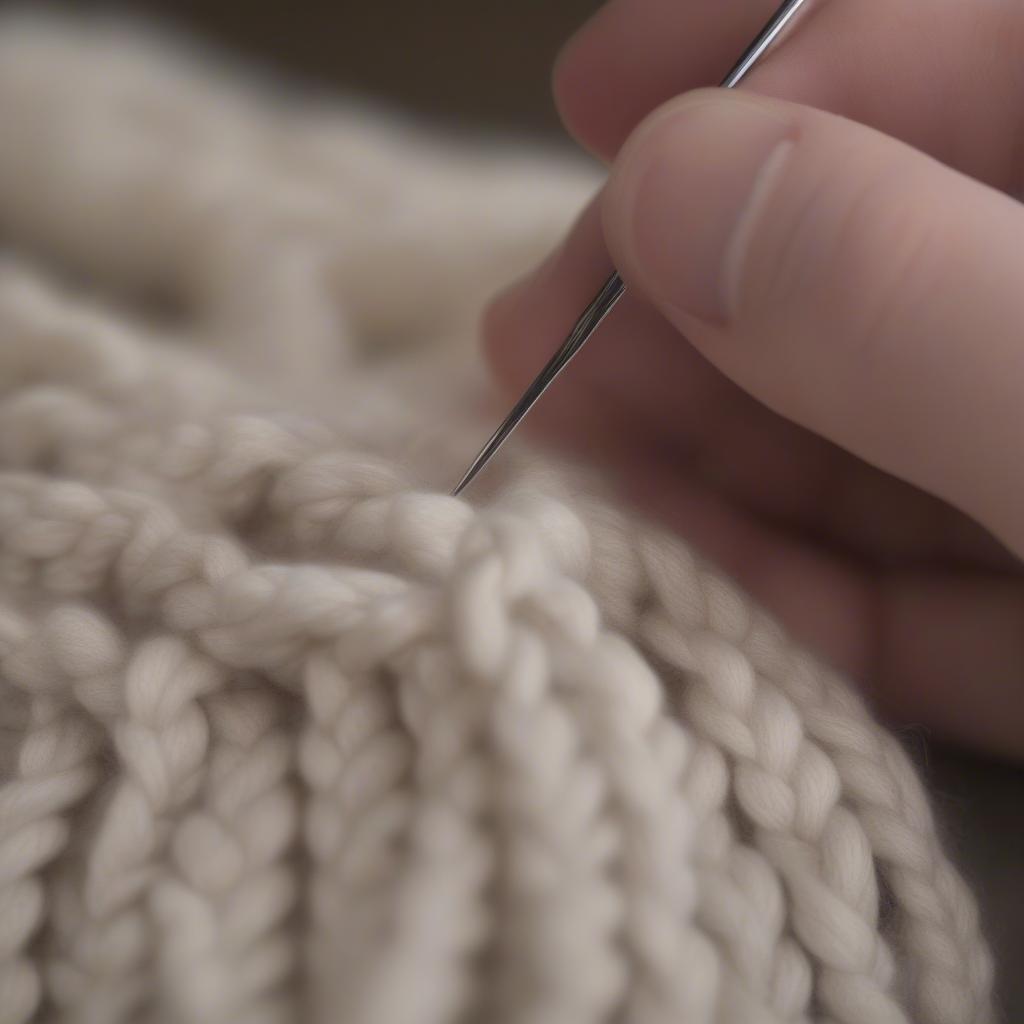
- Thread a tapestry needle: Choose a tapestry needle with a blunt tip and a large eye that can easily accommodate your yarn. Thread the yarn tail through the needle.
- Identify a hidden seam: Look for a discreet spot along the inside of your hat, preferably within a seam or under a brim. This will further camouflage the woven-in ends.
- Weave in the opposite direction: Insert the needle into the existing stitches, weaving the yarn tail over and under the yarn in the opposite direction of the knitting or crocheting. This creates a secure anchor and prevents unraveling.
- Repeat and vary: Continue weaving the yarn for a few inches, changing direction periodically to create a more secure hold. This also prevents a noticeable ridge from forming.
- Trim the excess: Once you’re satisfied with the security of the weave, carefully trim the remaining yarn tail close to the hat’s surface.
Invisible Method for Weaving in Ends on a Hat
Alternative Techniques for Weaving in Ends
While the invisible weave-in is a go-to method, other techniques can be equally effective depending on the hat’s construction and the yarn used. Experimenting with these methods will help you find the perfect approach for your project.
Duplicate Stitch Method
The duplicate stitch method is particularly useful for thicker yarns and creates a decorative effect while securing the ends. Learn more about basic hat weaving techniques at hat weaving basics.
Knotting and Weaving
For a quick and secure finish, knotting the ends and then weaving them in can be a practical solution, especially for hats with a loose weave.
Using a Felting Needle
If you’re working with feltable yarn, a felting needle can be used to blend the ends seamlessly into the fabric. Discover the beautiful yarn-over weave technique applied to hats at yarn over weave hat.
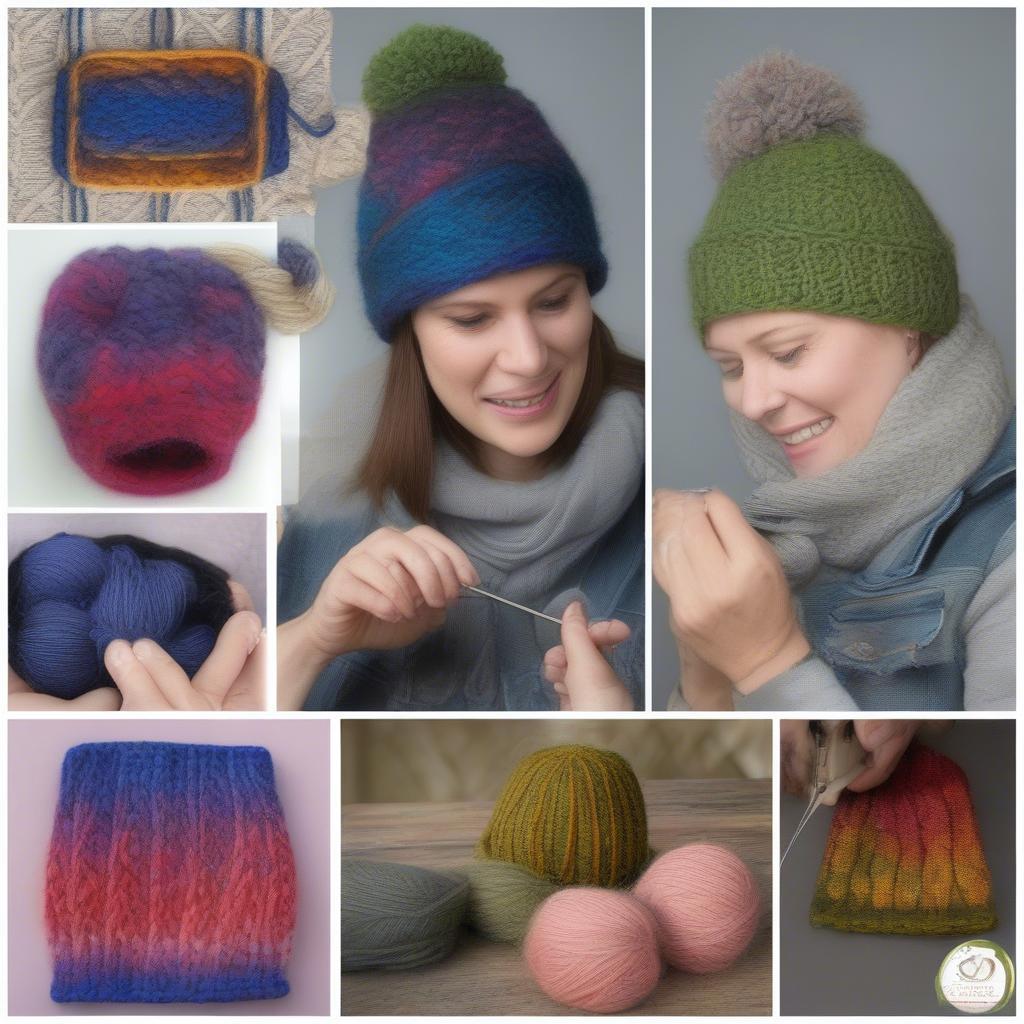 Alternative Techniques for Securing Yarn Ends on a Hat
Troubleshooting Common Weaving-in Issues
- Visible Ends: If your woven-in ends are still visible, try weaving them in for a longer distance or using a different technique.
- Bulky Seams: Avoid weaving too many ends in the same spot, as this can create bulky seams. Distribute the ends evenly throughout the hat.
- Loose Ends: Ensure you weave the yarn securely to prevent the ends from coming loose over time.
“A well-woven-in end is the mark of a truly skilled craftsperson,” says renowned textile artist, Amelia Crafton. “It’s the attention to detail that separates the amateur from the professional.”
Why is Weaving in Ends Important?
Weaving in ends is more than just a finishing touch. It plays a crucial role in the overall quality and longevity of your hat. Explore different hat styles, like the unique twisted weave straw hat at twister twisted weave straw hat. Securely woven ends prevent the hat from unraveling, ensuring it stays intact even with regular wear. It also enhances the hat’s appearance, giving it a polished and professional look. Learn how to weave your own straw hat with our DIY guide at diy weaving a straw hat.
“Don’t underestimate the power of a properly finished project,” adds Crafton. “It’s the difference between a handmade piece and a handcrafted treasure.”
In conclusion, mastering how to weave in ends on a hat is a fundamental skill that significantly impacts the final product. By practicing these techniques and paying attention to detail, you can create beautiful, durable hats that you’ll cherish for years to come. Check out the Martha Stewart Knit and Weave Loom Kit for a fantastic hat-making experience: martha stewart knit and weave loom kit hat.
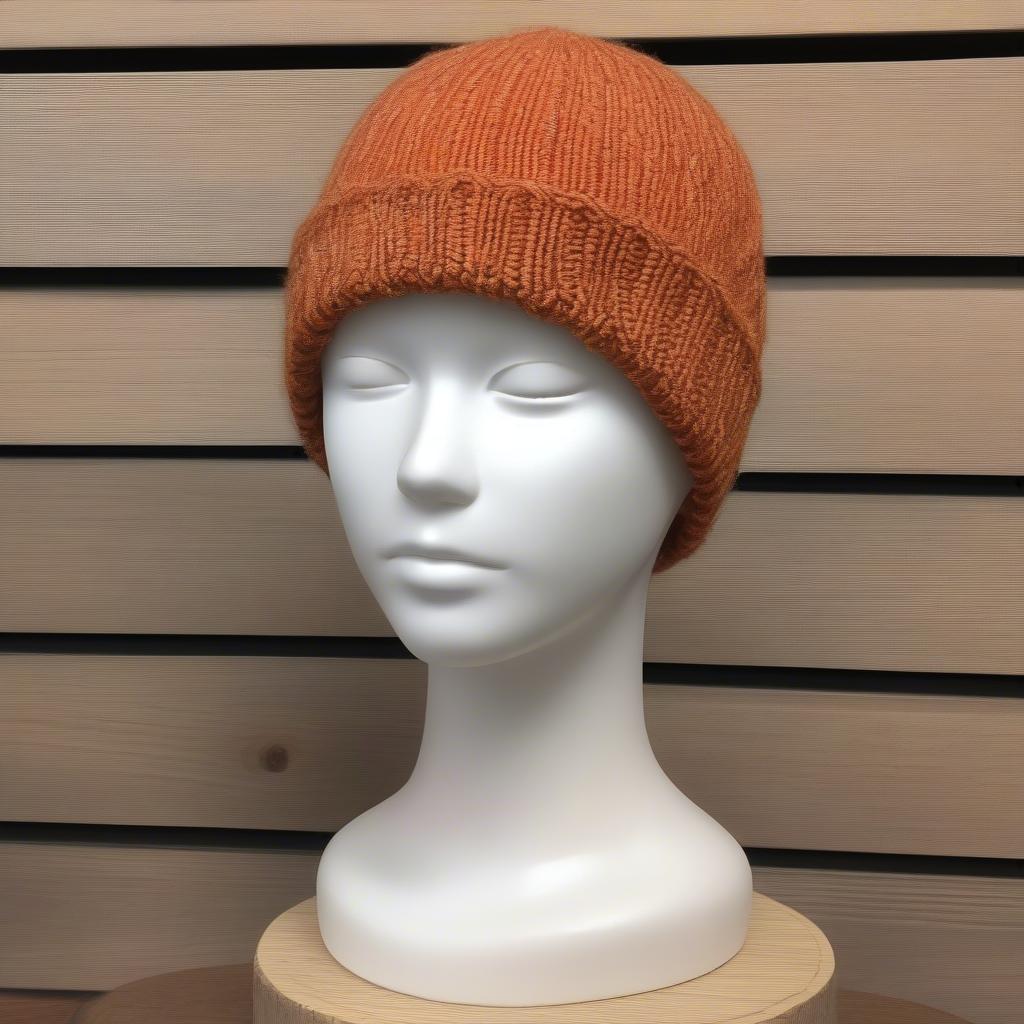 Finished Knitted Hat with Seamlessly Woven-in Ends
FAQ
1. What is the best needle for weaving in ends? A tapestry needle with a blunt tip and large eye works best.
2. How long should I weave in the ends? Weave the ends in for at least a few inches to ensure they are secure.
3. Can I use a regular sewing needle? While you can, a tapestry needle is preferred as it’s less likely to split the yarn.
4. What if I run out of yarn tail? Join a new piece of yarn using a secure knot and continue weaving.
When you need help, contact our hotline at +84 388 951 999, or visit us at Hanoi, Vietnam or Tech Avenue, Suite 12, San Francisco, CA 94105, USA. We have a 24/7 customer support team.