

Nov
Weave Chair
How to Weave a Chair Seat with Flat Reed
Learning How To Weave A Chair Seat With Flat Reed is a rewarding craft that blends traditional techniques with a touch of modern creativity. This comprehensive guide will equip you with the knowledge and skills needed to transform a worn-out chair into a beautiful and functional piece of furniture. Whether you’re a seasoned weaver or just starting your crafting journey, this tutorial will take you through each step of the process.
Preparing for Your Flat Reed Weaving Project
Before diving into the weaving process, it’s crucial to gather the necessary materials and properly prepare your chair frame. This will ensure a smooth and successful weaving experience.
- Choose the right flat reed: Select a reed width appropriate for your chair frame. Thicker reeds are generally more durable, while thinner reeds offer greater flexibility for intricate patterns.
- Prepare your chair frame: Ensure the chair frame is sturdy and free of any loose parts. Clean the frame thoroughly and sand any rough edges to prevent damage to the reed.
- Gather your tools: You’ll need a sharp pair of scissors, a measuring tape, a soaking container for the reed, and a mallet for securing the reed.
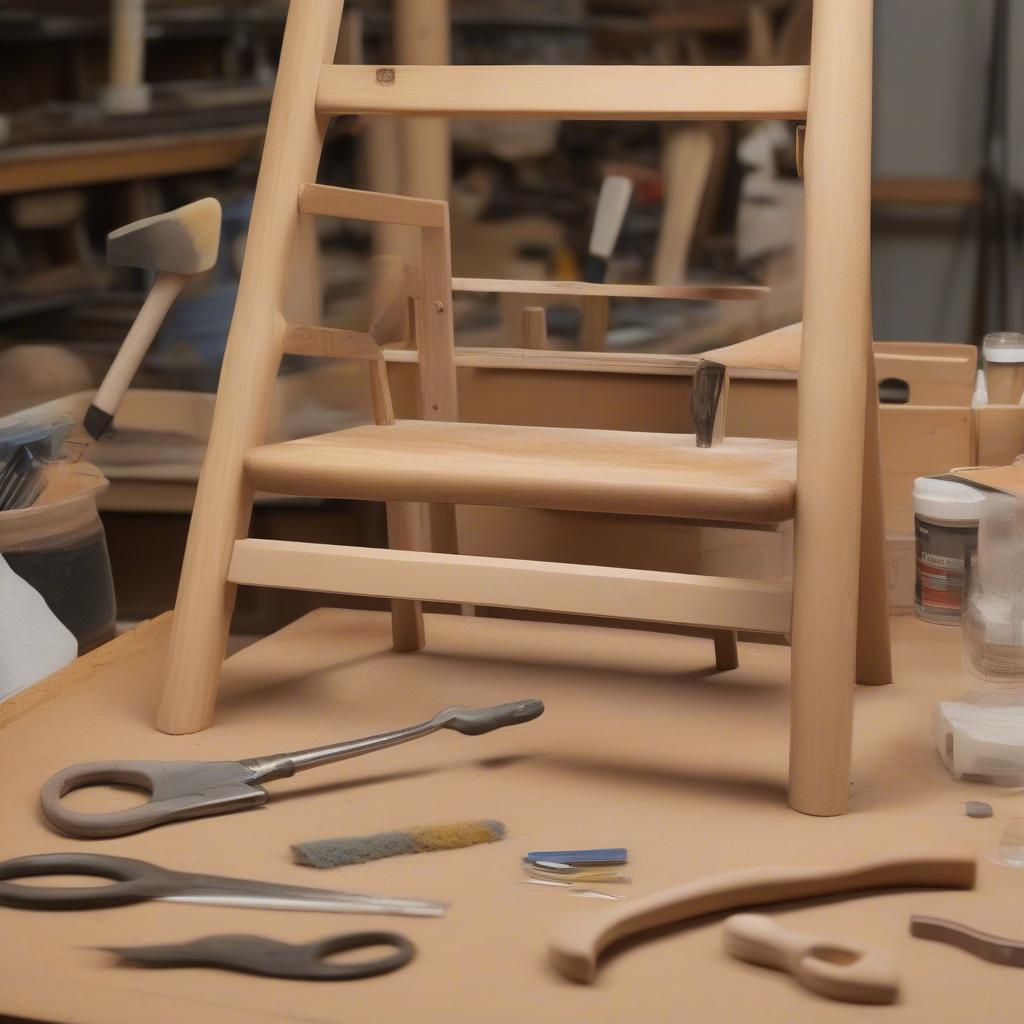
Preparing the Chair Frame for Flat Reed Weaving
Soaking and Weaving the Flat Reed
Soaking the flat reed is essential for making it pliable and easy to work with. This step prevents the reed from cracking or breaking during the weaving process.
- Soak the reed: Submerge the flat reed in warm water for at least 30 minutes. This will make it flexible and less likely to split. Avoid soaking the reed for too long, as it can become too soft and difficult to handle.
- Start weaving the base: Begin by weaving the horizontal rows, also known as the warp. Secure the end of the reed to the back of the chair frame and begin weaving it over and under the vertical frame members.
- Continue weaving: Maintain consistent tension as you weave. Use the mallet to gently tap down the rows of reed, ensuring a tight and even weave.
How long should you soak flat reed for chair weaving? Soak it for at least 30 minutes, but not too long to avoid it becoming too soft.
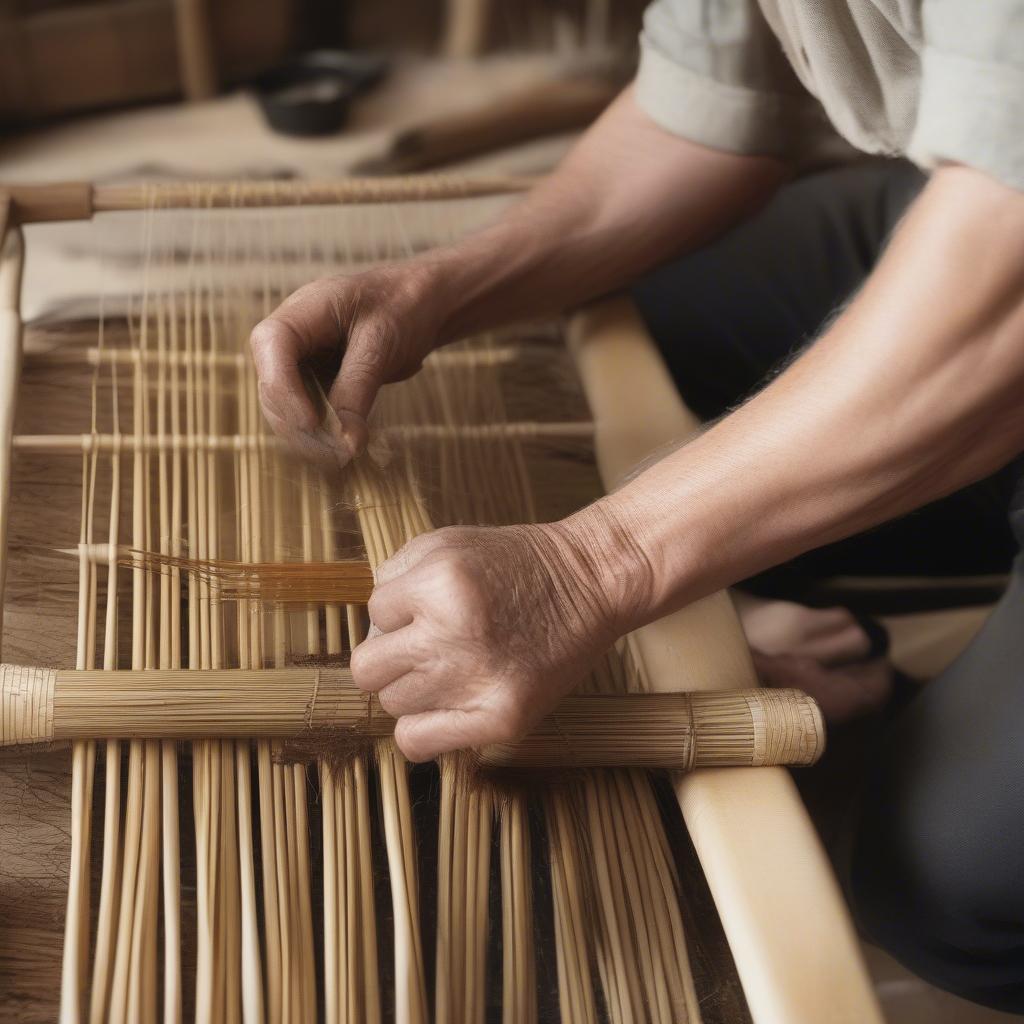 Weaving the Flat Reed onto the Chair Seat
Creating Patterns and Finishing Touches
Once you’ve mastered the basic weaving technique, you can explore various patterns to add a unique touch to your chair seat.
- Diagonal Weave: Create a visually appealing diagonal pattern by alternating the over-under sequence of the reed.
- Herringbone Weave: Achieve a classic herringbone pattern by weaving two or more reeds together in a specific sequence.
Securing the Ends and Finishing the Weave
- Tuck the ends: When you reach the desired length, secure the ends of the reed by tucking them under the woven rows. Trim any excess reed with scissors.
- Apply a sealant (optional): A sealant can protect the reed from moisture and wear and tear, extending the life of your woven chair seat.
Troubleshooting Common Flat Reed Weaving Issues
What if the reed breaks while weaving? Simply overlap the broken ends and continue weaving. The overlap will be hidden within the weave.
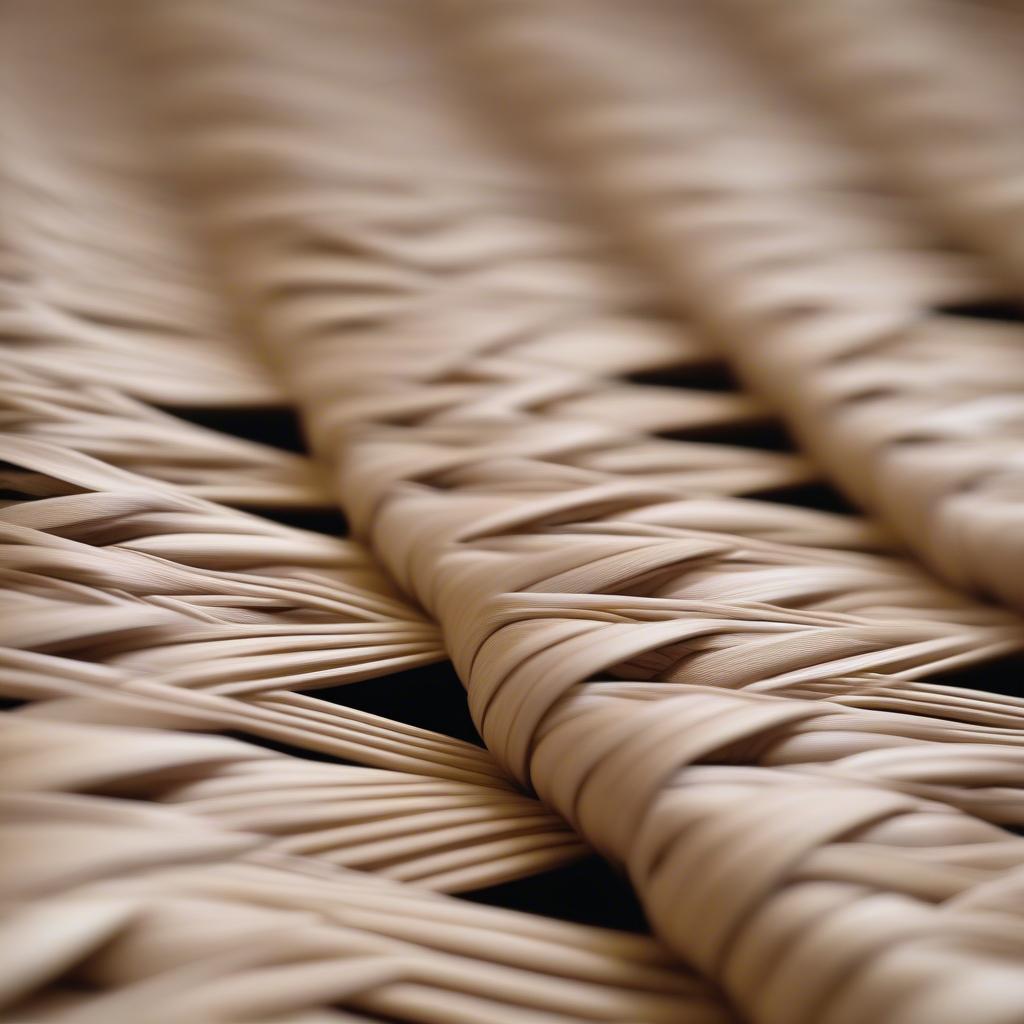 Finished Flat Reed Chair Seat
In conclusion, weaving a chair seat with flat reed is a satisfying project that allows you to create a beautiful and functional piece of furniture. By following these steps and practicing the techniques, you’ll be well on your way to crafting your own unique woven masterpieces. So, gather your materials, prepare your chair frame, and start weaving!
FAQ
- What type of reed is best for chair seats? Flat reed is a popular and durable choice.
- How do I prevent the reed from splitting? Soak the reed thoroughly before weaving.
- Can I paint the reed after weaving? Yes, but use a paint specifically designed for natural fibers.
- How do I repair a broken reed in the weave? Overlap the broken ends and continue weaving.
- Where can I buy flat reed? Craft stores and online retailers often carry flat reed.
6.. What is the difference between wicker and rattan? Wicker is a weaving process, while rattan is a material that can be used in wickerwork. - How do I choose the right reed width for my project? Thicker reeds are more durable, while thinner reeds offer more flexibility.
Common Weaving Issues and Solutions
- Reed breaking: Overlap broken ends and continue weaving.
- Uneven tension: Pay attention to tension throughout the weaving process.
- Difficulty starting: Ensure the reed is properly soaked and flexible.
Related Articles and Resources
For further assistance, please contact our Hotline: +84 388 951 999, or visit us in Hanoi, Vietnam or Tech Avenue, Suite 12, San Francisco, CA 94105, USA. We have a 24/7 customer support team.