

Nov
Weave Table
Mastering the Art of Around the Beading Table Right Angle Weave
Around The Beading Table Right Angle Weave (RAW) is a versatile and fundamental beading stitch used to create a wide variety of jewelry and decorative items. This article will delve deep into the intricacies of RAW, offering a comprehensive guide for both beginners and experienced beaders looking to refine their skills. From understanding the basic principles to exploring advanced variations, we’ll cover everything you need to know to confidently create stunning pieces around the beading table.
Understanding the Basics of Right Angle Weave
Right angle weave gets its name from the 90-degree angles formed by the beads as the stitch progresses. This simple yet powerful technique involves adding beads one at a time, creating a ladder-like structure that can be worked flat or in the round. The beauty of RAW lies in its adaptability; it can be used with various bead sizes and types, opening up a world of creative possibilities. Whether you’re crafting a delicate bracelet or a bold necklace, understanding the foundational principles of RAW is essential.
Getting Started with Right Angle Weave: Tools and Materials
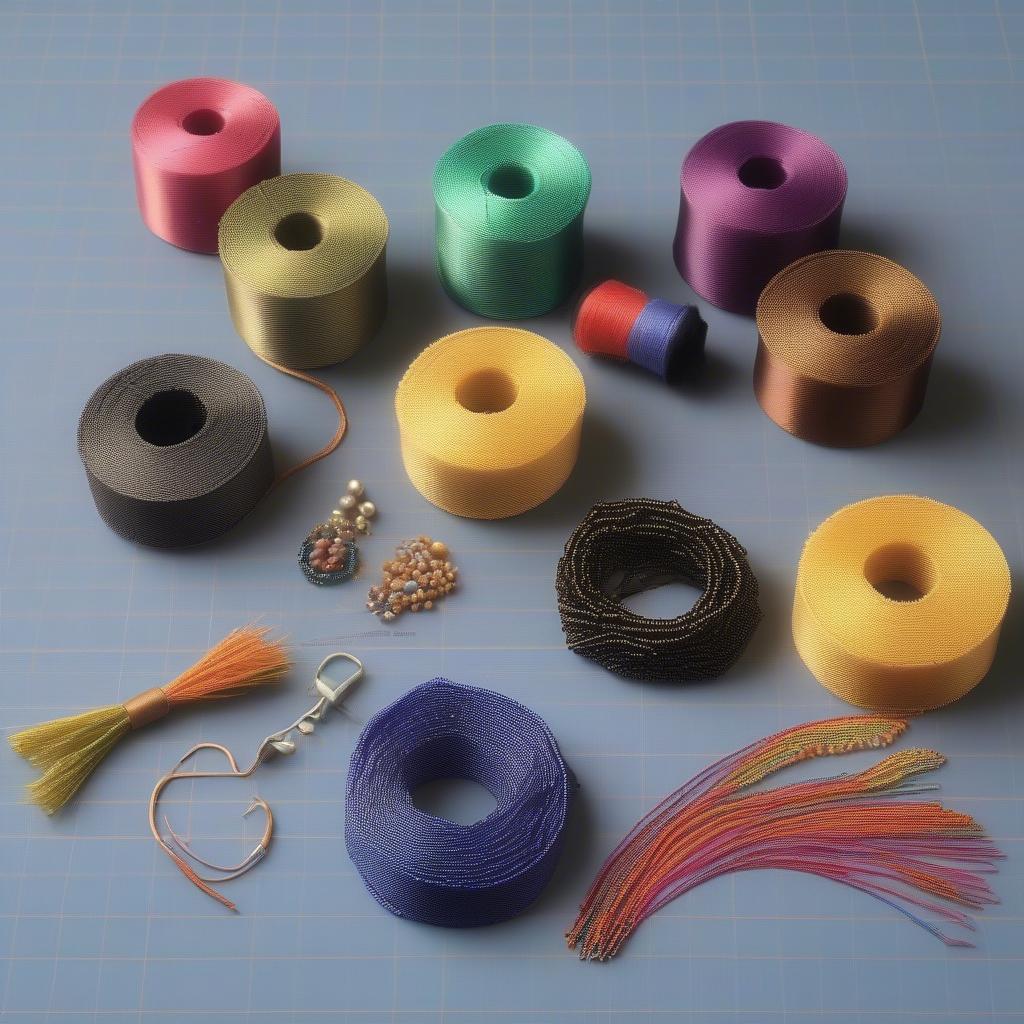
Before diving into the stitch itself, let’s gather the essential tools and materials. You’ll need beading thread, a beading needle, and, of course, beads. The type of thread and needle you choose will depend on the size and type of beads you’re using. For beginners, it’s recommended to start with size 11/0 seed beads and a comfortable thread like Nymo or FireLine.
Right Angle Weave Starter Kit: Essential Tools and Materials
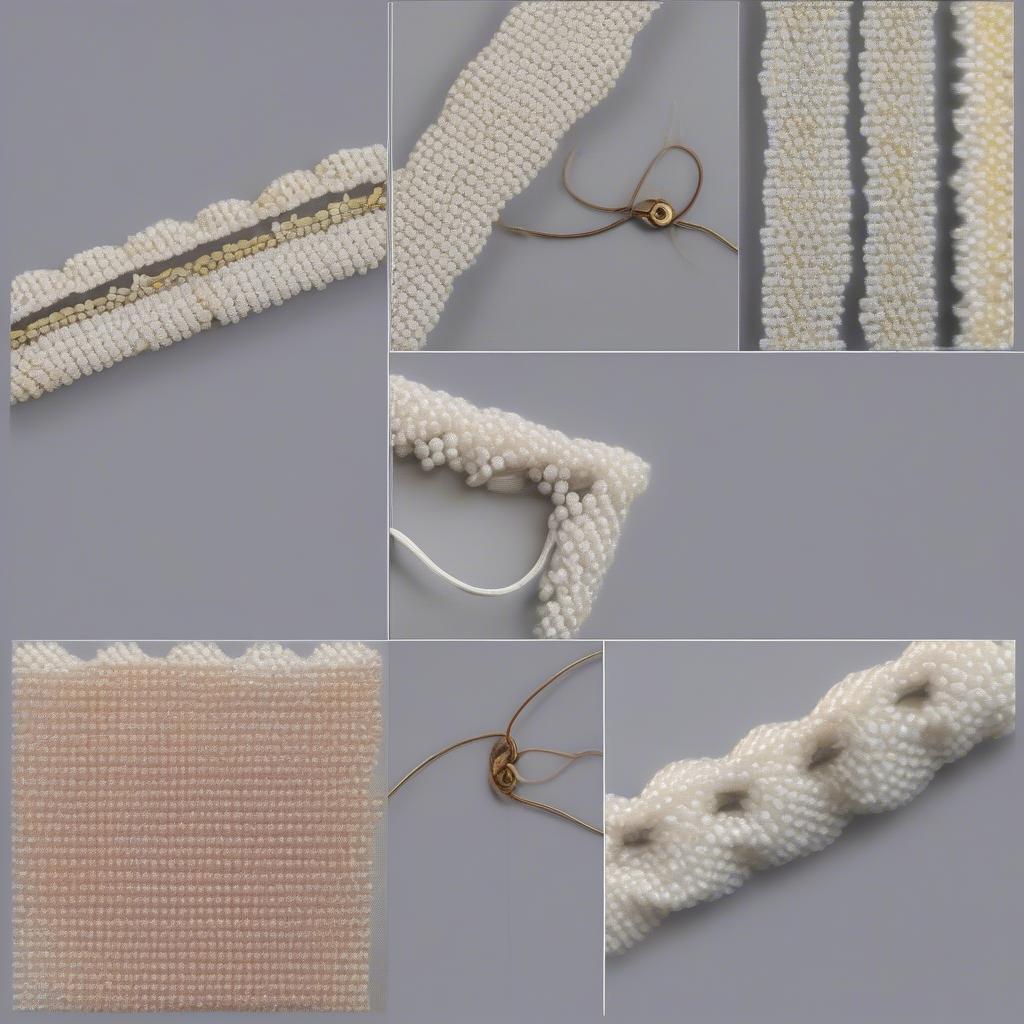
Step-by-Step Guide to the Basic Right Angle Weave Stitch
Now that we have our materials, let’s walk through the basic right angle weave stitch.
- Starting the Stitch: Pick up four beads onto your thread.
- Forming the First Square: Pass the needle back through the first bead, creating a loop. This forms the foundation of your RAW stitch.
- Adding the Next Bead: Pick up one bead and pass the needle through the next bead in the initial loop.
- Continuing the Weave: Repeat step 3, picking up a bead and passing the needle through the next available bead, always maintaining the right angle.
 Step-by-Step Guide to the Basic Right Angle Weave Stitch
Exploring Variations of Right Angle Weave
Once you’ve mastered the basic right angle weave stitch, a world of creative possibilities opens up. There are numerous variations and embellishments you can explore to add texture, dimension, and complexity to your beaded creations.
Cubic Right Angle Weave (CRAW)
Cubic right angle weave (CRAW) builds upon the foundational RAW stitch to create a three-dimensional structure. This technique is ideal for creating intricate beaded beads, sculptural jewelry components, and even small beaded objects.
Flat Right Angle Weave Variations
Beyond CRAW, there are various ways to manipulate the flat right angle weave stitch to create different patterns and textures. Adding embellishments like crystals, pearls, or larger beads can elevate your designs and add a unique touch.
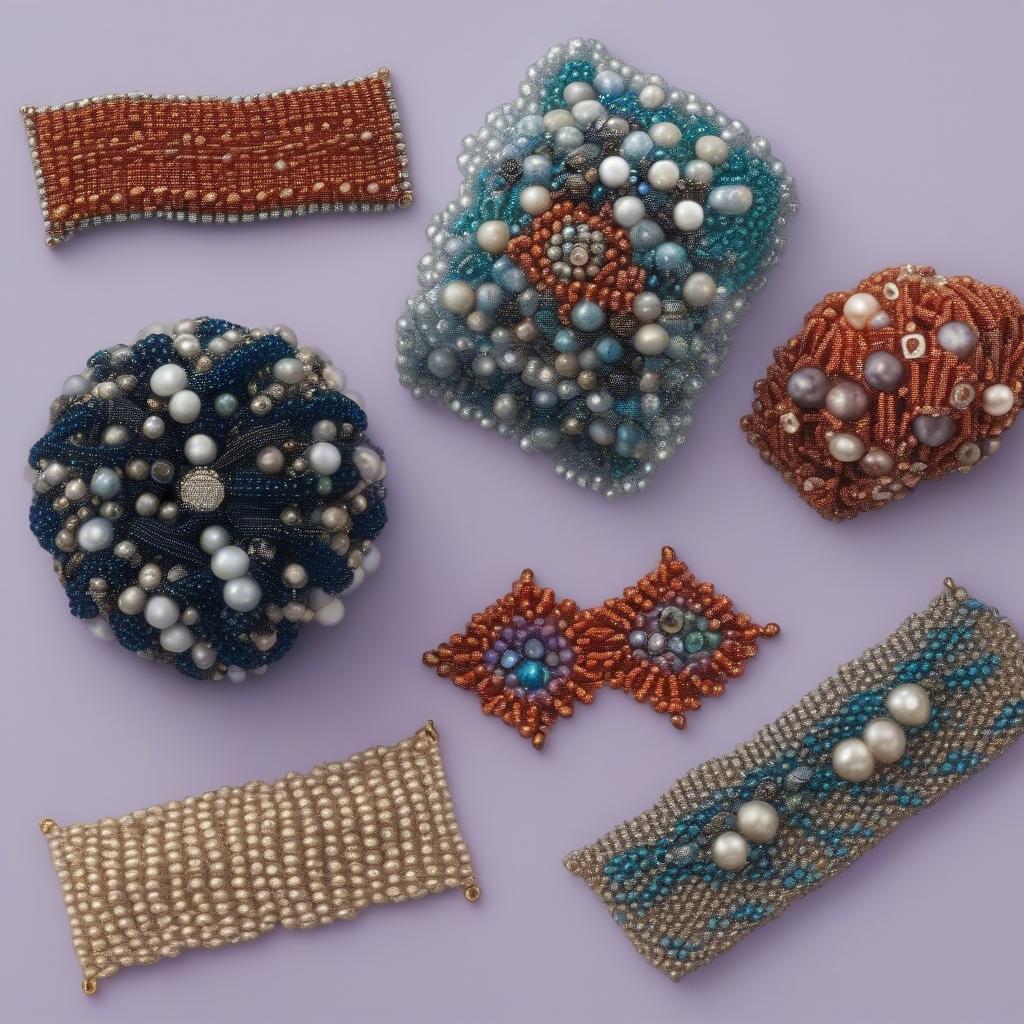 Exploring Variations of Right Angle Weave: CRAW and Flat RAW Embellishments
“Mastering right angle weave opens up a whole new dimension in beading. It’s the foundation for countless designs, from simple to complex,” says renowned bead artist, Sarah Miller.
Tips and Tricks for Successful Right Angle Weaving
- Tension: Maintaining consistent tension throughout your weaving is crucial for achieving a neat and even result.
- Thread Path: Pay close attention to your thread path. Understanding how the thread travels through the beads will help you troubleshoot any issues and create a more stable structure.
- Practice: Like any skill, practice is key to mastering right angle weave. Don’t be discouraged if your first attempts aren’t perfect.
“The beauty of right angle weave lies in its simplicity and versatility. With practice, you’ll be amazed at what you can create,” adds beading instructor, John Davis.
Conclusion
Around the beading table right angle weave is a foundational technique that offers endless possibilities for creating stunning beaded jewelry and decorative items. From the basic stitch to advanced variations, mastering RAW empowers you to bring your creative visions to life. With practice, patience, and a little experimentation, you’ll be creating intricate and beautiful pieces in no time.
FAQ
- What kind of thread is best for right angle weave?
- What size beads should I start with for RAW?
- How do I fix a mistake in my right angle weave?
- Can I use different sized beads in the same RAW project?
- What are some common projects I can make with right angle weave?
- How do I finish a right angle weave project?
- Where can I find more resources for learning right angle weave?
For further assistance, please contact our 24/7 customer service team at Hotline: +84 388 951 999, or visit our offices in Hanoi, Vietnam or Tech Avenue, Suite 12, San Francisco, CA 94105, USA. We’re always happy to help!