

Dec
Basket Weaving
Basket Weave Tile Floor Installation: A Comprehensive Guide
Basket Weave Tile Floor Installation is a timeless and elegant choice for homeowners seeking to add character and visual interest to their spaces. This intricate pattern, reminiscent of traditional woven baskets, can transform any room, from kitchens and bathrooms to entryways and living areas. This guide will cover everything you need to know about basket weave tile installation, from planning and preparation to the final grouting and sealing.
Planning Your Basket Weave Tile Project
Before you begin your basket weave tile floor installation, careful planning is crucial. This involves choosing the right tiles, measuring your space accurately, and gathering the necessary tools and materials. Consider the size and shape of your room, as well as the overall style and aesthetic you want to achieve. Planning Your Basket Weave Tile Floor
Choosing the Right Tiles
The beauty of a basket weave pattern lies in the interplay of different tile sizes and orientations. Typically, rectangular tiles are used, often in a combination of smaller and larger sizes. Popular choices include ceramic, porcelain, and natural stone tiles. Think about the durability and maintenance requirements of each material, especially if you’re installing the tiles in a high-traffic area like a kitchen or bathroom. white basket weave engineered wood can also offer a unique and attractive look.
Preparing the Subfloor for Installation
A level and stable subfloor is essential for a successful basket weave tile floor installation. Inspect the subfloor for any cracks, unevenness, or damage. If necessary, repair or replace any damaged sections before proceeding. Ensure the subfloor is clean and free of debris. This crucial step will prevent issues like cracked tiles or uneven settling later on.
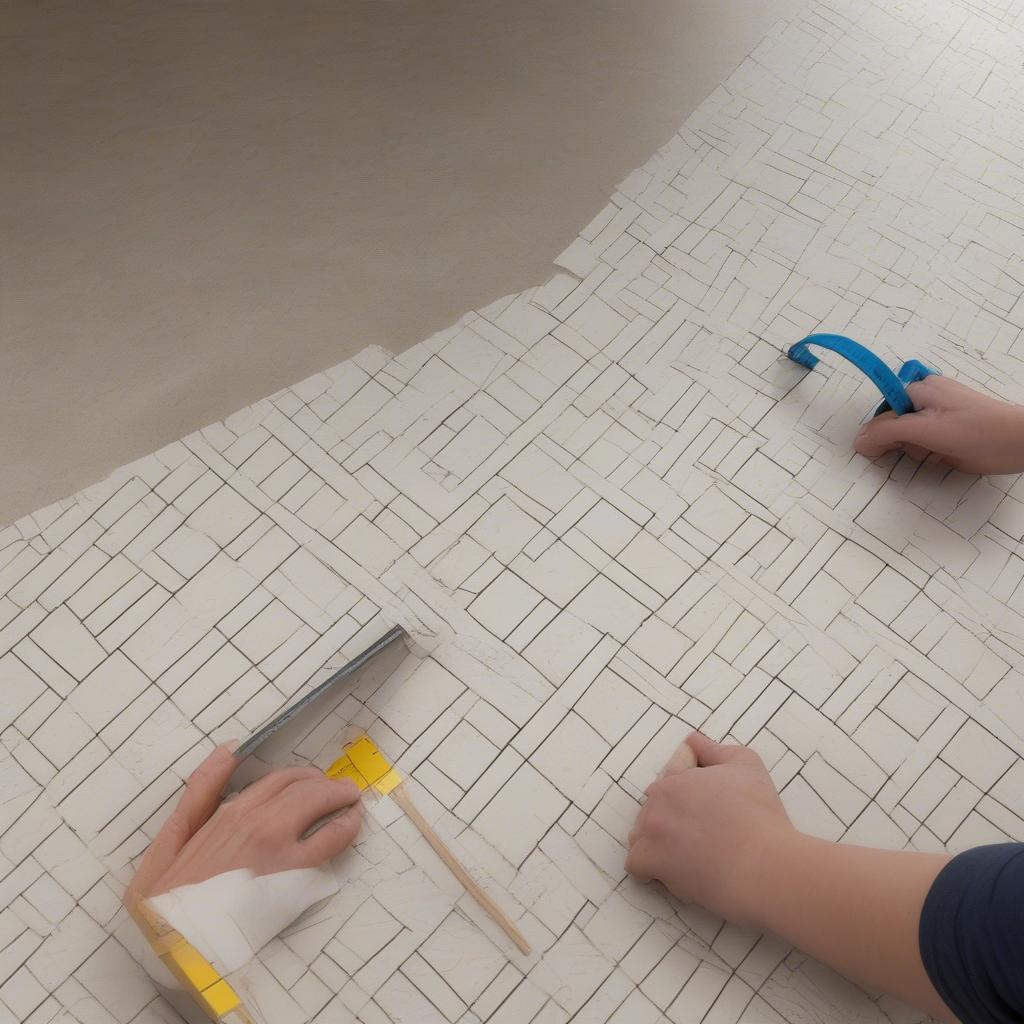
Setting the Layout
Once the subfloor is prepared, lay out the tiles dry to visualize the pattern and make any necessary adjustments. This dry run allows you to plan the placement of the tiles, ensuring the pattern is centered and symmetrical within the room. 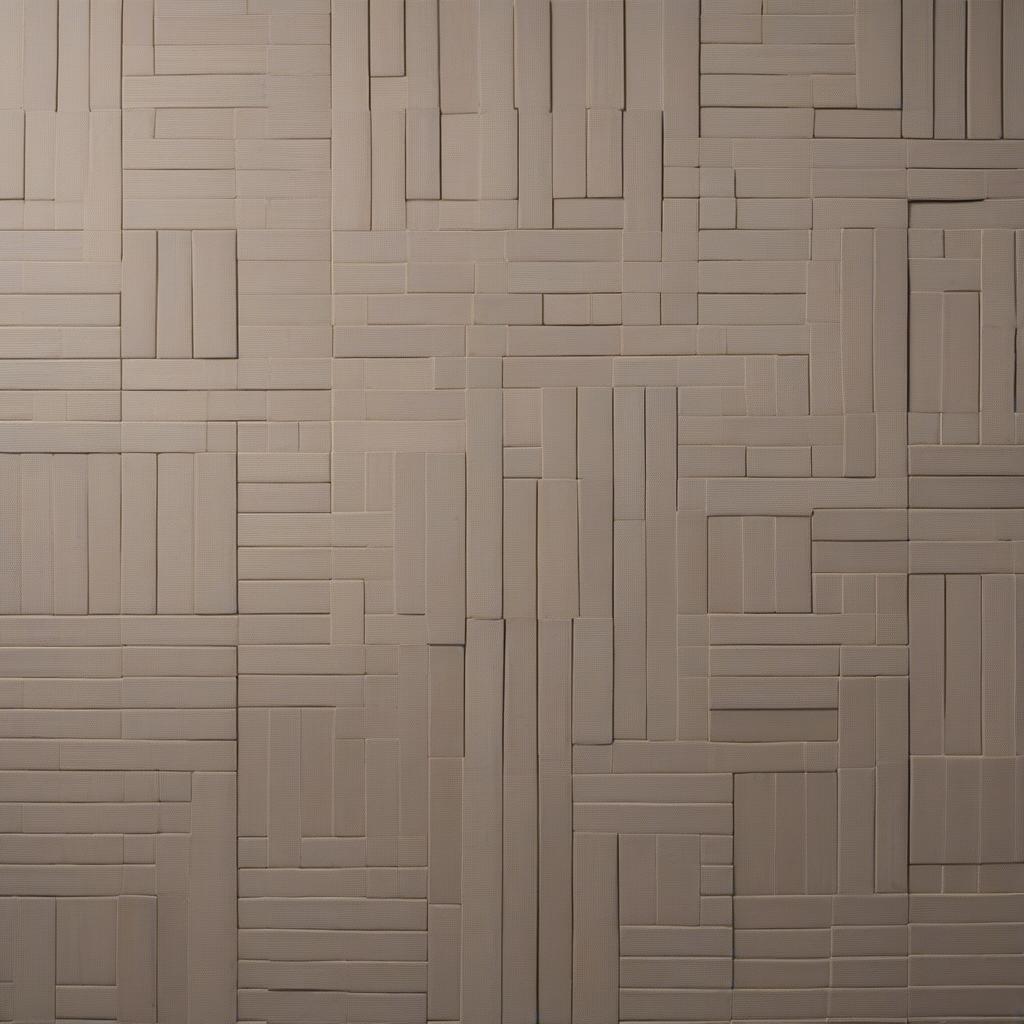 Dry Layout of Basket Weave Tiles
Installing the Basket Weave Tiles
With the layout finalized, you can begin the actual installation process. Using a notched trowel, spread a thin layer of thin-set mortar onto the subfloor, working in small sections to prevent the mortar from drying out. Carefully place each tile according to your planned layout, ensuring proper spacing and alignment. vinyl basket weave flooring offers an easier installation method compared to traditional tiles. A skilled tiler knows the subtle nuances of working with the basket weave pattern. For example, they understand the importance of consistent grout lines for a professional finish.
“A beautifully installed basket weave tile floor is a testament to the craftsman’s skill and attention to detail,” says John Smith, a renowned tile installer with over 20 years of experience. “It’s about more than just placing tiles; it’s about creating a work of art.”
Grouting and Sealing the Tiles
After the thin-set has cured, it’s time to grout the tiles. Choose a grout color that complements your tile choice and apply it carefully, filling all the spaces between the tiles. tile metro dog bone basket weave can create a stunning visual impact, especially when paired with contrasting grout. Once the grout has dried, seal the tiles to protect them from stains and moisture. This final step will ensure your basket weave tile floor remains beautiful for years to come.
Final Touches and Maintenance
Once the grout and sealant have dried, clean the tiles thoroughly to remove any residue. Regular sweeping and mopping will keep your basket weave tile floor looking its best. Avoid using harsh chemicals or abrasive cleaners, as these can damage the tiles and grout. 12 x 24 basket weave pattern on floor can be particularly impressive in larger spaces.
Conclusion
Basket weave tile floor installation can be a rewarding DIY project for those with some tiling experience. With careful planning, preparation, and attention to detail, you can achieve a stunning and durable floor that will enhance the beauty of your home for years to come. Remember to choose the right tiles, prepare the subfloor properly, and follow the installation instructions carefully. old basket weave floor tile can add a touch of vintage charm. Proper basket weave tile floor installation transforms a house into a home.
FAQ
- What type of tile is best for a basket weave pattern?
- How do I calculate the number of tiles I need?
- What tools are required for basket weave tile installation?
- How long does it take for the thin-set to cure?
- What is the best way to clean a basket weave tile floor?
- How do I fix a cracked basket weave tile?
- What is the difference between sanded and unsanded grout?
Need support? Contact our Hotline: +84 388 951 999, address: Hanoi, Vietnam or Tech Avenue, Suite 12, San Francisco, CA 94105, USA. We have a 24/7 customer service team.