

Dec
Basket Weaving
Mastering the Carved Scarf Joint in Basket Weaving
Carved Scarf Joint Basket Weaving is a sophisticated technique that elevates the craft of basketry. This article explores the intricacies of this joinery method, providing a comprehensive guide for both aspiring and experienced basket weavers. We’ll delve into its history, application, and the step-by-step process to achieve a seamless and aesthetically pleasing finish.
Understanding the Carved Scarf Joint
The carved scarf joint, also known as the lap joint, is a time-honored method used to join two pieces of basket weaving material, typically rattan or wicker. Unlike simple overlapping, this technique involves carefully shaping the ends of the materials to interlock, creating a strong and visually appealing connection. The “carved” aspect refers to the precise shaping required to achieve a flush fit. This joint is prized for its strength, durability, and the elegant, almost invisible seam it creates. It is frequently used in high-quality basketry where aesthetics and structural integrity are paramount.
Why Choose the Carved Scarf Joint?
Several factors contribute to the popularity of the carved scarf joint in basket weaving:
- Strength: The interlocking nature of the joint distributes stress evenly, resulting in a robust connection.
- Durability: A well-executed carved scarf joint resists wear and tear, ensuring the longevity of the basket.
- Aesthetics: The seamless finish provides a clean, professional look, enhancing the overall beauty of the basket.
- Versatility: This joint can be used with various materials, including rattan, wicker, and even some types of wood.
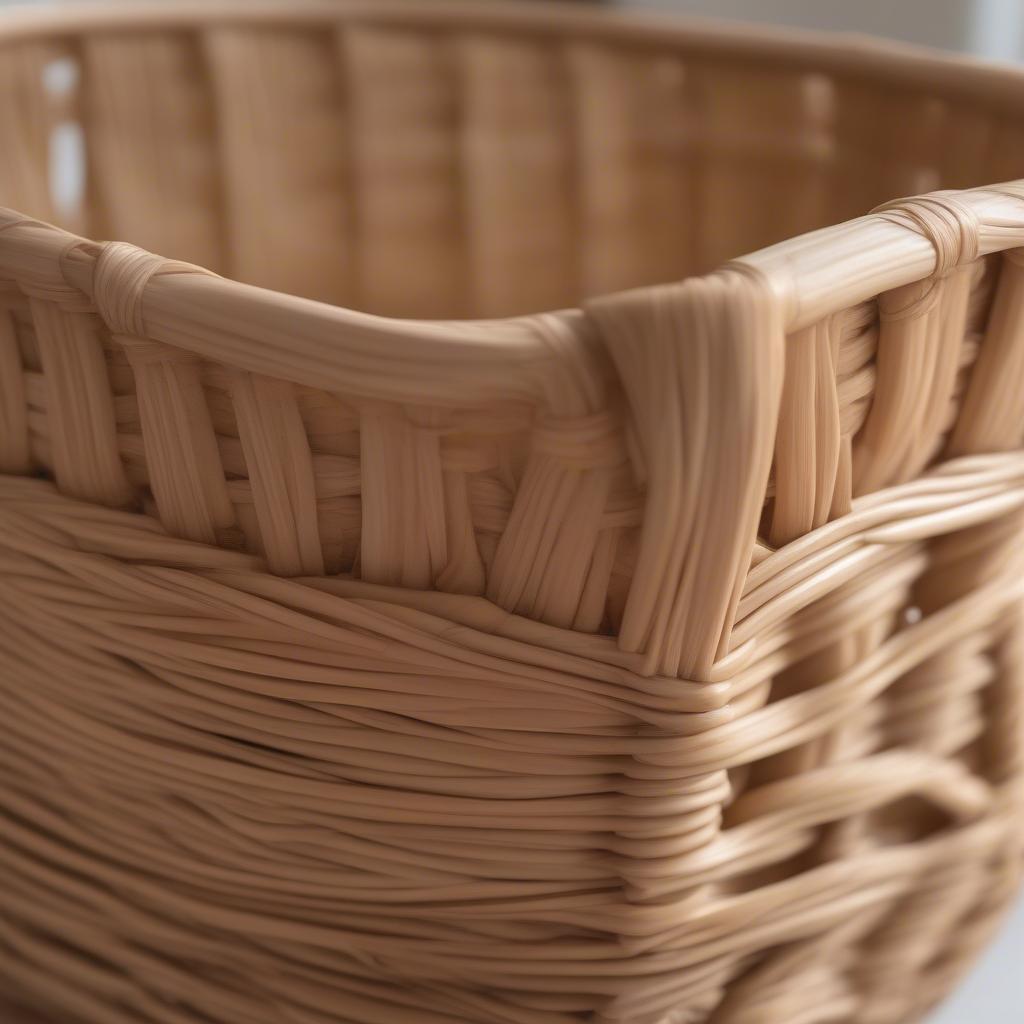
Carved Scarf Joint Example in Basket Weaving
Tools and Materials for Carved Scarf Joint Basket Weaving
Before embarking on this technique, gather the following essential tools and materials:
- Sharp knife or chisel: Essential for precise shaping and carving.
- Measuring tool: Ensures accurate measurements for consistent joints.
- Sandpaper or file: Smooths the carved surfaces for a flush fit.
- Mallet or hammer: (Optional) Can be used for gently tapping the joint together.
- Clamps: (Optional) Helpful for holding the joint in place while it dries or sets.
- Rattan or wicker: Choose high-quality materials suitable for carving.
Step-by-Step Guide to Creating a Carved Scarf Joint
- Measure and Mark: Carefully measure and mark the desired length of the two pieces to be joined. The overlap should be approximately twice the thickness of the material.
- Shape the Ends: Using a sharp knife or chisel, carefully carve the ends of the materials at a sloping angle. The angles should be complementary so that they fit together snugly.
- Test the Fit: Bring the two carved ends together to check the fit. Adjust the carving as needed to ensure a flush and tight connection.
- Secure the Joint: Once satisfied with the fit, you can secure the joint using glue, binding, or a combination of both. Clamps can be helpful in holding the joint together while it sets.
- Sand and Finish: Once the joint is secure, sand or file any rough edges to create a smooth and seamless finish.
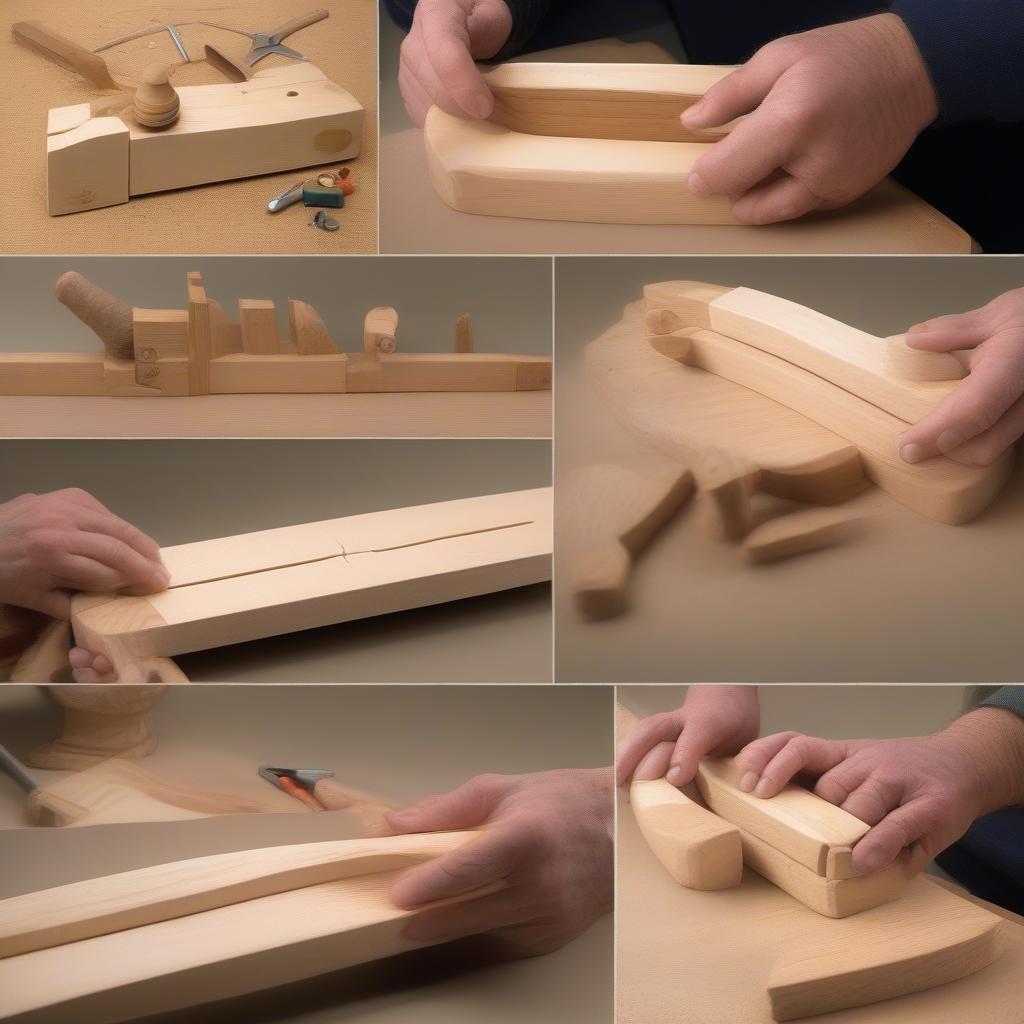 Creating a Carved Scarf Joint: Step-by-Step
Tips for a Perfect Carved Scarf Joint
- Practice Makes Perfect: Start with scrap pieces of material to practice the carving technique before working on your final project.
- Sharp Tools are Key: A sharp knife or chisel is crucial for clean cuts and precise shaping.
- Take Your Time: Don’t rush the process. Careful and deliberate carving will yield the best results.
- Consider the Material: Different materials may require slight adjustments to the carving technique.
What are common mistakes to avoid when creating a carved scarf joint?
Common mistakes include inaccurate measurements, uneven carving, and rushing the process.
How can I ensure the longevity of my carved scarf joint?
Ensure a tight fit, use appropriate adhesive, and properly finish the joint.
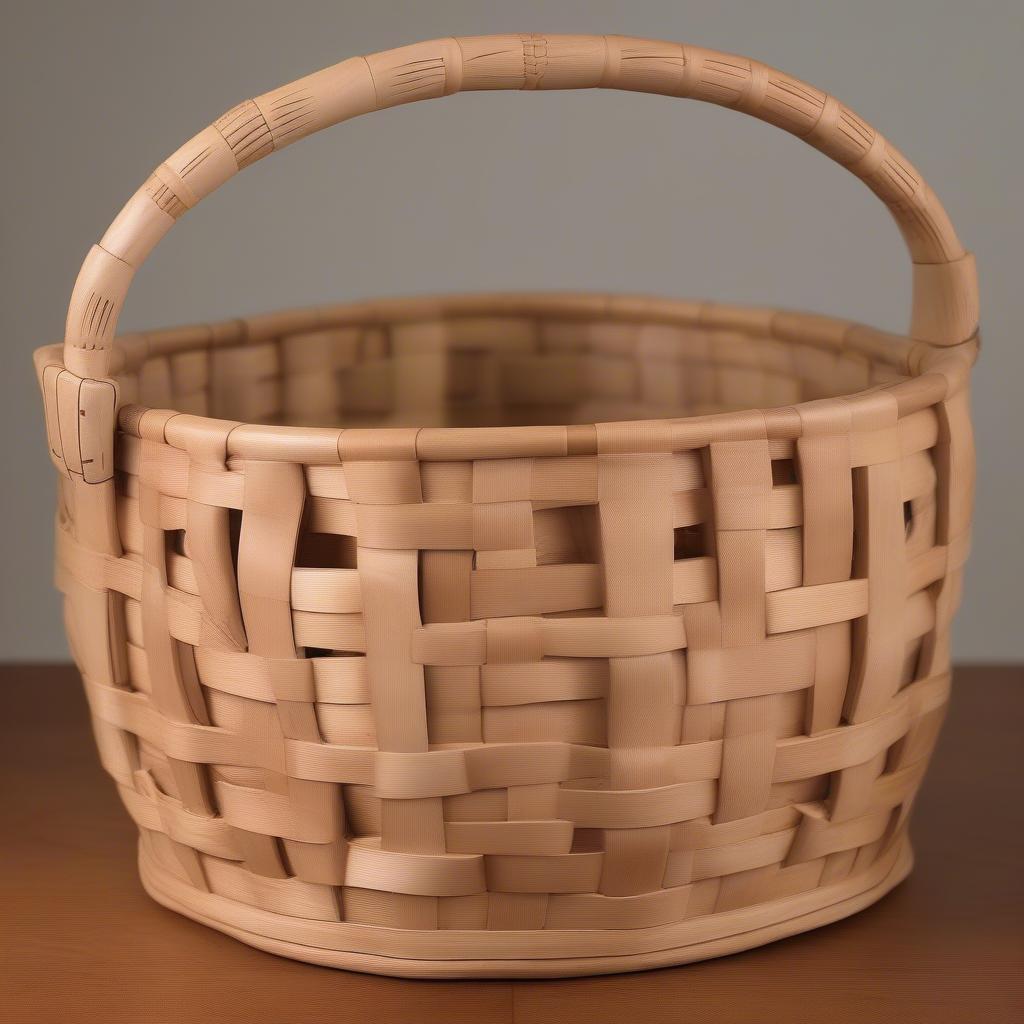 Finished Carved Scarf Joint Basket
Conclusion
Carved scarf joint basket weaving is a testament to the artistry and skill involved in this craft. By mastering this technique, you can create baskets that are not only beautiful but also incredibly strong and durable. With practice and patience, the carved scarf joint can elevate your basket weaving to a new level of sophistication.
FAQ
- What is the ideal angle for carving the scarf joint? The ideal angle depends on the material thickness, but generally, a 45-degree angle works well.
- Can I use this technique with other materials besides rattan and wicker? Yes, you can adapt this technique for other flexible materials.
- What type of glue is recommended for securing the joint? A strong, waterproof wood glue is generally recommended.
- How can I avoid splitting the material while carving? Use a sharp tool and make shallow, controlled cuts.
- What are some alternative joinery methods for basket weaving? Other options include lashing, wrapping, and plaiting.
Need help with your basket weaving projects? Contact us at Hanoi, Vietnam or Tech Avenue, Suite 12, San Francisco, CA 94105, USA. We have a 24/7 customer service team.