

Nov
Weave Hat
DIY Weaving a Straw Hat: A Step-by-Step Guide
Crafting your own straw hat is a rewarding experience that connects you with a rich history of handmade artistry. Whether you’re looking for a stylish summer accessory or exploring a new craft, Diy Weaving A Straw Hat offers a unique blend of creativity and practicality. This guide will provide you with the knowledge and techniques to create your own beautiful and functional straw hat.
Gathering Your Materials for Straw Hat Weaving
Before you begin your DIY weaving a straw hat journey, you’ll need to gather the essential supplies. Choosing the right materials can significantly impact the final look and durability of your hat.
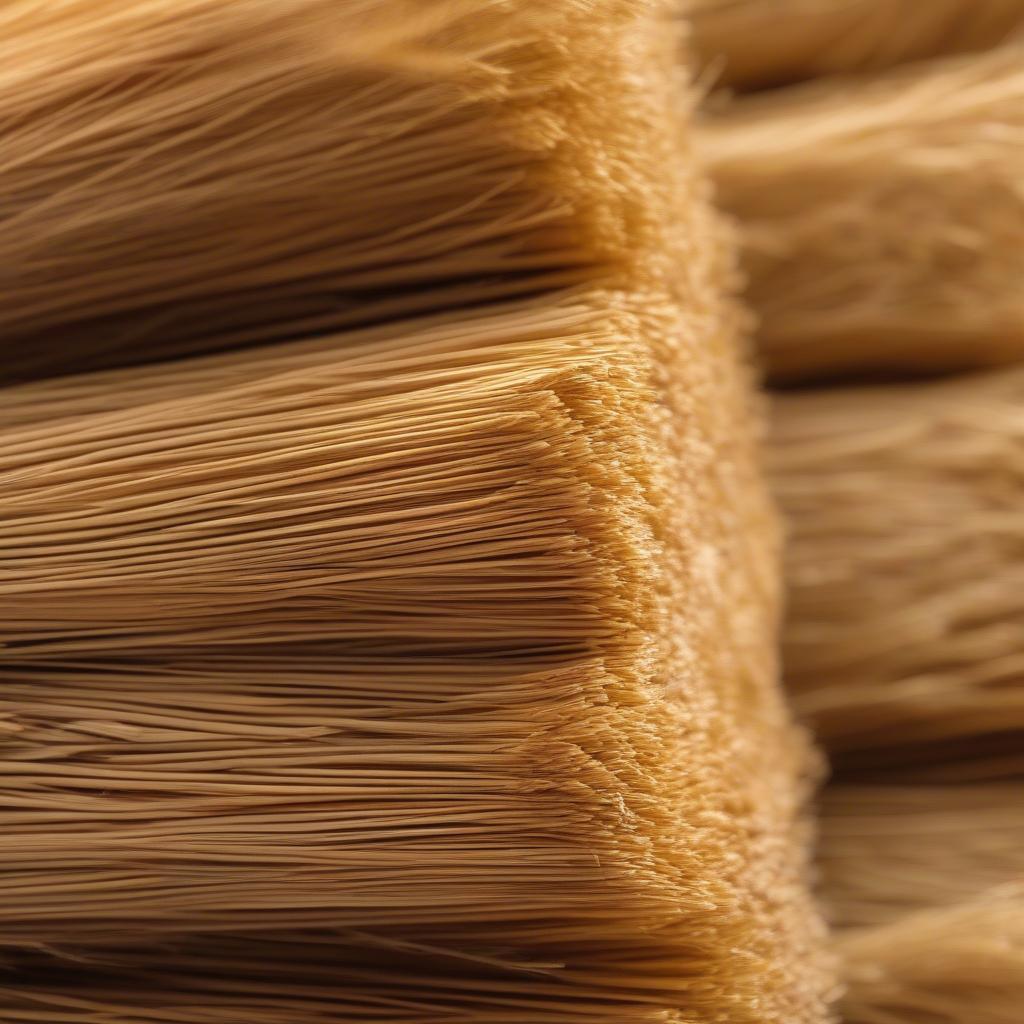
- Straw: Wheat straw is a popular choice for its flexibility and availability. Golden wheat straw ready for hat making You can also explore other options like rye straw or raffia for a different texture and aesthetic.
- Needle and Thread: A strong thread, preferably linen or cotton, and a needle suitable for weaving through straw are crucial.
- Scissors: Sharp scissors are needed for trimming the straw and thread.
- Water: Soaking the straw makes it pliable and easier to work with.
- Mold (Optional): A hat mold can help you shape the hat as you weave.
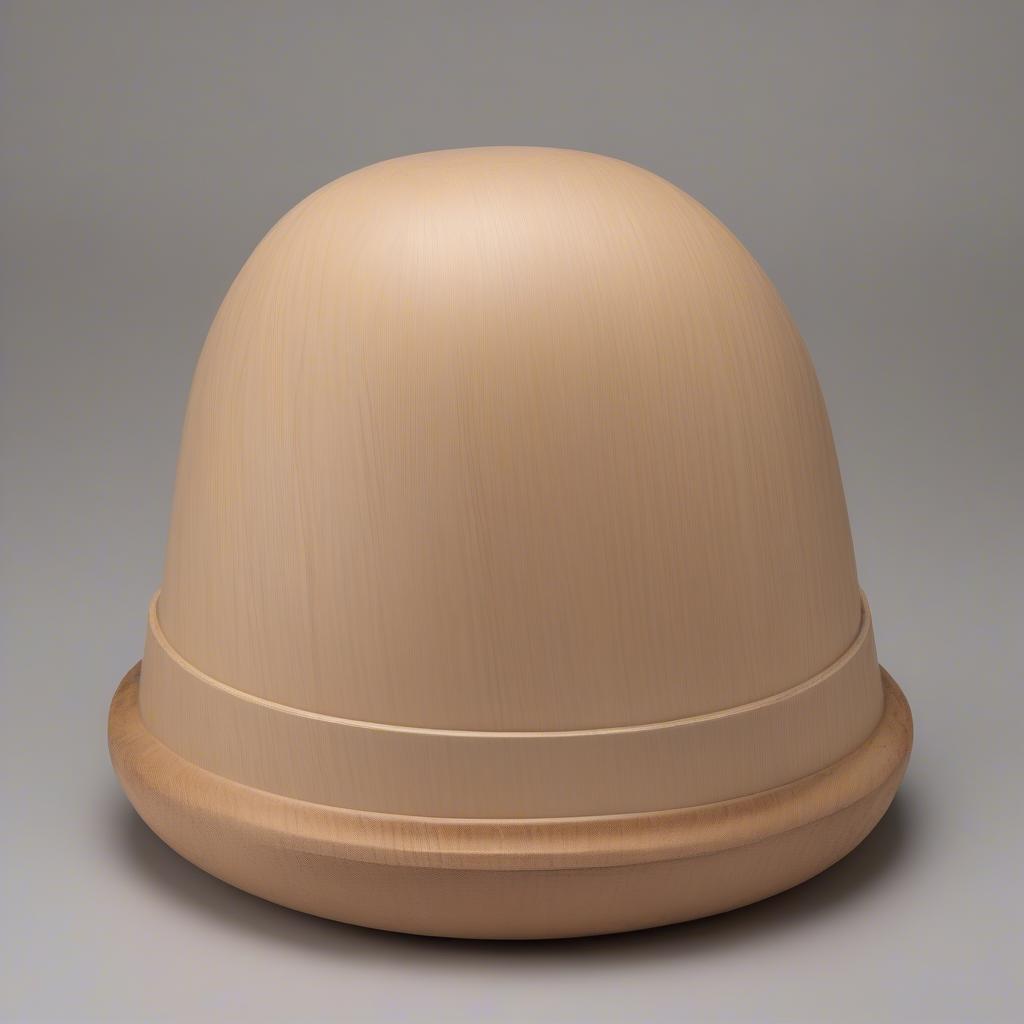 Wooden hat mold used in traditional straw hat making However, you can also freehand the weaving process.
Preparing the Straw for Your DIY Hat
Proper preparation is essential for successful DIY weaving a straw hat. This involves softening the straw and ensuring it’s ready for weaving.
- Soaking: Submerge the straw in warm water for about 30 minutes to an hour. This makes it flexible and prevents breakage during weaving.
- Drying: Once soaked, lay the straw flat on a towel to remove excess water.
Weaving Techniques for Your Straw Hat
There are various weaving techniques for crafting a straw hat, each yielding a unique look. Here are a few popular methods:
- Spiral Weaving: This involves coiling the straw and stitching it together in a continuous spiral. It’s a great technique for beginners.
- Plait Weaving: This involves braiding several strands of straw together and then stitching the braids to form the hat.
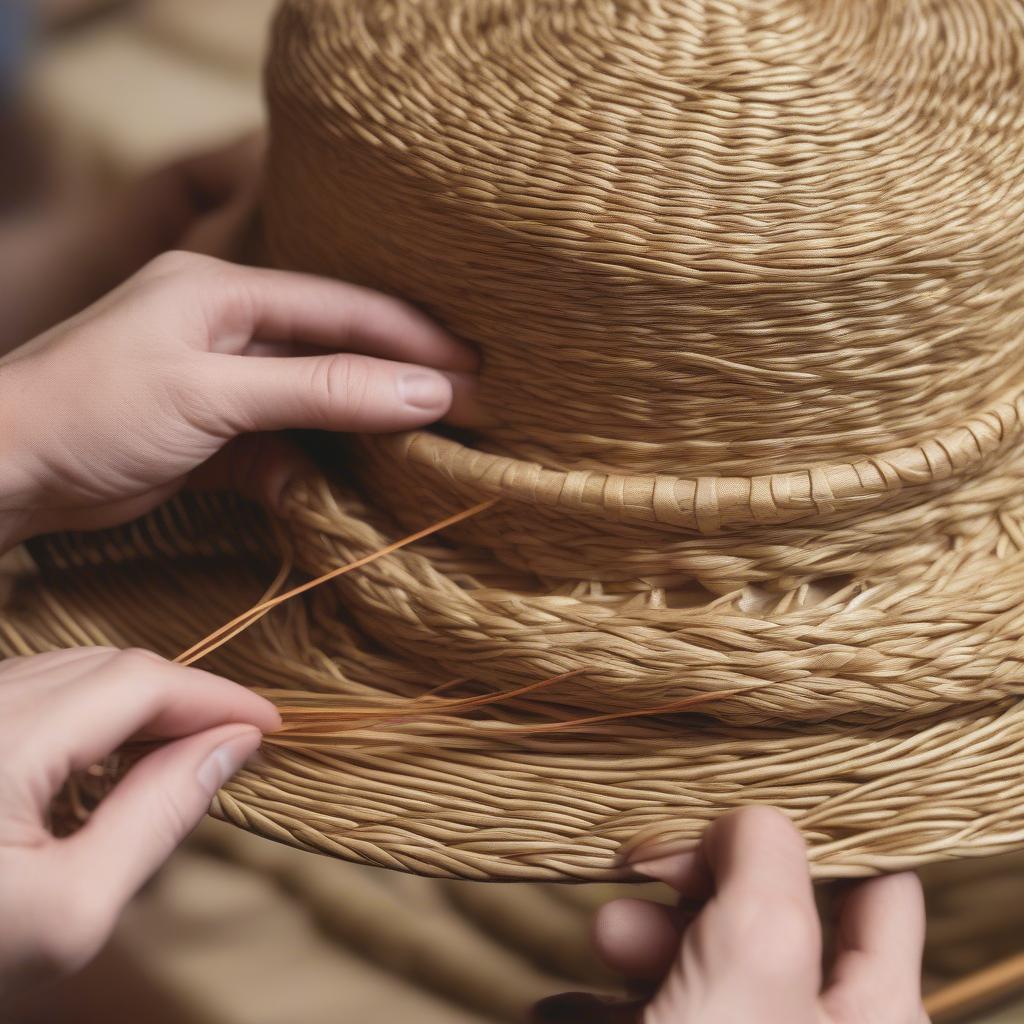 Close-up of plait weaving technique for a straw hat This creates a more textured and intricate design.
 - Basket Weave: This technique mimics the over-under pattern of basket weaving and can create a sturdy and visually interesting hat.
Shaping Your DIY Woven Straw Hat
As you weave, it’s important to shape your hat. If you’re using a mold, simply weave the straw around it. If freehanding, use your hands to mold the hat into the desired shape.
Finishing Touches for Your DIY Straw Hat
Once you’ve completed the weaving, trim any excess straw and secure the ends with thread. You can add decorative elements like ribbons, beads, or feathers to personalize your creation.
Conclusion
DIY weaving a straw hat is a fulfilling craft that allows you to create a unique and functional accessory. With patience and practice, you can master the techniques and enjoy the satisfaction of wearing a hat you made yourself. Remember, choosing quality materials and following the steps carefully will result in a beautiful and durable straw hat.
FAQ
- What type of straw is best for hat making?
- How long does it take to weave a straw hat?
- Can I dye the straw different colors?
- What are some common mistakes to avoid when weaving a straw hat?
- Where can I find more advanced straw weaving patterns?
- How do I care for my handmade straw hat?
- What are other materials I can use for weaving a hat?
If you need further assistance, please contact our Hotline: +84 388 951 999, or visit our offices in Hanoi, Vietnam or Tech Avenue, Suite 12, San Francisco, CA 94105, USA. We have a 24/7 customer support team.