

Nov
Weave Table
DIY Weaving Table Loom: A Comprehensive Guide
Creating your own Diy Weaving Table Loom opens up a world of textile possibilities, allowing you to explore the art of weaving in a personalized and affordable way. Whether you’re a seasoned weaver or just starting out, a diy table loom provides a portable and convenient weaving station, perfect for crafting beautiful tapestries, scarves, and more. This guide will walk you through everything you need to know about building and using your own diy weaving table loom.
Planning Your DIY Weaving Table Loom Project
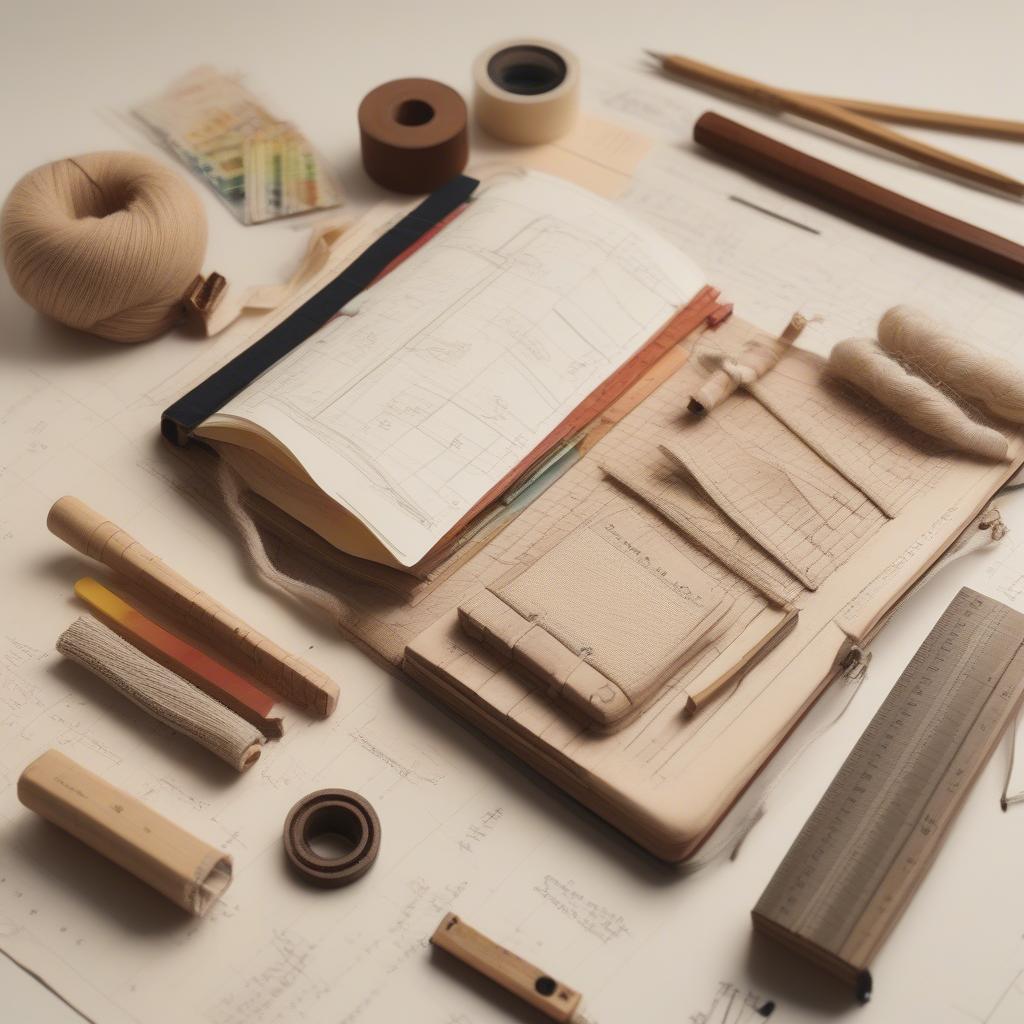
Before diving into construction, careful planning is essential for a successful diy weaving table loom. Planning a DIY Table Weaving Loom: Sketching, Measuring, and Gathering Materials Consider the size and type of projects you envision creating. This will determine the dimensions of your loom. Smaller looms are great for beginners and smaller projects, while larger looms offer more versatility for complex designs. Researching different diy weaving table loom designs can inspire your own creation and help you identify the best construction methods for your needs. Do you want a simple frame loom or something more adjustable? Thinking through these details beforehand will save you time and frustration later.
Building Your DIY Weaving Table Loom: A Step-by-Step Guide
Now comes the exciting part: building your own diy weaving table loom! Gather your materials, which might include wood, dowels, nails, screws, and a saw. Precise measurements are crucial for a sturdy and functional loom.
- Cut the frame pieces: Cut four pieces of wood to the desired length for the frame of your loom.
- Assemble the frame: Join the frame pieces together using nails or screws, creating a rectangular frame.
- Add the warp beam: Attach a wooden dowel to the top and bottom of the frame to serve as the warp beam, where your warp threads will be wound.
- Create the heddles: Heddles are essential for lifting and lowering the warp threads, creating the shed for your weft thread to pass through. You can create simple heddles using string or purchase pre-made heddles.
 Creating Heddles for a DIY Weaving Loom: Stringing and Attaching
 - Attach the heddles to the loom: Securely attach your heddles to the loom frame, ensuring they can move freely up and down.
These steps provide a basic framework. You can customize your diy weaving table loom to suit your specific needs and preferences.
Weaving on Your DIY Table Loom
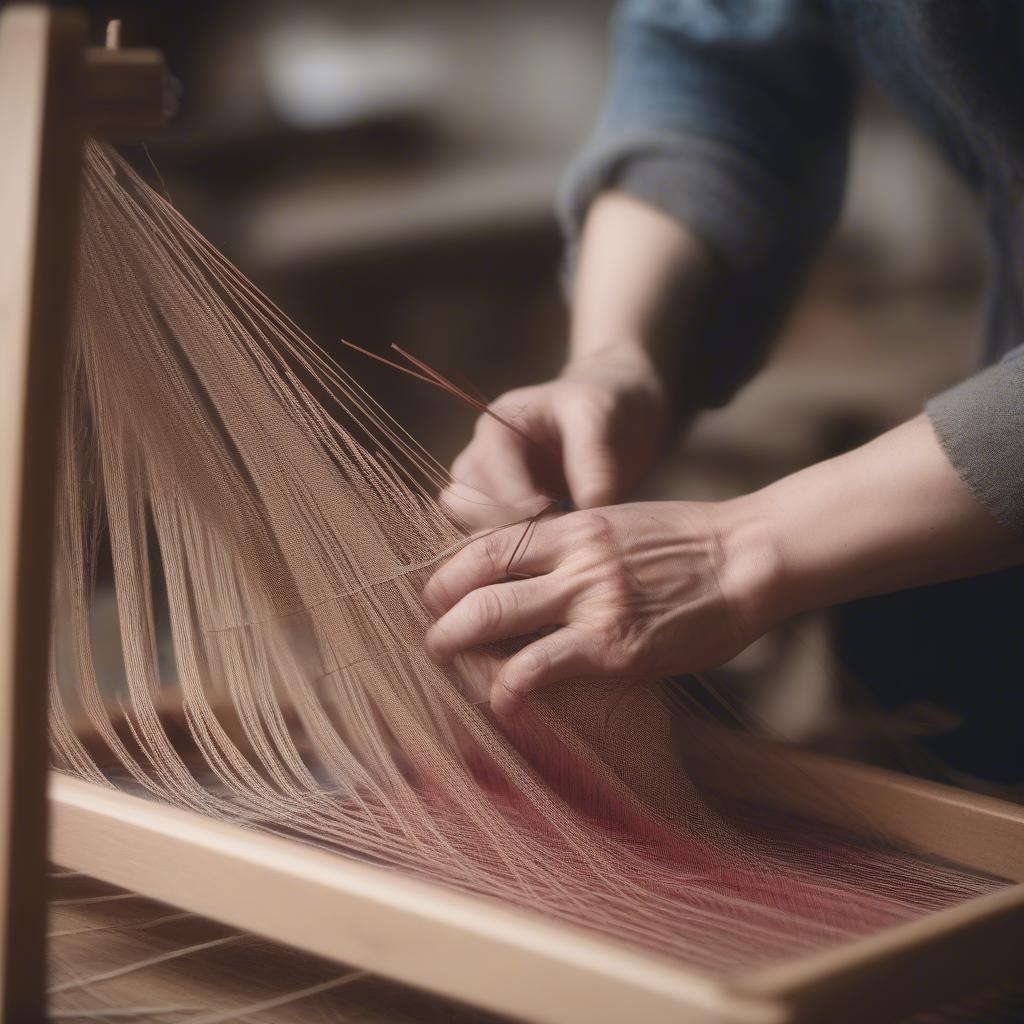
With your loom built, the real fun begins! table weaving loom plans will help guide you. Winding the warp threads onto the warp beam is the first step. Ensure even tension for a consistent weave. Then, thread the warp threads through the heddles, following a specific pattern depending on the desired weave structure. Finally, begin weaving your weft thread through the shed created by the heddles, using a shuttle or your fingers. Remember, weaving is a process of experimentation and discovery. Don’t be afraid to try different techniques and patterns.
Maintaining Your DIY Weaving Table Loom
Proper maintenance ensures the longevity of your diy weaving table loom. Regular cleaning and occasional sanding can keep the wood in good condition. Store your loom in a dry place to prevent warping or damage.
“A well-maintained loom is a weaver’s best friend,” says renowned textile artist, Amelia Weaverton. “It allows for smoother weaving and contributes to the overall quality of the finished piece.”
Troubleshooting Common Weaving Issues
Encountering challenges while weaving is normal, especially when starting out. Uneven tension, broken warp threads, and tangled weft threads are common issues. Patience and persistence are key to overcoming these hurdles. Online resources and weaving communities can provide valuable support and guidance. the table stand for a weaving loom might help.
Conclusion
Building a diy weaving table loom is a rewarding endeavor that allows you to connect with a rich textile tradition. From planning and construction to weaving and maintenance, each step offers an opportunity to learn and grow. Embrace the process, experiment with different techniques, and enjoy the satisfaction of creating beautiful handmade textiles.
FAQ
-
What materials do I need to build a diy weaving table loom? Common materials include wood, dowels, nails, screws, string, and a saw.
-
How long does it take to build a diy weaving table loom? The time required depends on the complexity of the design and your skill level. It can range from a few hours to a couple of days.
-
What types of projects can I create on a diy weaving table loom? You can create a wide range of projects, including tapestries, scarves, placemats, and small rugs.
-
Where can I find diy weaving table loom plans? Numerous online resources and crafting books offer detailed plans and instructions.
-
What is the best type of wood to use for a diy weaving table loom? Hardwoods like maple or oak are durable and provide a stable base for weaving.
“The beauty of a handmade loom is that it reflects the weaver’s individuality,” adds Ms. Weaverton. “It becomes a tool that embodies creativity and passion.” 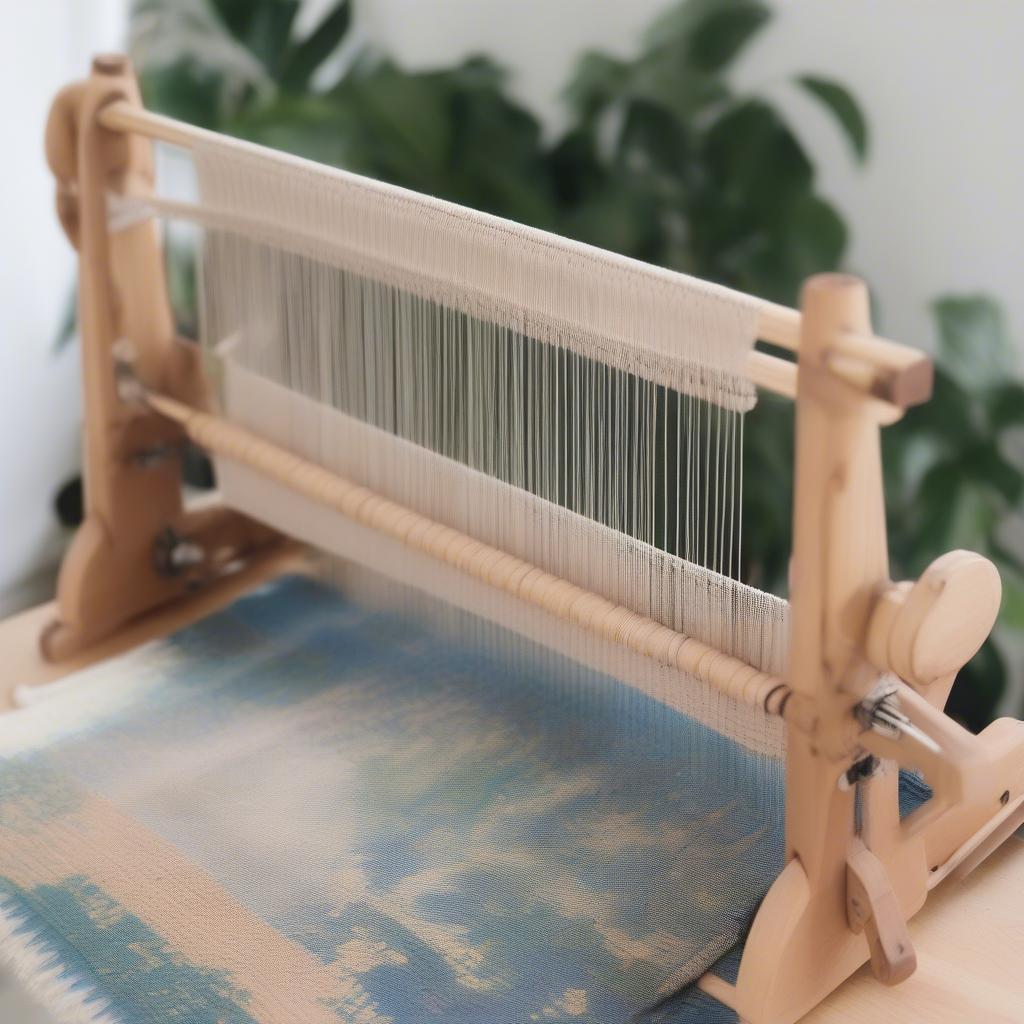 A Finished DIY Table Weaving Loom with a Woven Piece
Have any more questions about diy weaving table loom? Check out our other articles on table weaving loom plans and the table stand for a weaving loom for more information.
Need assistance? Contact our 24/7 customer service team at +84 388 951 999 or visit us in Hanoi, Vietnam, or at Tech Avenue, Suite 12, San Francisco, CA 94105, USA.