Basket Weaving
How to Do a Basket Weave Nail Look
Achieve a chic and intricate basket weave nail look with these easy-to-follow steps. This trendy design mimics the classic woven pattern of wicker and rattan, bringing a touch of handcrafted elegance to your fingertips. Whether you’re a seasoned nail artist or a beginner, this tutorial will guide you through creating this stunning effect.
Mastering the Basket Weave Nail Design
Creating a basket weave nail look is surprisingly simple and requires only a few basic nail art tools. The key is precision and patience, especially when working with the finer details of the woven pattern. This unique manicure is perfect for any occasion, adding a touch of sophistication to your everyday style or making a statement at a special event.
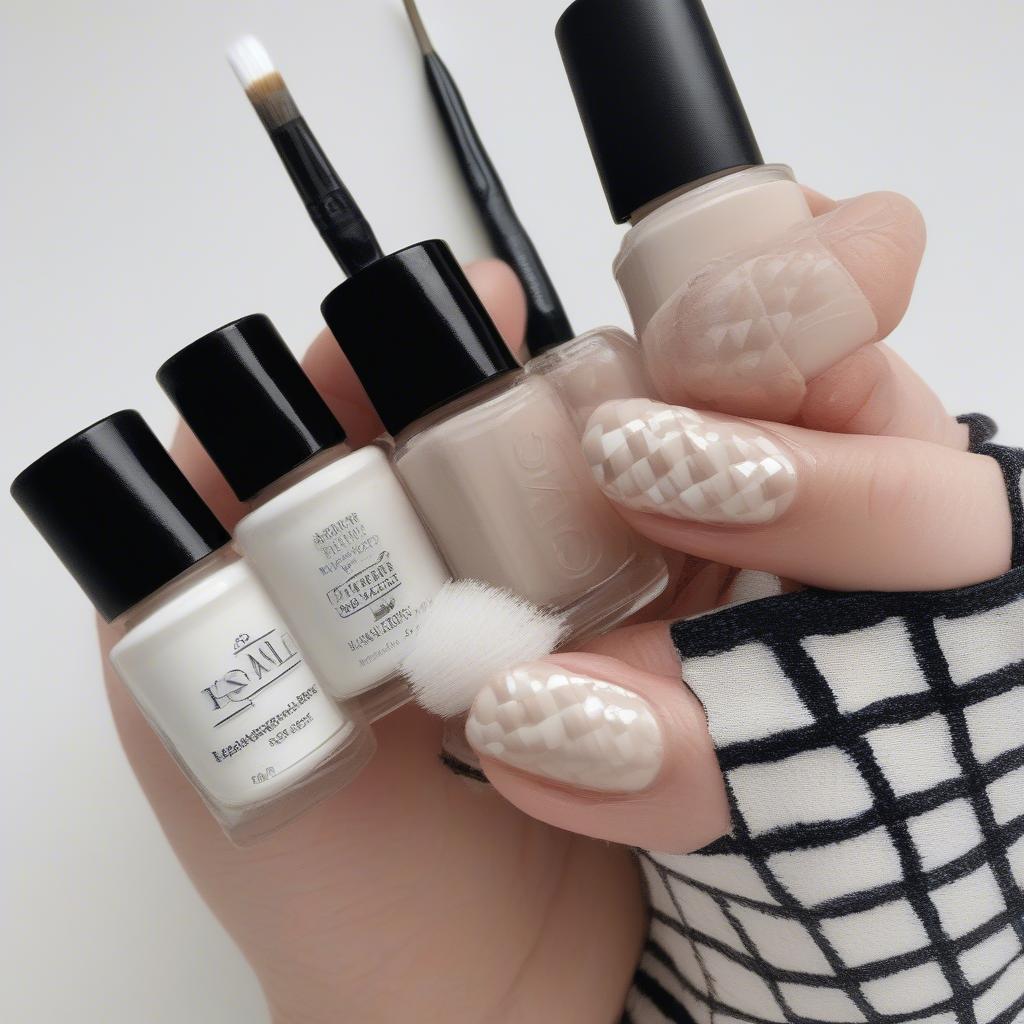
Gathering Your Supplies
Before you begin, make sure you have the following:
- Base coat
- Two contrasting nail polish colors (e.g., nude and white, or black and gold)
- Fine-tipped nail art brush or striping tape
- Top coat
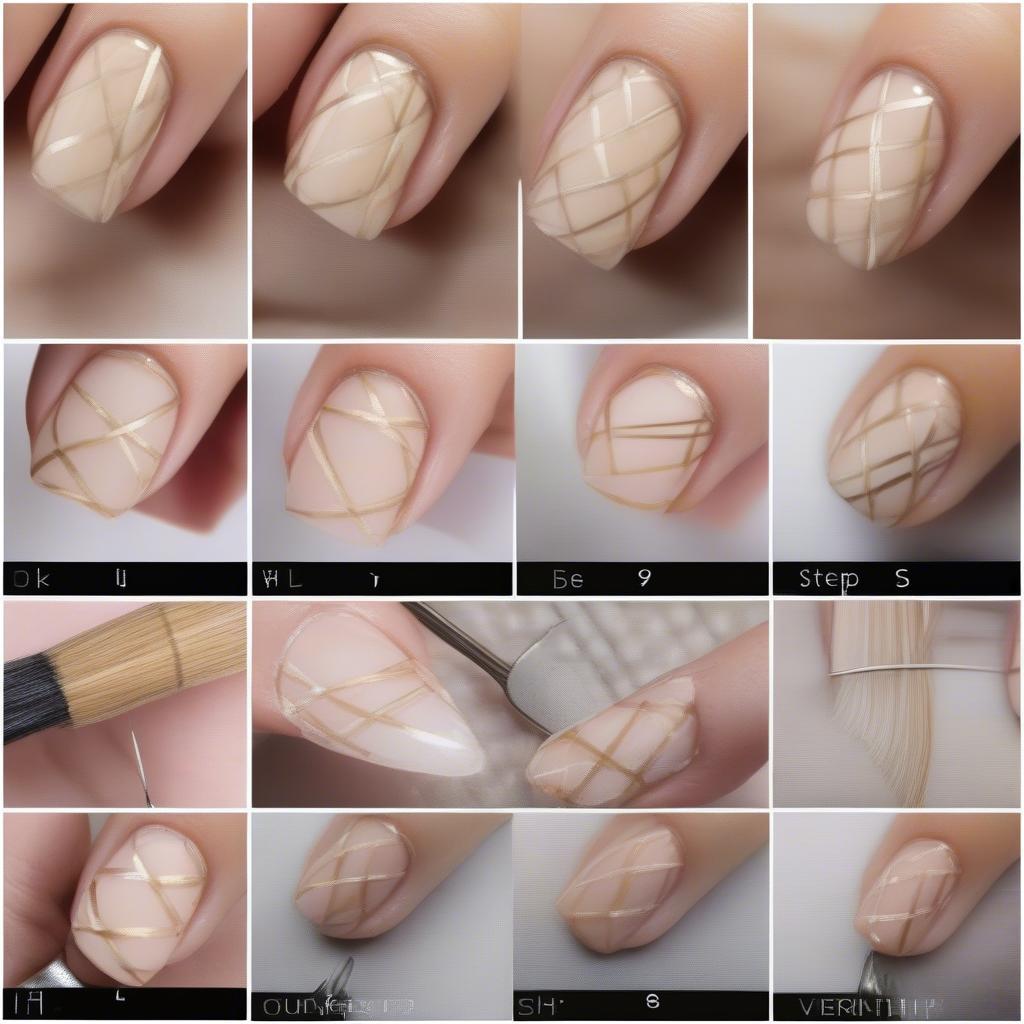
Step-by-Step Guide to the Perfect Basket Weave
- Prepare your nails: Start with clean, dry nails. Apply a base coat to protect your natural nails and provide a smooth surface for the polish.
- Apply the base color: Once the base coat is dry, apply two thin coats of your chosen base color. Allow each coat to dry completely before proceeding.
- Create the vertical lines: Using your fine-tipped brush or striping tape, create evenly spaced vertical lines across your nail with the contrasting color. Let them dry.
- Create the horizontal lines: Now, create horizontal lines across your nail, intersecting the vertical lines to form a grid or checkered pattern. Again, ensure these lines are straight and evenly spaced.
- The weaving magic: Here’s where the basket weave effect comes in. Using your fine-tipped brush, carefully “weave” the contrasting color over and under the existing grid lines. Start from one edge of your nail and work your way across, mimicking the over-under pattern of a woven basket.
- Seal the design: Once you’re happy with the weave and the polish is dry, apply a top coat to seal the design and add shine. This will also help protect your nail art and prevent chipping.
 Basket Weave Nail Art Supplies
Tips and Tricks for a Flawless Finish
- Practice makes perfect! If you’re new to nail art, practice the weaving technique on a piece of paper before attempting it on your nails.
- Thin coats are key. Applying thick coats of polish can make the design look bulky and uneven.
- Use a quick-drying top coat to prevent smudging.
- For a more intricate look, try using multiple contrasting colors.
- Don’t be afraid to experiment with different patterns. You can create a diagonal basket weave or even a herringbone design.
 Step-by-Step Basket Weave Nail Design
“The basket weave nail look is a timeless classic with a modern twist,” says celebrity nail artist, Amelia Reed. “It’s a versatile design that can be adapted to suit any style or occasion.”
Troubleshooting Common Issues
Sometimes, achieving the perfect basket weave can be tricky. Here are some common issues and how to fix them:
- Uneven lines: If your lines are uneven, use striping tape for a cleaner, more precise look. You can find basket weave lattice home depot.
- Smudging: Avoid smudging by ensuring each layer of polish is completely dry before applying the next. A quick-drying top coat can also help.
- Difficulty weaving: If you’re struggling with the weaving technique, try using a thinner brush or practicing on a piece of paper first.
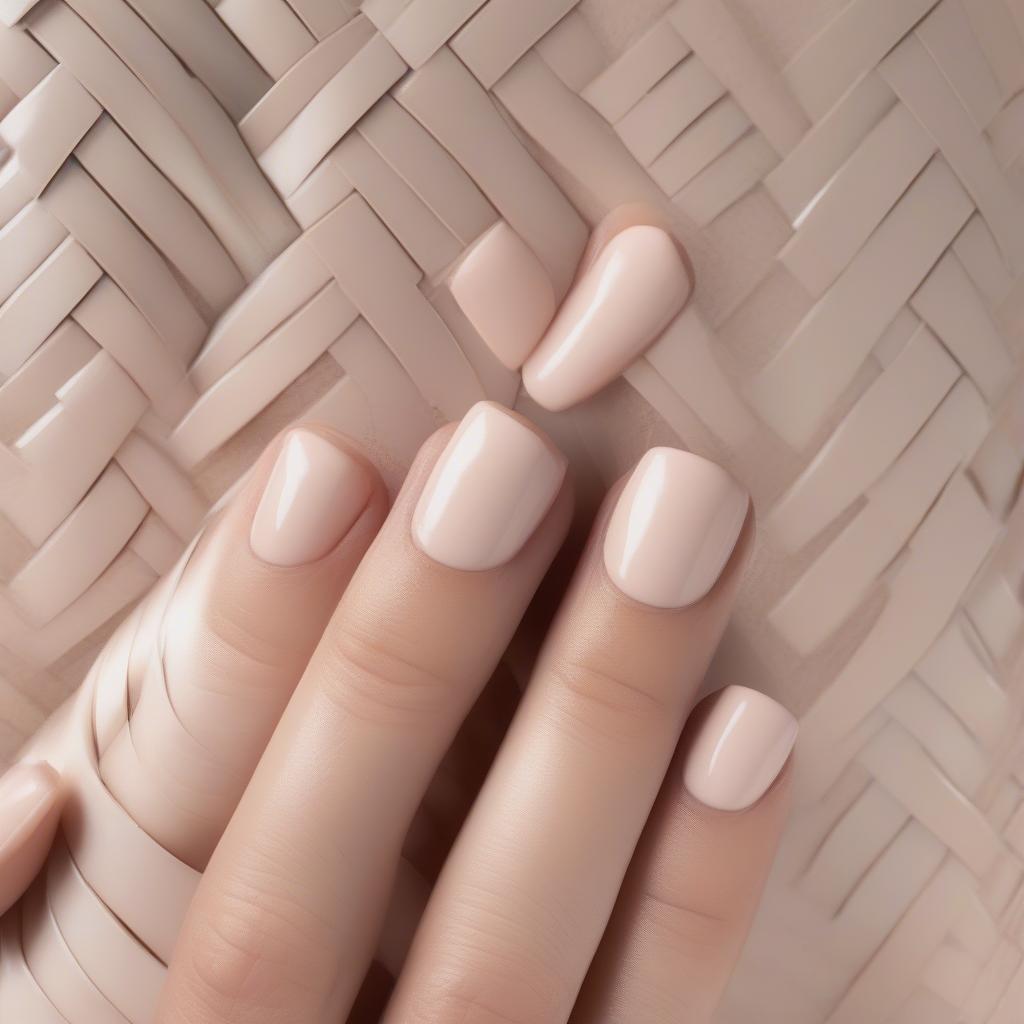
 Finished Basket Weave Nail Look
“Don’t be discouraged if your first attempt isn’t perfect,” encourages Amelia Reed. “Like any art form, nail art takes practice. Keep experimenting, and you’ll soon be creating stunning basket weave designs.” You may also consider how to make basket weave wood cabinet panels.
In conclusion, the basket weave nail look is a stylish and sophisticated way to elevate your manicure. With a little patience and practice, you can easily create this stunning design at home. So grab your supplies and give it a try! Remember, achieving the perfect basket weave is all about precision and attention to detail. Consider pine needle basket weaving site youtube.com for additional inspiration.
FAQ
-
What type of brush is best for creating the basket weave design? A fine-tipped nail art brush is ideal for precise lines and intricate details.
-
Can I use regular nail polish for this design? Yes, but using nail polish specifically designed for nail art can provide better results.
-
How can I prevent smudging? Ensure each layer of polish is completely dry before applying the next. A quick-drying top coat can also help.
-
What if I make a mistake? Use a small brush dipped in acetone to clean up any errors.
-
Can I use other patterns besides the traditional basket weave? Absolutely! Experiment with different patterns, like diagonal weaves or herringbone designs. overstock basket weave wall could be a good design idea.
-
How long does the basket weave nail design typically last? With proper application and a good top coat, the design should last as long as a regular manicure, typically 1-2 weeks.
-
Can I use gel polish for this design? Yes, gel polish works well for basket weave nails and can provide even longer wear.
If you have a wood fence, you can consider the wood basket weave fence design.
Need more help? Contact us at Hanoi, Vietnam or Tech Avenue, Suite 12, San Francisco, CA 94105, USA. We have a 24/7 customer support team.
