

Dec
Weave Hat
How to Glue Weave to a Hat
Gluing weave to a hat can seem daunting, but with the right techniques and materials, it’s a manageable project. Whether you’re repairing a treasured straw hat or adding a decorative woven element, this guide will walk you through How To Glue Weave To A Hat effectively. We’ll cover everything from selecting the correct adhesive to preparing your materials, ensuring a secure and long-lasting bond. Let’s get started!
Choosing the Right Adhesive for Your Hat
The success of your project hinges on using the right glue. For natural materials like straw, raffia, or paper hat weaving, flexible craft glue or fabric glue is ideal. These adhesives provide a strong bond while allowing the hat to retain its shape and flexibility. Avoid using super glue, as it can become brittle and crack over time, especially with flexible materials. For synthetic weaves, hot glue can be a quick and efficient option, but test it on a hidden area first to ensure compatibility.
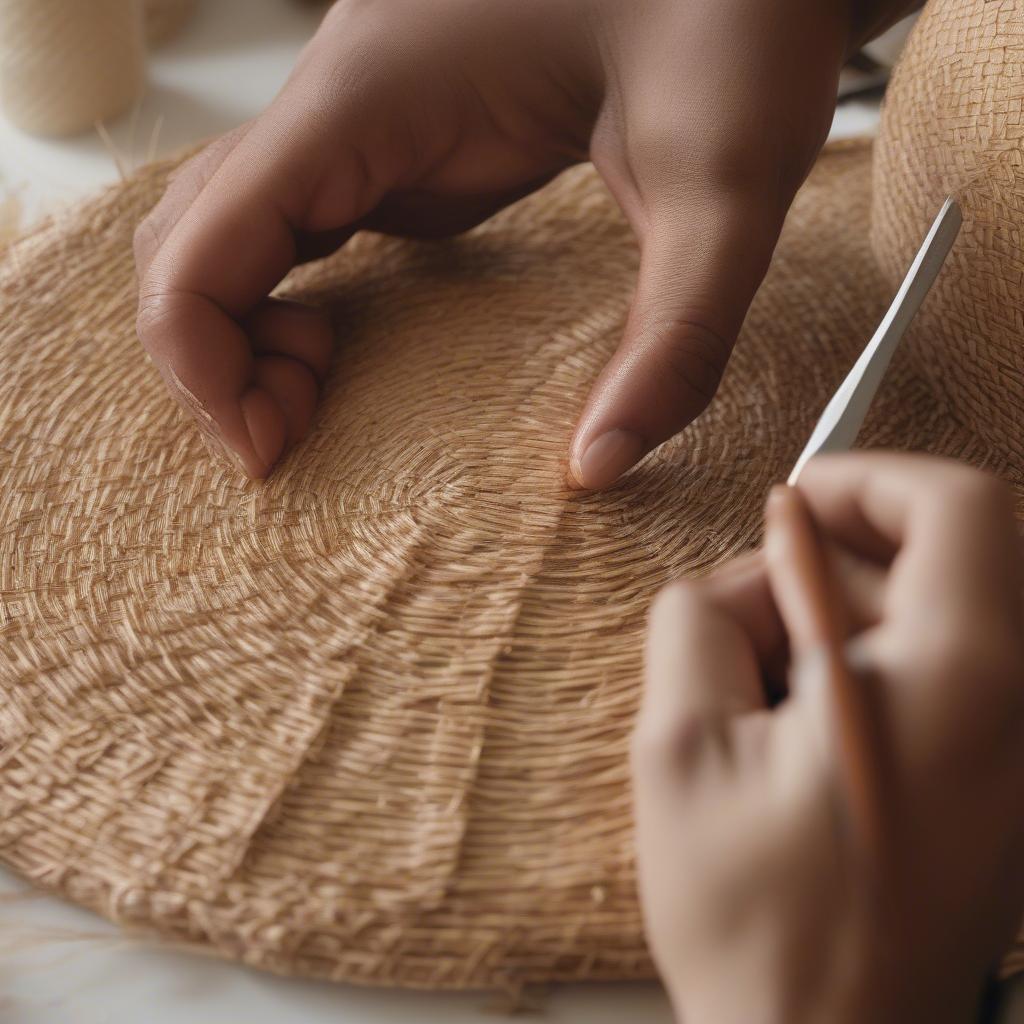
Gluing Woven Raffia to a Straw Sun Hat
Preparing Your Hat and Weave for Gluing
Proper preparation is key to a successful adhesion. Clean both the hat and the weave thoroughly to remove any dust, dirt, or oils. If working with a straw hat, lightly dampen the area where you’ll be gluing to help the adhesive penetrate the fibers. For precise placement, use tailor’s chalk or a washable marker to mark where the weave will be attached. Cut your weave to the desired shape and size before applying glue, ensuring a clean, professional finish. This prevents fraying and allows for easier handling during the gluing process.
Applying the Glue and Securing the Weave
Apply a thin, even layer of glue to both the hat and the back of the weave. Less is more here – too much glue can seep through the weave and create a messy finish. Carefully position the weave onto the hat, aligning it with your marked guidelines. Press firmly and evenly to ensure good contact. Use clips or clothespins to hold the weave in place while the glue dries.
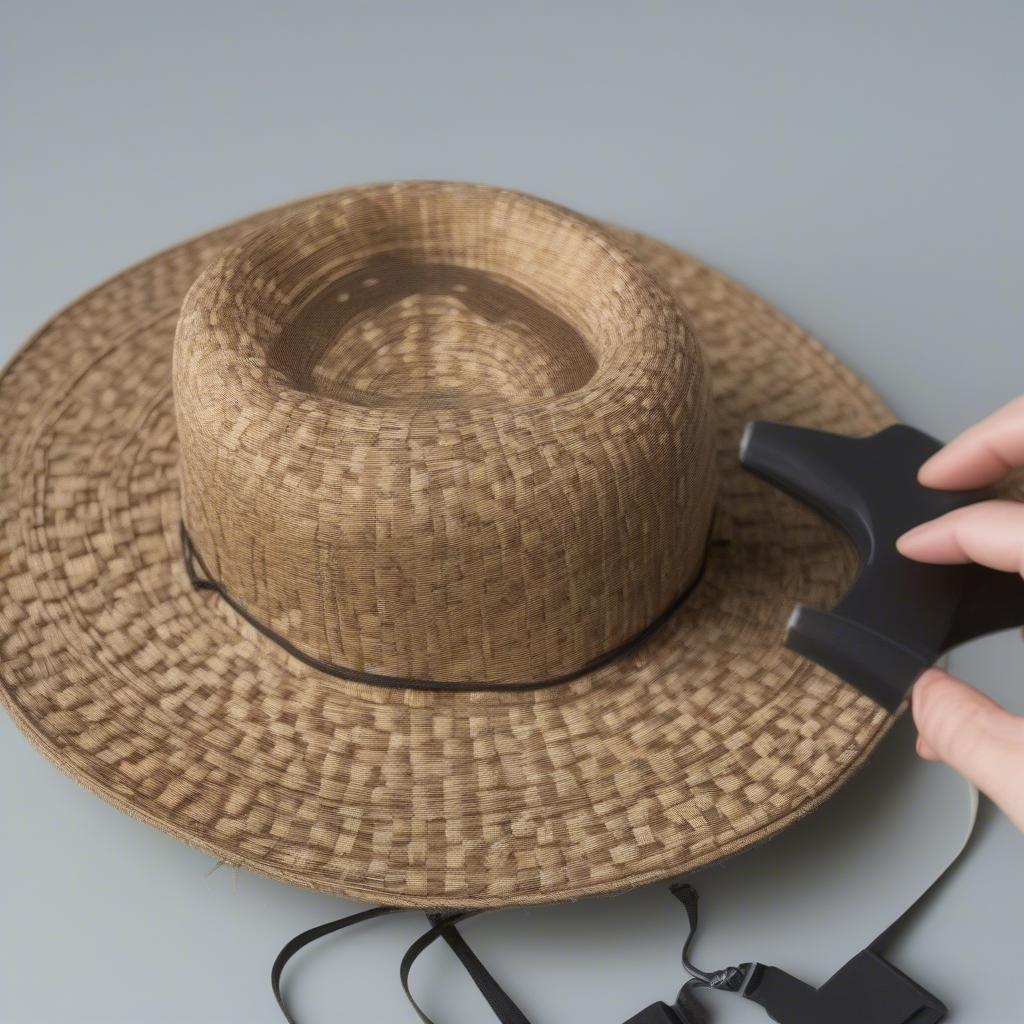 Securing Woven Material to Hat with Clips
Finishing Touches and Troubleshooting
Once the glue is dry, remove the clips and inspect your work. Any excess glue can be carefully removed with a damp cloth or cotton swab. For a more polished look, consider adding a decorative stitch around the edge of the weave. This not only adds a touch of style but also helps to secure the weave further. What if the weave starts to peel? Don’t panic! A small amount of glue applied underneath the lifted area should fix the issue.
How do I choose the right weave for my hat?
The weave you choose depends on the look you’re trying to achieve. A delicate lace weave adds a touch of elegance, while a thicker, more textured weave can create a rustic or bohemian vibe. Consider the color and material of your hat when selecting a weave. For instance, a natural raffia weave complements a straw hat beautifully. Make a braided weave hat for a unique and stylish accessory.
Can I glue weave to a baseball cap?
Yes, you can glue weave to a baseball cap. However, the type of glue you use is crucial. Fabric glue is generally the best option for synthetic fabrics, which are commonly used for baseball caps. Ensure the cap is clean and dry before applying the glue. Weaving in top of hat can be a fun way to personalize your cap.
What if I don’t have clips?
If you don’t have clips, you can use heavy books or other weighted objects to hold the weave in place while the glue dries. Just make sure the objects are clean and won’t damage the hat or weave. Alternatively, you can carefully hand-hold the weave in place for a few minutes, but this requires patience.
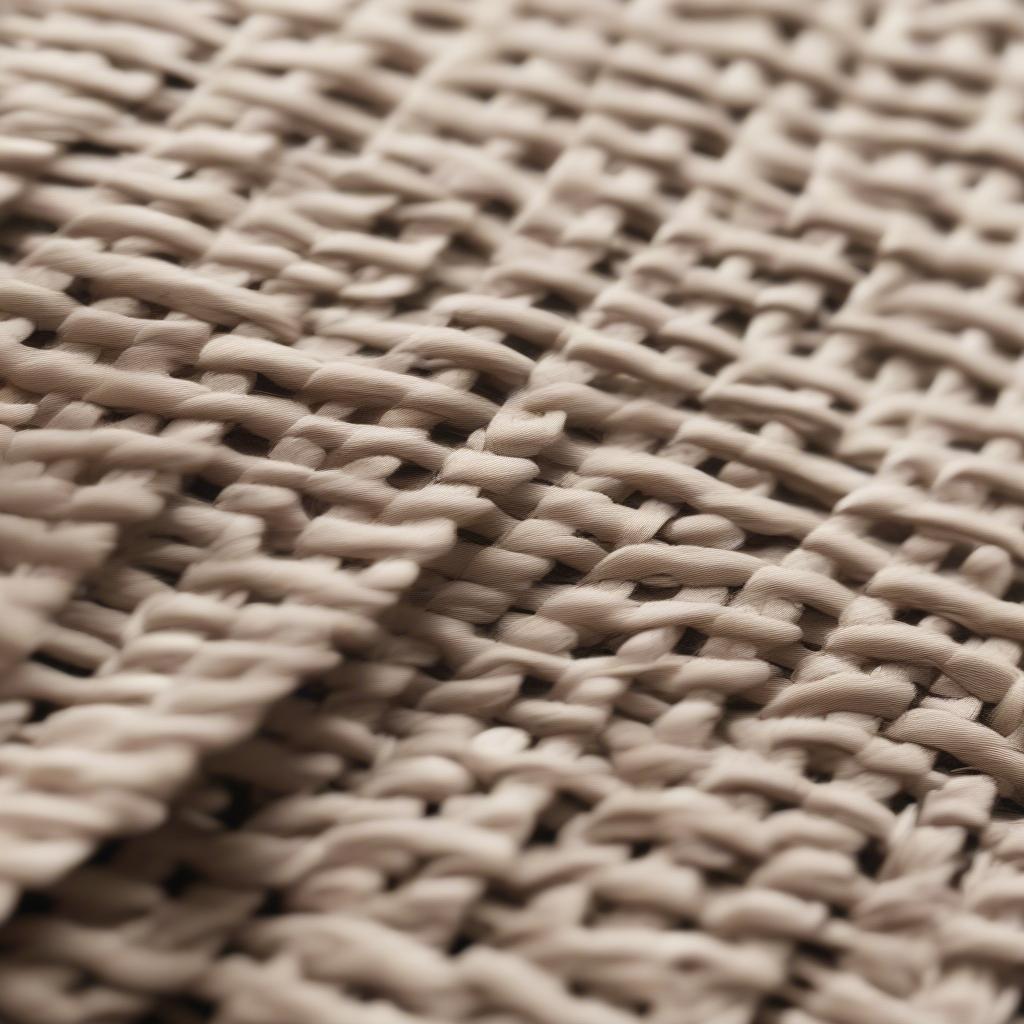 Detail of Glued Woven Decoration on Hat
Conclusion
Gluing weave to a hat is a simple yet effective way to update or repair your favorite headwear. By following these steps and choosing the right materials, you can achieve a professional-looking result that will last. Remember, patience and attention to detail are key to a successful outcome. So grab your glue, your weave, and your hat, and let your creativity flow! Explore other weaving techniques such as weave in ends hates it or learn how to weave a hat out of paper for even more creative projects.
Expert Insight from Emily Carter, Master Weaver: “The beauty of working with weaves lies in their versatility. Experimenting with different textures and materials can transform a simple hat into a unique statement piece.”
Expert Insight from John Miller, Hat Designer: “When gluing weave to a hat, remember that less is often more. A thin layer of glue is all you need for a secure bond. This avoids messy excess and keeps the focus on the beautiful weave.”
FAQ
-
What type of glue is best for gluing weave to a straw hat? Flexible craft glue or fabric glue works best for natural materials like straw.
-
How do I prepare my hat for gluing? Clean the hat thoroughly and, if it’s straw, lightly dampen the area where you’ll be gluing.
-
How long should I let the glue dry? Refer to the glue manufacturer’s instructions for drying time.
-
Can I wash my hat after gluing the weave? Hand-washing is recommended. Avoid harsh detergents or scrubbing the glued area.
-
What should I do if the weave starts to peel? Apply a small amount of glue under the lifted area and secure it until dry.
-
What type of weave should I use? The weave depends on the desired look. Consider the hat’s color and material for the best match.
-
Can I use hot glue? Hot glue can be used on synthetic weaves but test it on a hidden area first.
For further assistance, please contact our hotline at +84 388 951 999, or visit our offices in Hanoi, Vietnam, or Tech Avenue, Suite 12, San Francisco, CA 94105, USA. Our customer service team is available 24/7.