

Dec
Basket Weaving
How to Make a Weave Easter Basket
Learning How To Make A Weave Easter Basket is a fun and rewarding craft, perfect for adding a personal touch to your Easter celebrations. Whether you’re a seasoned basket weaver or just starting out, this guide will provide you with the steps and tips you need to create a beautiful and unique Easter basket. From choosing the right materials to mastering weaving techniques, we’ll cover everything you need to know to make your own woven Easter basket.
Gathering Your Easter Basket Weaving Supplies
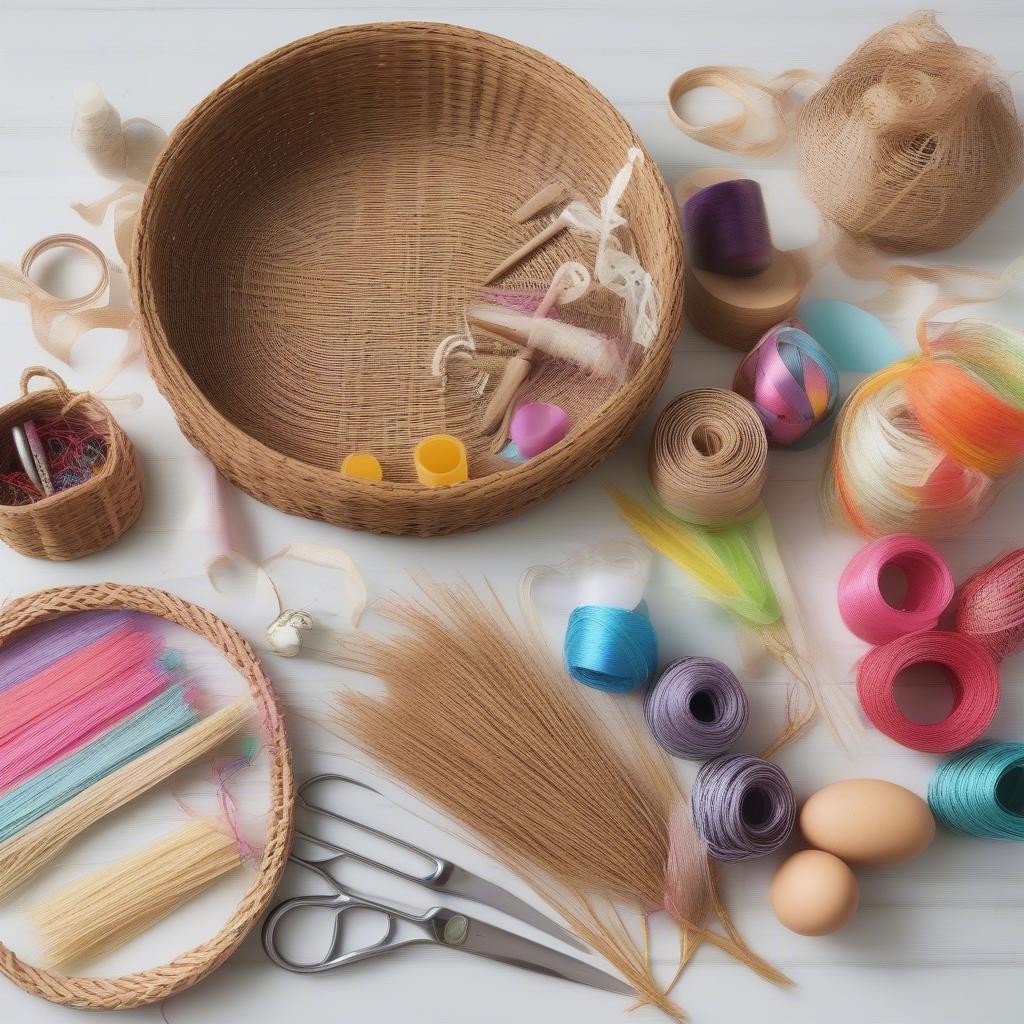
Before you begin your Easter basket weaving journey, it’s essential to gather all the necessary supplies. Having everything at hand will make the process smoother and more enjoyable. Check if you have these materials available before embarking on your how to make a weave Easter basket project.
- Weaving Material: You have several options here, including reed, wicker, raffia, or even paper. For beginners, reed or raffia are often easier to work with. More experienced weavers might prefer the challenge of wicker. If you are in Pennsylvania, find your nearest basket weaving supplies pa.
- Base: You’ll need a round or oval base to start your basket. You can purchase pre-made bases or create your own using cardboard or heavy-duty paper.
- Scissors: Sharp scissors are essential for trimming the weaving material.
- Soaking Container: If using natural materials like reed or wicker, you’ll need to soak them in water to make them pliable.
- Optional Embellishments: Get creative with ribbons, flowers, or other decorations to personalize your finished Easter basket.
Essential Easter Basket Weaving Supplies
Preparing Your Materials for Easter Basket Weaving
Once you have gathered your supplies, it’s time to prepare them for weaving. This crucial step ensures that your materials are pliable and ready to be shaped into a beautiful Easter basket.
- Soaking: If using reed or wicker, submerge the material in warm water for about 30 minutes, or until it becomes flexible. This will prevent it from breaking during the weaving process.
- Base Preparation: If making your own base, ensure it’s sturdy enough to support the woven sides of your basket. You can reinforce cardboard bases with tape or glue.
Weaving the Base of Your Easter Basket
The base of your Easter basket is the foundation of your project. A solid and well-woven base will ensure that your basket is sturdy and can hold its shape.
- Starting the Weave: Begin by selecting several strands of your weaving material and arranging them in a star-like pattern on your base. Secure the center with a small piece of tape or glue.
- Adding Spokes: Add more spokes by weaving them between the initial strands. Continue this process until you have a desired number of spokes radiating from the center of the base.
- Weaving the Rows: Once you have your spokes in place, start weaving the rows of your basket. Use an over-under weaving pattern, passing each strand over and under the spokes.
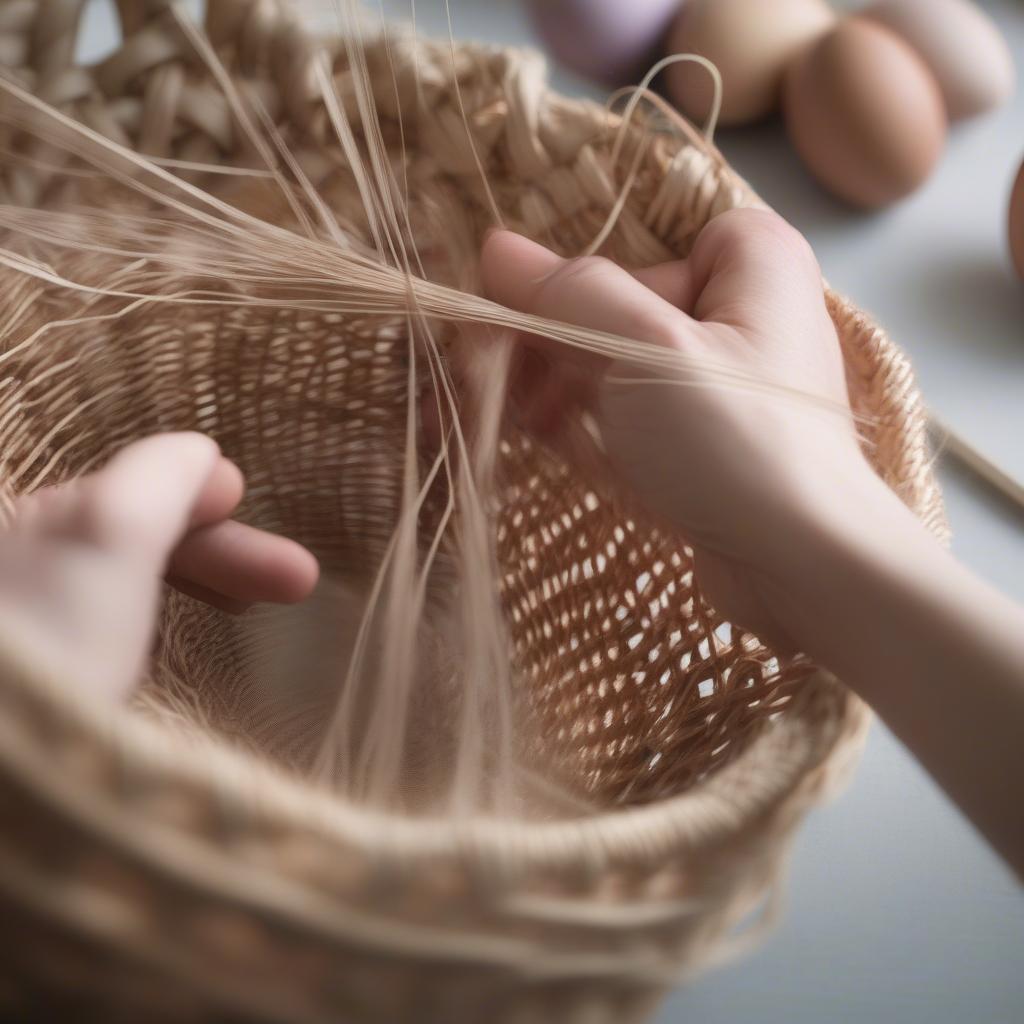 Weaving the Base of an Easter Basket
Building the Sides of Your Weave Easter Basket
With the base complete, you can begin building the sides of your Easter basket. This stage involves creating the shape and height of your basket, giving it its distinctive form. You might want to practice on a how to weave a simple easter basket before taking on a more complex design.
- Upward Weaving: Bend the spokes upwards and continue weaving in an over-under pattern. As you weave, the sides of your basket will begin to take shape.
- Maintaining Shape: Use your fingers to gently shape the basket as you weave, ensuring it remains symmetrical and even.
- Adding Rows: Continue adding rows until you reach your desired height. Remember to maintain consistent tension throughout the weaving process.
Finishing Your Weave Easter Basket
Once you have reached your desired height, it’s time to finish off your weave Easter basket. This involves securing the ends of your weaving material and adding any desired embellishments.
- Securing the Ends: Tuck the loose ends of the weaving material into the previous rows, ensuring they are securely hidden.
- Adding a Rim: For a more polished look, you can add a rim to the top edge of your basket by weaving a thicker strand of material around the edge.
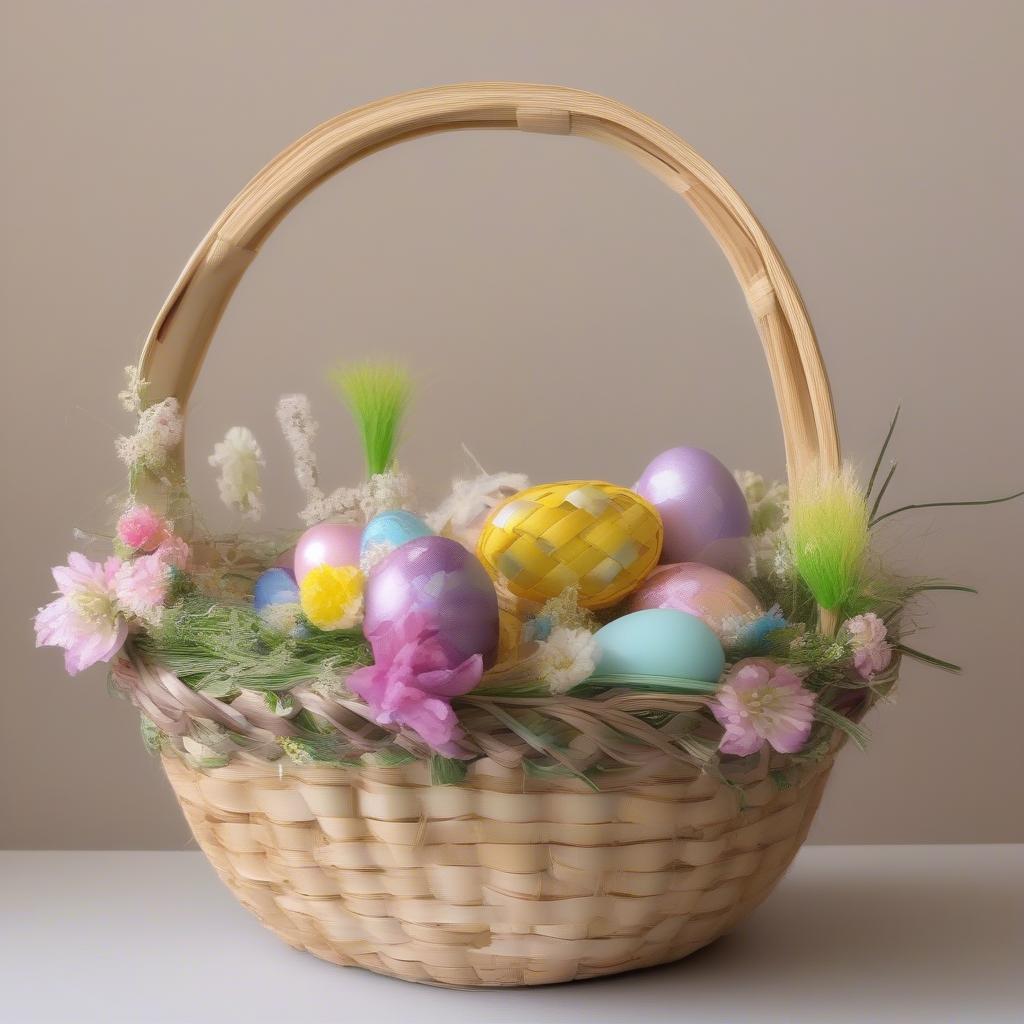 Finished Weave Easter Basket
Conclusion
Creating your own weave Easter basket is a fulfilling project that allows you to express your creativity and add a personalized touch to your Easter celebrations. With a little patience and practice, you can create a beautiful and unique basket that you’ll cherish for years to come. If you enjoy working with natural materials, perhaps a pine needle basket weaving project is next! And don’t forget, you can also explore other weaving techniques, like chicken wire basket weaving for a different style.
FAQ
- What is the best material for a beginner to use for weaving an Easter basket?
- How long does it take to weave an Easter basket?
- Can I use recycled materials to weave an Easter basket?
- What are some creative ways to decorate a woven Easter basket?
- Where can I find more resources on basket weaving?
- How do I make a handle for my Easter basket?
- What are the different types of weaving patterns I can use?
If you need assistance, please contact our Hotline: +84 388 951 999, address: Hanoi, Vietnam or Tech Avenue, Suite 12, San Francisco, CA 94105, USA. We have a 24/7 customer service team.