

Nov
Weave Hat
How to Weave a Rush Hat
Learning How To Weave A Rush Hat is a rewarding journey into a traditional craft. This ancient practice transforms simple natural rushes into beautiful, functional headwear. Whether you’re seeking a connection to the past or simply a unique fashion statement, weaving a rush hat offers a fulfilling experience.
Gathering Your Materials for Rush Hat Weaving
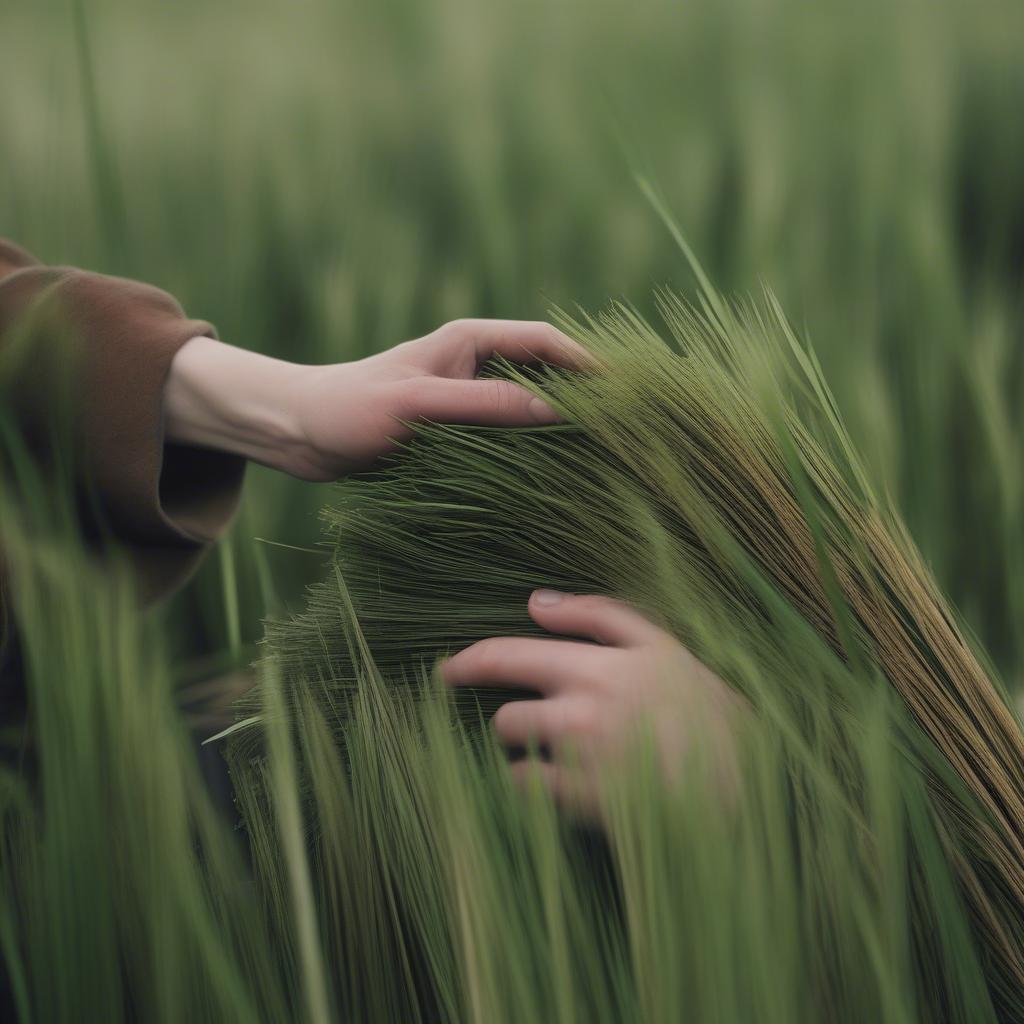
Before you begin your rush hat weaving project, you’ll need to gather the correct materials. Rushes are the star of the show, of course. Ideally, you want rushes that are long, flexible, and relatively uniform in thickness. You can sometimes find dried rushes at craft stores, or if you’re feeling adventurous, you can harvest your own. Gathering Rushes for Hat Weaving A sharp pair of scissors or pruning shears are essential for trimming the rushes to the desired length. You’ll also need a container of water to soak the rushes, making them pliable and easier to work with. Finally, a sturdy work surface and some pins or clips can be helpful for holding your work in place as you weave.
Starting the Base of Your Rush Hat
The base of your rush hat is crucial, as it sets the foundation for the entire hat. Begin by selecting several rushes and arranging them in a star-like pattern. The number of rushes will determine the size of your hat, so choose accordingly. Secure the center of the star with a pin or clip. Then, begin weaving additional rushes around the central star, gradually expanding outwards in a circular motion. This weaving technique, similar to how you might [weave a baseball hat] from other materials, forms the crown of your hat. As you weave, keep the rushes snug but not too tight, allowing for some flexibility in the finished product. 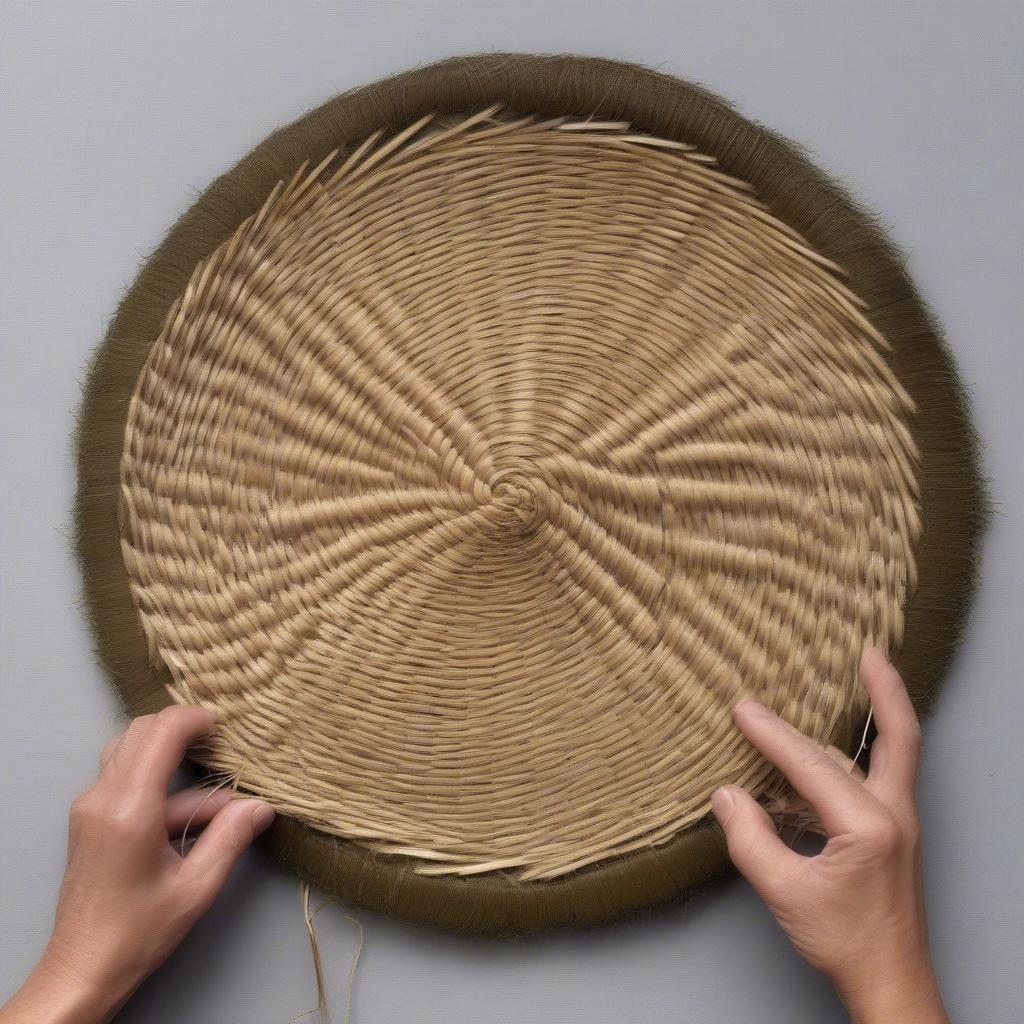 Weaving the Base of a Rush Hat
How many rushes do I need to start the base?
The number of rushes you need to start the base depends on the desired size of your hat. A smaller hat might require six to eight rushes, while a larger hat might need ten or more.
What if my rushes break while weaving?
Rushes can sometimes break during the weaving process. If this happens, simply overlap the broken ends with a new rush and continue weaving. Soaking the rushes thoroughly before weaving can help prevent breakage.
Shaping the Crown and Brim of Your Rush Hat
Once the crown has reached the desired size, you can begin shaping the sides and brim of the hat. To create a rounded crown, gradually angle the rushes upwards as you weave. This will cause the hat to curve inwards, forming the classic hat shape. For a flat-topped hat, continue weaving horizontally. To form the brim, simply continue weaving outwards, extending the rushes beyond the edge of the crown. You can experiment with different brim widths and shapes to create a unique design.  Shaping the Brim of a Rush Hat Check out how a [lightweight open weave foldable women’s panama hat] is constructed for brim inspiration. Remember, traditional hats like the one worn by [Charley Weaver, complete with his squashed hat], often have distinct brim styles.
Finishing Touches for Your Handwoven Rush Hat
After you’ve completed the weaving, trim any excess rush ends and tuck them neatly into the weave. You can also add decorative elements, such as a ribbon or band, to personalize your hat. Allow the hat to dry completely before wearing. This will help it retain its shape. If you’re intrigued by other natural materials, explore [coconut leaf hat weaving]. Or, perhaps you’d like to try your hand at a more modern design, like a [weave baseball hat]. You might even be inspired by the [Avenel open weave downunder panama hat].
Master weaver, Eliza Cartwright, shares her wisdom, “The beauty of rush weaving lies in its simplicity. With just a few natural materials and some patience, you can create a truly unique piece of wearable art.” She emphasizes the importance of practice, adding, “Don’t be afraid to experiment with different techniques and styles. The more you weave, the better you’ll become at shaping and manipulating the rushes.”
Conclusion
Learning how to weave a rush hat offers a connection to both nature and tradition. From gathering your materials to adding the final touches, the process is as enjoyable as the finished product. So, gather your rushes and embark on this rewarding crafting journey.
FAQ
- What type of rushes are best for hat weaving? Soft rushes are generally preferred for their flexibility.
- How long does it take to weave a rush hat? The time varies depending on the size and complexity of the hat, but it can take several hours.
- Can I dye the rushes different colors? Yes, natural dyes can be used to add color to the rushes.
- How do I care for my rush hat? Store your hat in a cool, dry place to prevent mildew.
- Where can I find more information on rush weaving? There are many resources available online and in libraries.
- What are some common mistakes to avoid when weaving a rush hat? Weaving too tightly or loosely can affect the final shape of the hat.
- Can I use other materials besides rushes for weaving a hat? Yes, other natural materials like straw or grasses can also be used.
Need support? Contact our 24/7 customer service team at +84 388 951 999 or visit us in Hanoi, Vietnam, or at Tech Avenue, Suite 12, San Francisco, CA 94105, USA.