


Dec
Weave Table
How to Weave Ribbon in Burlap for a Stunning Table Runner
Weaving ribbon into burlap is a simple yet effective way to create a unique and rustic table runner. Whether you’re looking for a touch of rustic charm for your dining table or a personalized gift for a loved one, learning how to weave ribbon in burlap offers endless creative possibilities. This guide provides a step-by-step tutorial on How To Weave Ribbon In Burlap For Table Runner creation, along with tips and tricks to achieve professional-looking results.
Gathering Your Materials for Ribbon Weaving
Before you begin weaving ribbon in burlap for your table runner, gather the necessary materials. You’ll need burlap fabric, ribbon (choose a width and material that complements your burlap), scissors, a measuring tape, and pins. You might also want a ruler or straight edge to help keep your weaving straight.
Burlap, ribbon, scissors, measuring tape, and pins laid out on a table.
Preparing the Burlap for Ribbon Weaving
Measure and cut your burlap to the desired length and width for your table runner. Consider adding a few extra inches to account for fraying and the weaving process. To prevent excessive fraying, you can sew a simple hem or use fabric glue along the edges of the burlap. This will create a cleaner, more finished look for your table runner.
Weaving the Ribbon: A Step-by-Step Guide
- Creating the Slits: Using your scissors, carefully create vertical slits in the burlap where you want to weave the ribbon. The slits should be spaced evenly apart, and their length will determine the width of the woven ribbon section. Remember to make the slits slightly wider than your ribbon to allow for easy weaving.
- Starting the Weave: Take the end of your ribbon and thread it through the first slit, leaving a tail at the back of the burlap. Secure the tail with a pin. Then, weave the ribbon over and under the burlap threads, moving horizontally across the fabric.
- Continuing the Pattern: Continue weaving the ribbon over and under the burlap threads, maintaining a consistent pattern. If you want a tighter weave, push the ribbon closer together as you weave. For a looser weave, leave more space between the ribbon rows.
- Adding Multiple Ribbons: To add visual interest, use multiple ribbons in different colors or textures. You can weave them simultaneously or alternate between colors for a striped effect.
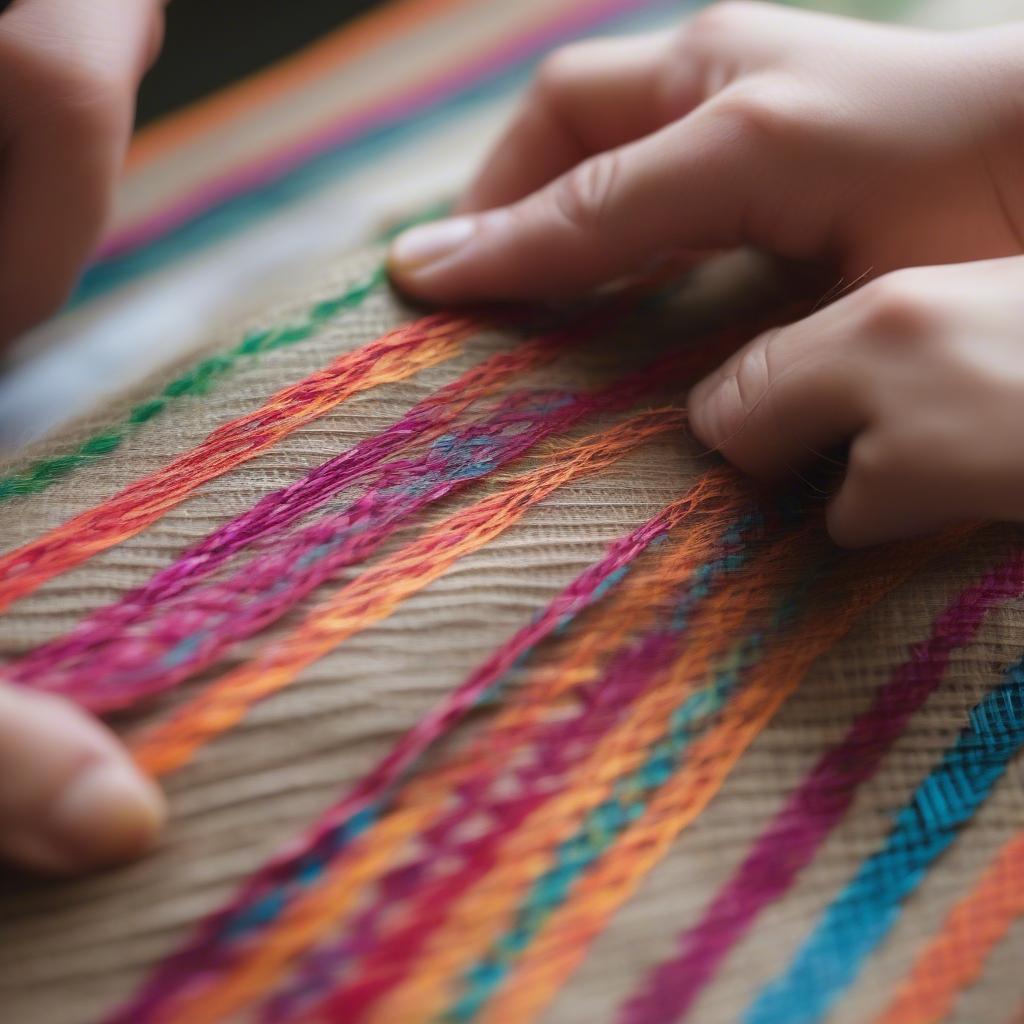 Close-up of hands weaving ribbon through slits in burlap.
Finishing Touches for Your Burlap Table Runner
Once you’ve woven the ribbon across the entire width of the burlap, secure the end of the ribbon at the back with a pin or by sewing it down. Trim any excess ribbon, leaving a small tail that can be tucked under the weave. Press your finished table runner with a warm iron, if desired, to smooth out any wrinkles and enhance the woven design.
Creative Variations for Weaving Ribbon in Burlap
Consider weaving ribbon in burlap in different patterns like herringbone or chevron. You could also incorporate other embellishments such as beads, buttons, or lace. The possibilities are truly endless!
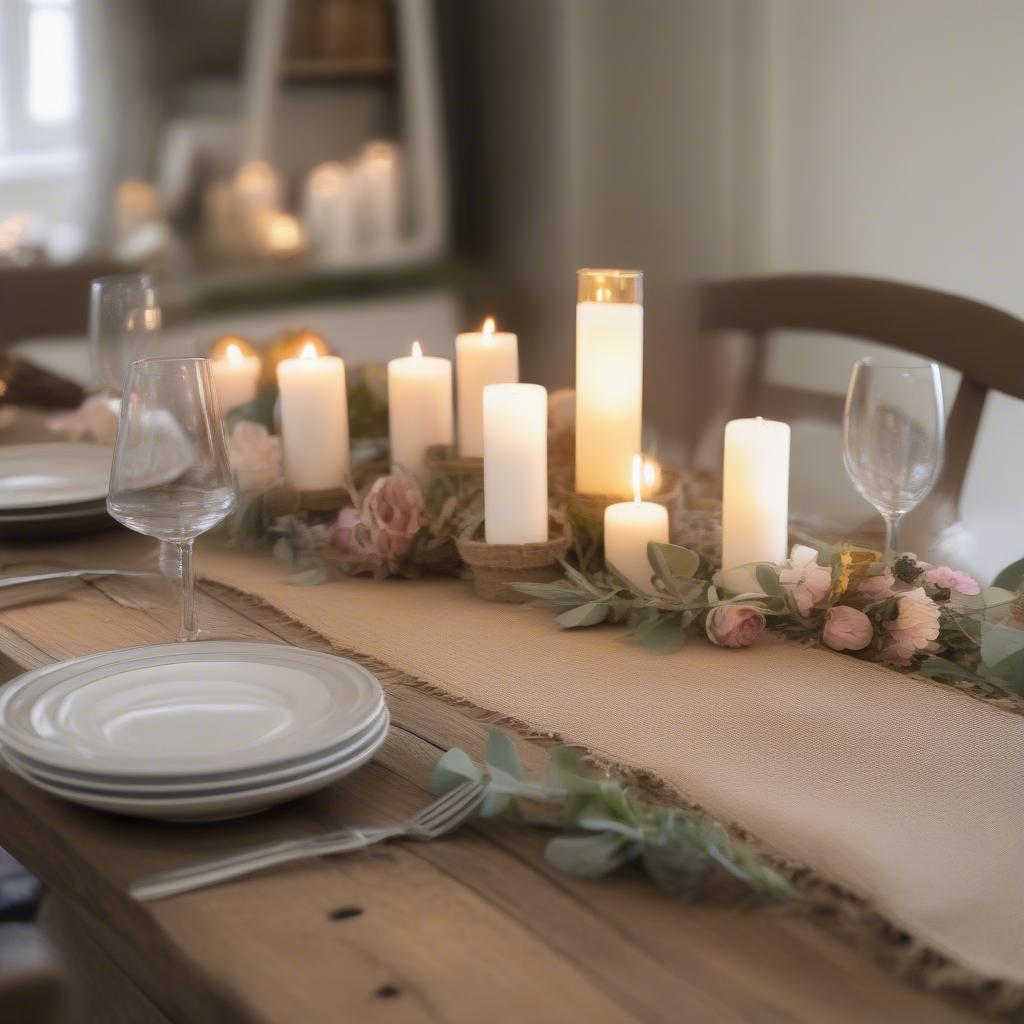 A finished burlap table runner with woven ribbon displayed on a table.
“Using high-quality ribbon can elevate the final look of your burlap table runner,” advises Sarah Miller, a renowned textile artist. “Silk or grosgrain ribbons add a touch of elegance, while natural fiber ribbons like linen or cotton enhance the rustic charm.”
“Don’t be afraid to experiment with different ribbon widths and colors to achieve unique and personalized designs,” adds John Davis, a seasoned craft instructor. “Mixing and matching textures can also add depth and dimension to your table runner.”
Conclusion
Learning how to weave ribbon in burlap for a table runner is a rewarding and creative project. By following these simple steps and incorporating your own personal touches, you can create a beautiful and unique piece that adds a touch of rustic elegance to your home décor. Remember to choose quality materials and experiment with different ribbon combinations to truly personalize your creation. Now you know how to weave ribbon in burlap for table runner projects!
Open weave burlap table runners offer a similar rustic charm. Check out our open weave burlap table runner collection for more inspiration.
FAQ
- What type of ribbon works best for weaving in burlap?
- Can I wash a burlap table runner with woven ribbon?
- How can I prevent the burlap from fraying?
- What other materials can I incorporate into my woven burlap table runner?
- How do I create different weaving patterns in burlap?
- What are some creative ways to use a burlap table runner?
- Where can I find high-quality burlap and ribbon for my project?
For further assistance, please contact our 24/7 customer service at +84 388 951 999 or visit us at Hanoi, Vietnam or Tech Avenue, Suite 12, San Francisco, CA 94105, USA.