Basket Weaving
Step by Step Paper Basket Weaving: A Beginner’s Guide
Learn the art of Step By Step Paper Basket Weaving. This comprehensive guide provides everything you need to know to create beautiful and functional paper baskets, from choosing the right paper to mastering various weaving techniques. Whether you’re a seasoned crafter or just starting out, this guide will equip you with the skills and knowledge to transform simple paper into stunning works of art.
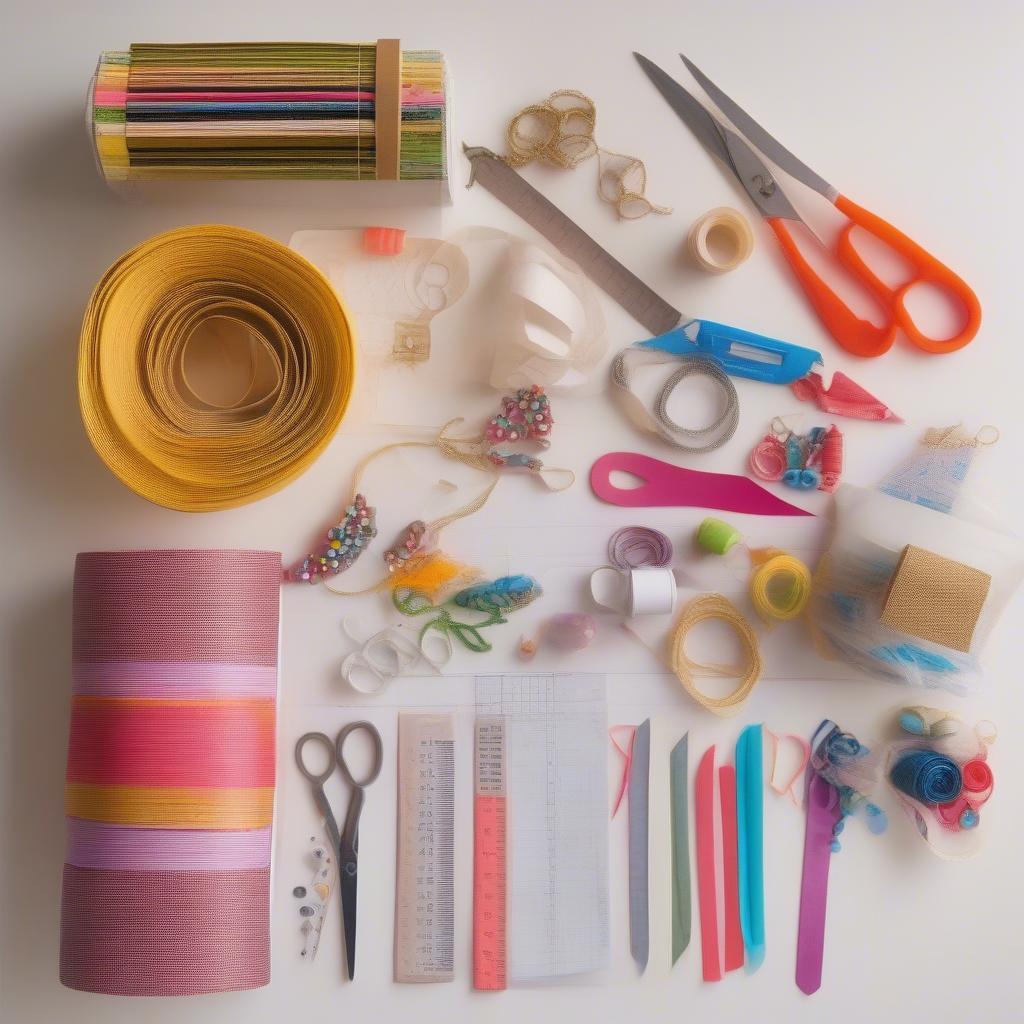
Gathering Your Paper Basket Weaving Supplies
Before you begin your paper basket weaving journey, gather the essential supplies. These include:
- Paper: Newspaper, magazines, construction paper, or even wrapping paper work well. Experiment with different types to discover your preference. Thicker paper is generally easier for beginners.
- Scissors: Sharp scissors are crucial for clean, precise cuts.
- Ruler: A ruler ensures consistent strip sizes for a more polished finished product.
- Glue or Adhesive: Choose an adhesive suitable for paper, such as glue stick, PVA glue, or double-sided tape.
- Optional Embellishments: Get creative with ribbons, beads, paint, or other decorative elements to personalize your baskets.
 Essential Supplies for Paper Basket Weaving
Preparing Your Paper Strips for Weaving
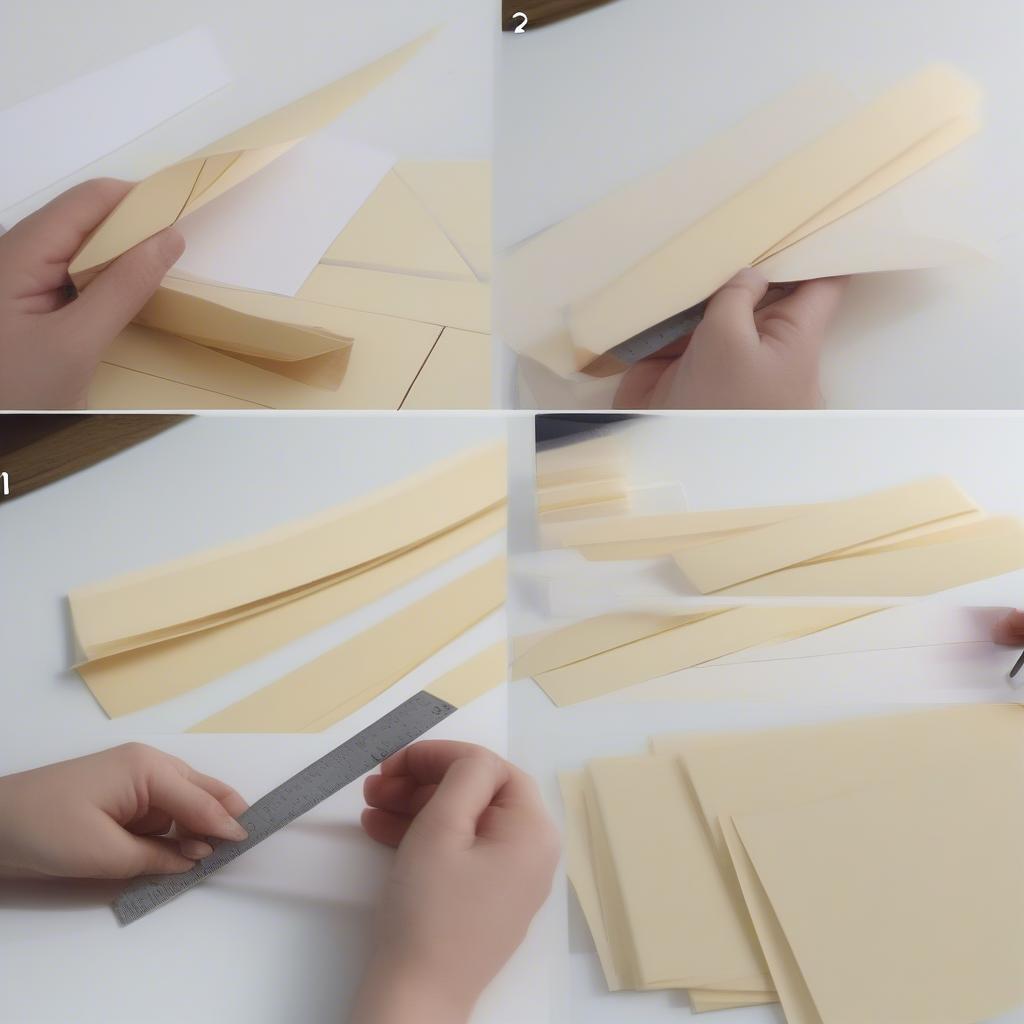
The foundation of any successful paper basket lies in properly prepared strips. Cut your chosen paper into strips of uniform width and length. For beginners, strips approximately 1 inch wide and 12 inches long are a good starting point. The size of your strips will determine the size of your basket.
- Cutting Strips: Use your ruler and scissors to cut straight, even strips. Accuracy in this step will make the weaving process smoother.
- Folding (Optional): For added strength and durability, you can fold the strips lengthwise before weaving. This is particularly beneficial when using thinner paper.
 Cutting and Folding Paper Strips for Basket Weaving
Step by Step Paper Basket Weaving Techniques
Now for the exciting part – the weaving! Several techniques exist, but let’s start with a basic weave:
- Creating the Base: Arrange an even number of strips vertically. Weave a horizontal strip over and under the vertical strips, alternating the over-under pattern with each pass.
- Building the Sides: Once you have a square or rectangular base, gently bend the vertical strips upwards. Continue weaving horizontal strips around the vertical ones, creating the sides of your basket.
- Finishing the Rim: When the basket reaches your desired height, fold the ends of the vertical strips inward and secure them with glue or by tucking them into the weave.
Exploring Different Paper Basket Weaving Patterns
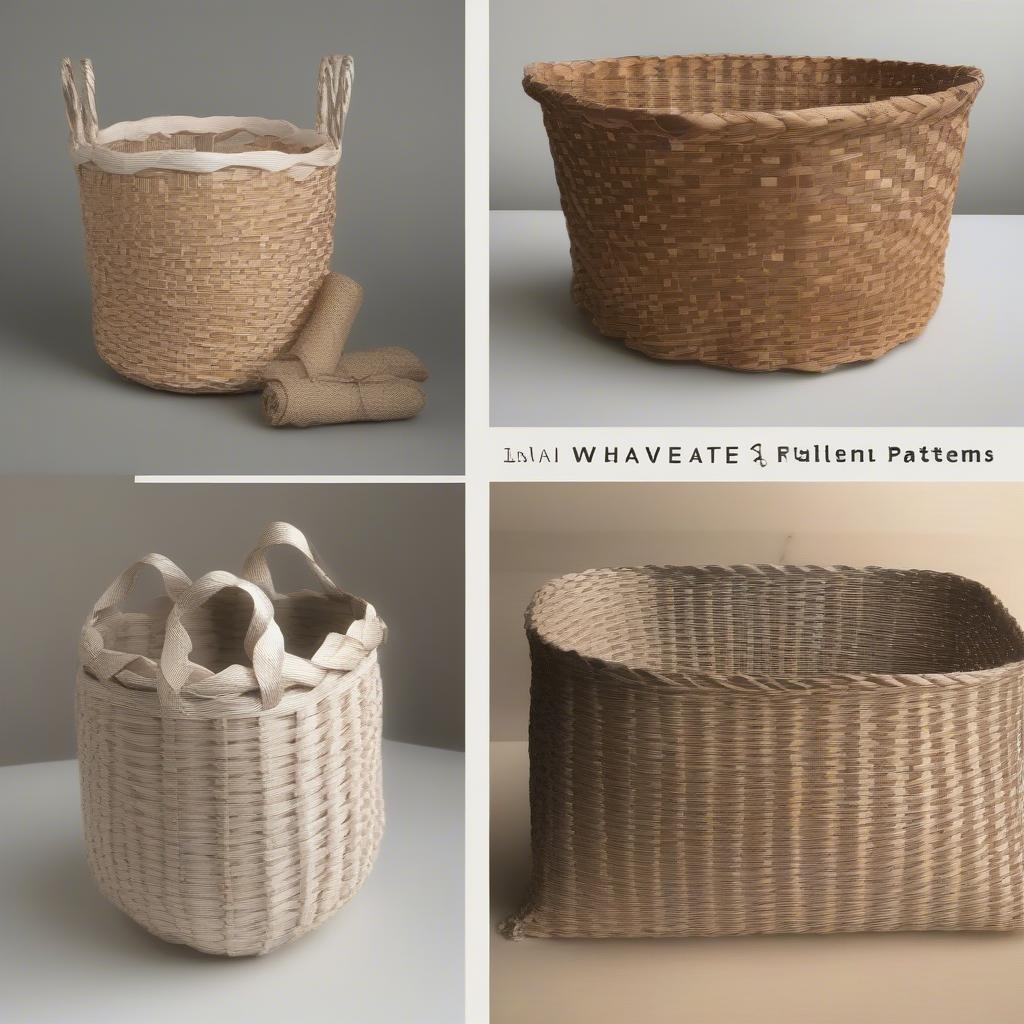
Once you’ve mastered the basic weave, you can experiment with more intricate patterns like the twill weave, the checkerboard weave, and even the star weave. Each pattern adds a unique texture and visual appeal to your finished basket.
 Various Paper Basket Weaving Patterns
Conclusion: Mastering the Art of Step by Step Paper Basket Weaving
Step by step paper basket weaving is a rewarding craft that allows you to transform ordinary paper into beautiful and functional objects. With practice and patience, you can create stunning baskets for storage, gifts, or simply to admire. So gather your supplies, follow these step-by-step instructions, and unleash your creative potential!
FAQ
- What type of paper is best for basket weaving?
- Can I use recycled paper?
- How do I make my paper basket more durable?
- What are some creative ways to decorate my paper basket?
- Where can I find more advanced paper basket weaving patterns?
- What are the common mistakes beginners make in paper basket weaving?
- How can I fix a mistake in my weaving?
Need support? Contact us at Hanoi, Vietnam or Tech Avenue, Suite 12, San Francisco, CA 94105, USA. We have a 24/7 customer support team.
