

Dec
Weave Chair
Weaving Chair Cane Back Instruction: A Comprehensive Guide
Restoring a woven cane chair back can be a rewarding project, and with the right Weaving Chair Cane Back Instruction, you can achieve professional-looking results. This guide will take you through the process step-by-step, from choosing the right materials to mastering the weaving techniques.
Understanding Cane Weaving Basics
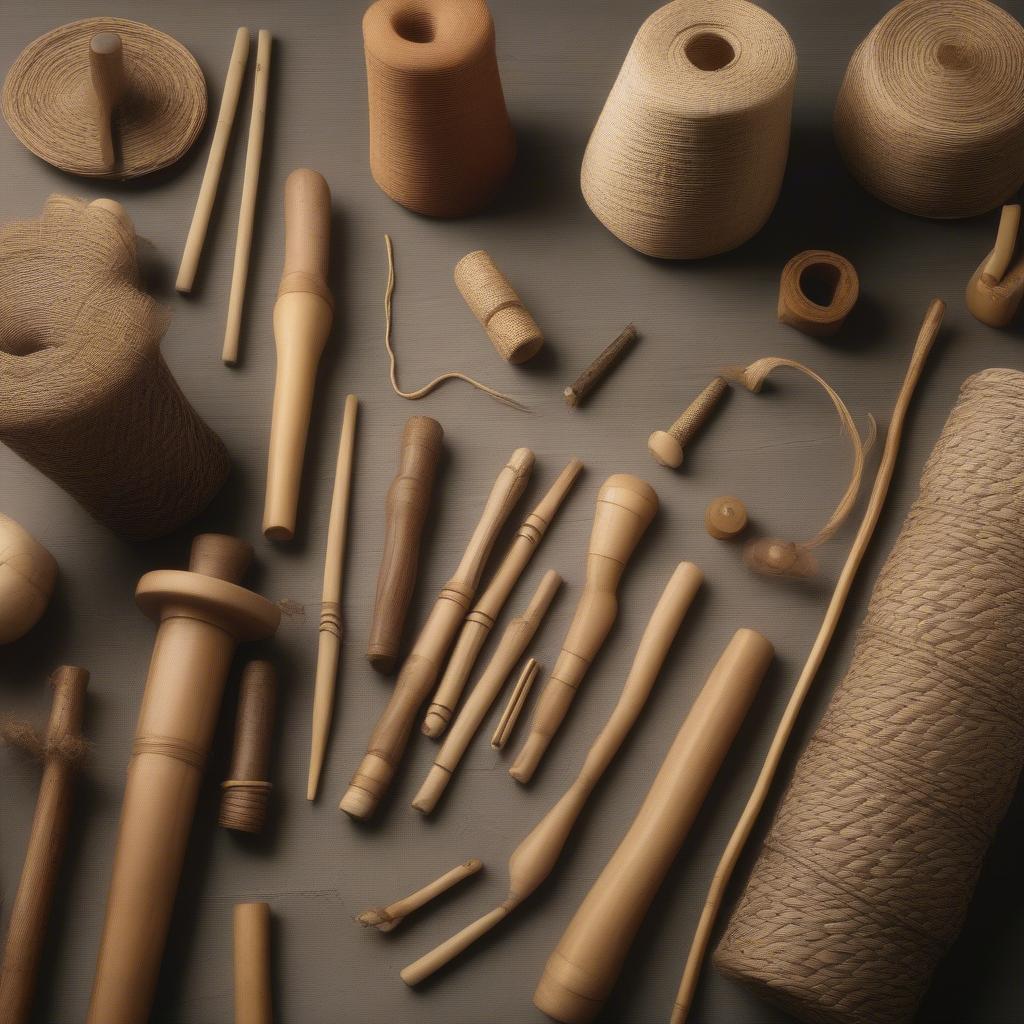
Before diving into the actual weaving, it’s crucial to familiarize yourself with the basics of cane weaving. This includes understanding the different types of cane, the tools required, and the basic weaving patterns. Essential Cane Weaving Tools and Materials Knowing the differences between pre-woven cane and hand-woven cane can significantly influence your approach. chair weaving offers a good overview of different chair weaving techniques. Pre-woven cane offers a quicker and easier fix, while hand-woven cane allows for intricate designs and a more traditional look.
Preparing Your Chair for Weaving
Preparing your chair properly is just as important as the weaving itself. This involves removing the old cane, cleaning the chair frame, and ensuring the groove is clean and free of debris. A clean and well-prepped frame will provide a smooth surface for your new cane, ensuring a tighter weave and a longer-lasting repair. 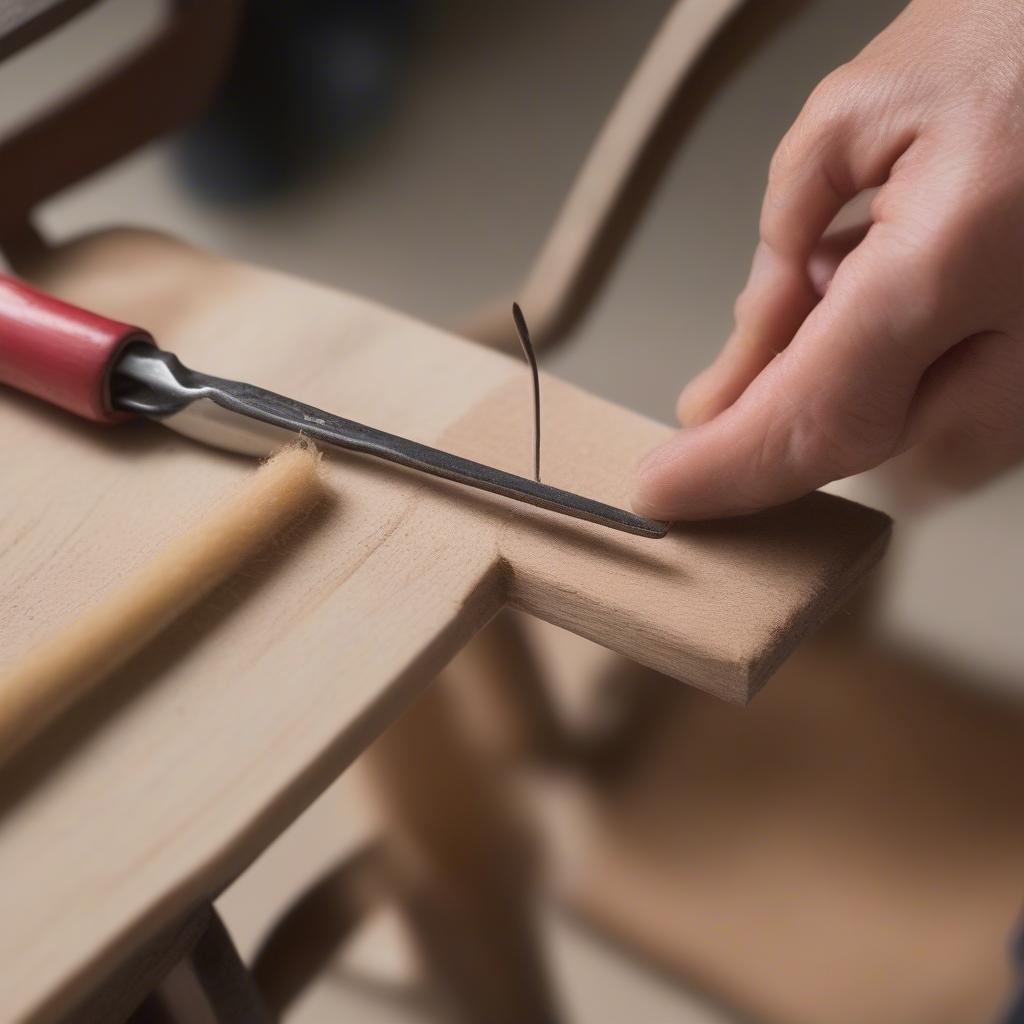 Preparing the Chair Frame for Cane Weaving
Step-by-Step Weaving Chair Cane Back Instruction
Now, let’s dive into the detailed weaving chair cane back instruction. First, soak your cane in warm water for about 30 minutes to make it pliable. This will prevent it from cracking during the weaving process. Starting at the center, begin weaving the cane through the holes in a vertical direction. Then, weave horizontally, over and under the vertical strands, creating a checkerboard pattern. small vintage rocking chair weave bottom Continue this pattern until the entire seat or back is covered.
- Vertical Weaving: Start by weaving the cane vertically across the frame, ensuring even spacing between the strands. Secure the ends using pegs.
- Horizontal Weaving: Now weave the cane horizontally, over and under the vertical strands, maintaining consistent tension.
- Diagonal Weaving (Optional): For added strength and a more intricate design, add diagonal strands. folding chair weaving should go under or over offers guidance on this specific technique.
- Securing the Ends: Tuck in any loose ends and secure them with pegs or glue.
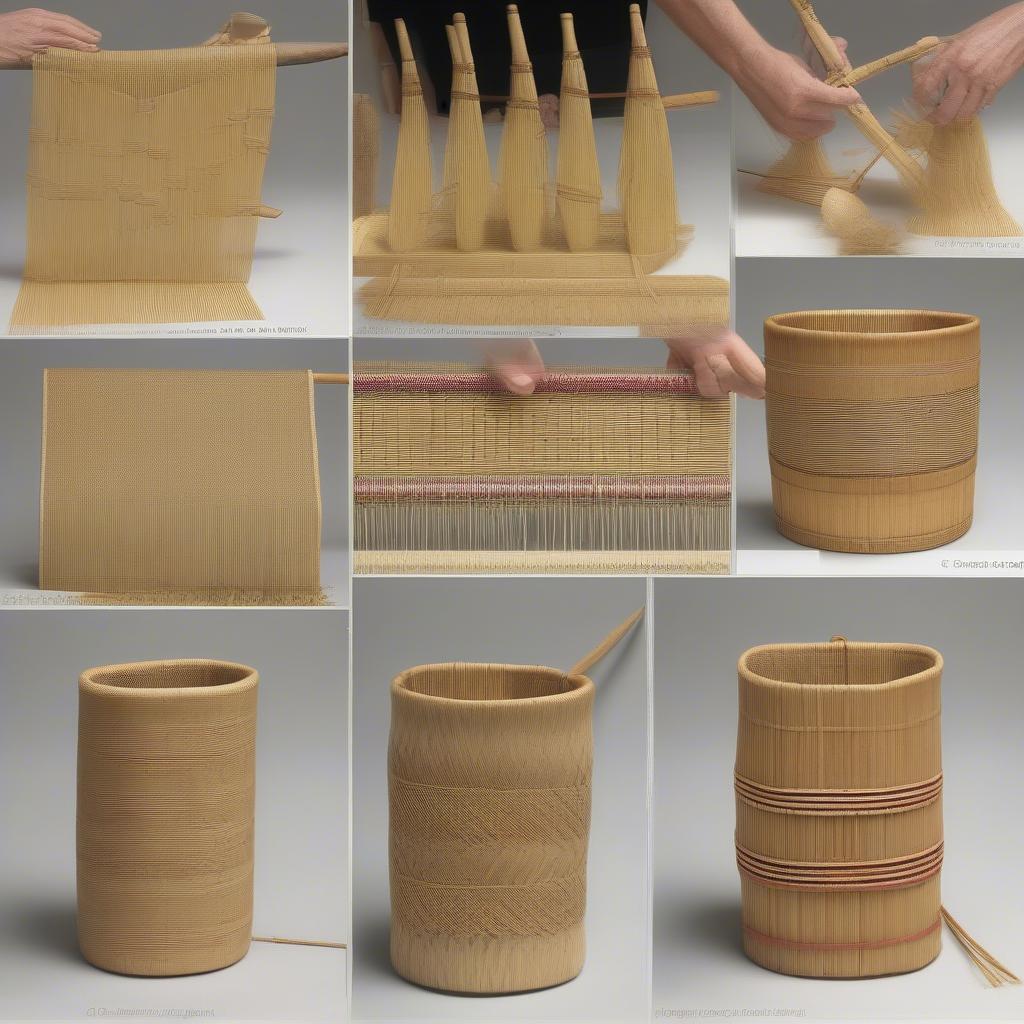 Weaving Cane Chair Back: A Step-by-Step Guide
Finishing Touches and Maintenance
Once the weaving is complete, trim any excess cane and allow it to dry completely. Applying a coat of sealant will protect the cane and extend its lifespan. Regular dusting and occasional wiping with a damp cloth will help keep your cane chair looking its best. chair seat weaving supplies lists helpful supplies for maintaining your newly woven chair.
Conclusion
With patience and these weaving chair cane back instruction, you can revitalize your cherished cane chairs and give them a new lease on life. This rewarding project allows you to connect with a traditional craft and create a beautiful, functional piece of furniture. Remember to choose the right materials and follow the instructions carefully to achieve professional-looking results.
Expert Insights from Emily Carter, Master Weaver: “The key to successful cane weaving lies in the preparation. Take your time to clean the frame thoroughly and soak the cane properly. This will ensure a smooth and durable weave.”
Expert Insights from John Miller, Furniture Restorer: “Don’t be afraid to experiment with different weaving patterns. The beauty of hand-weaving lies in the ability to create unique and personalized designs.” staples weave chair might inspire you to try different approaches.
If you need any assistance, please contact our Hotline: +84 388 951 999, or visit us at Hanoi, Vietnam or Tech Avenue, Suite 12, San Francisco, CA 94105, USA. We have a 24/7 customer service team.